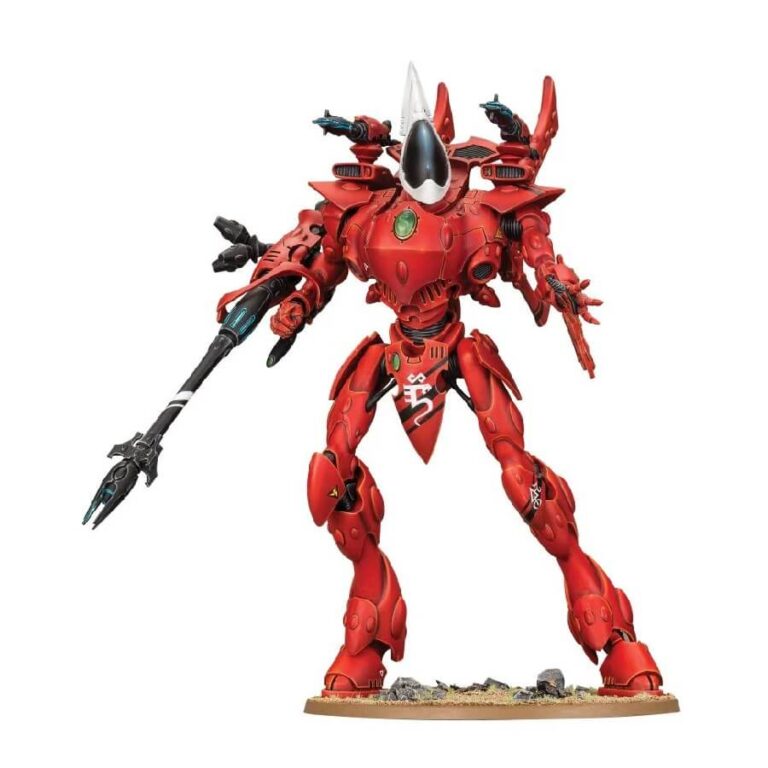
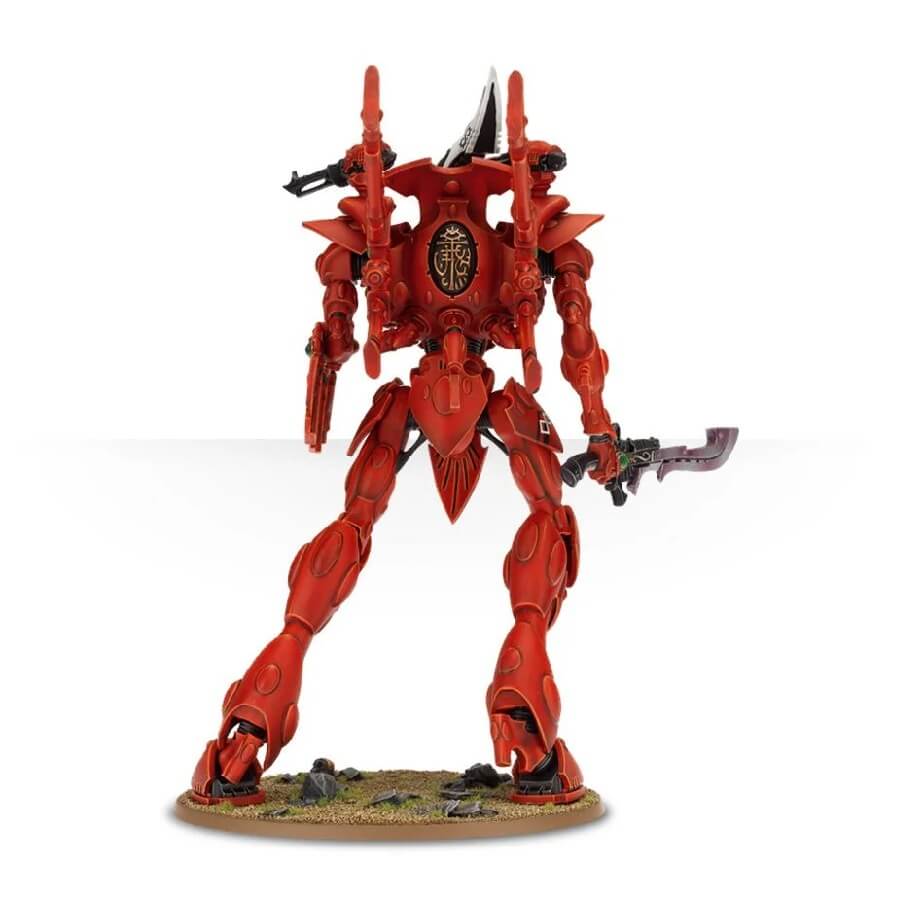
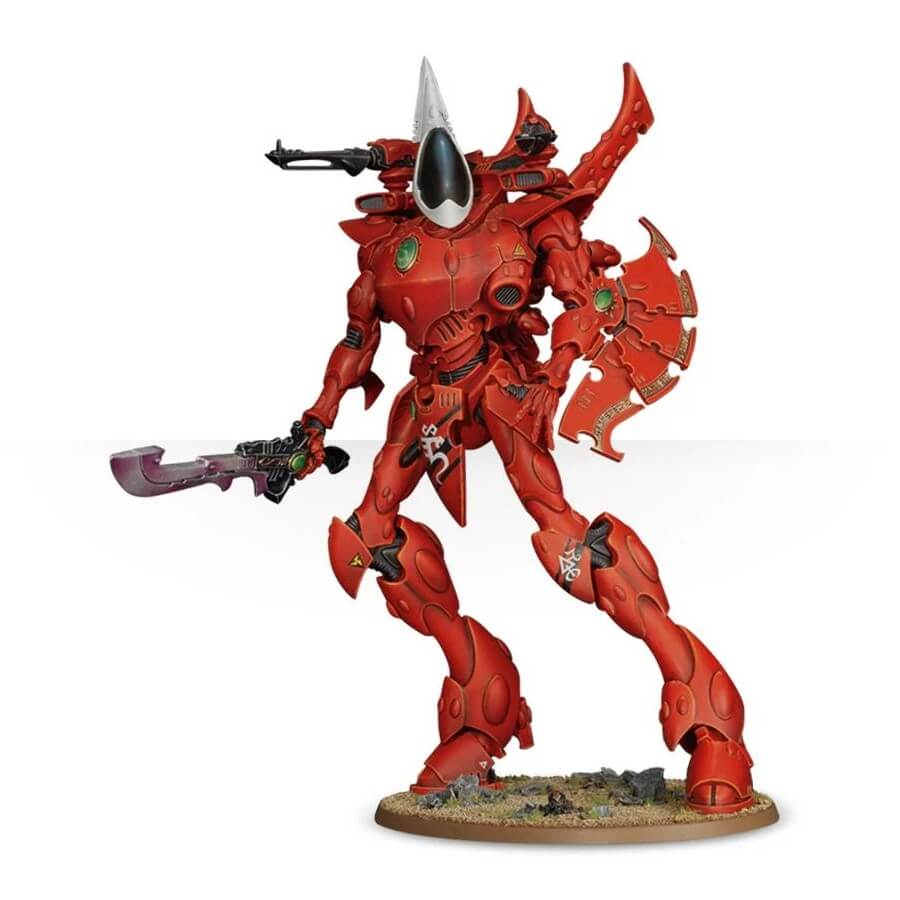
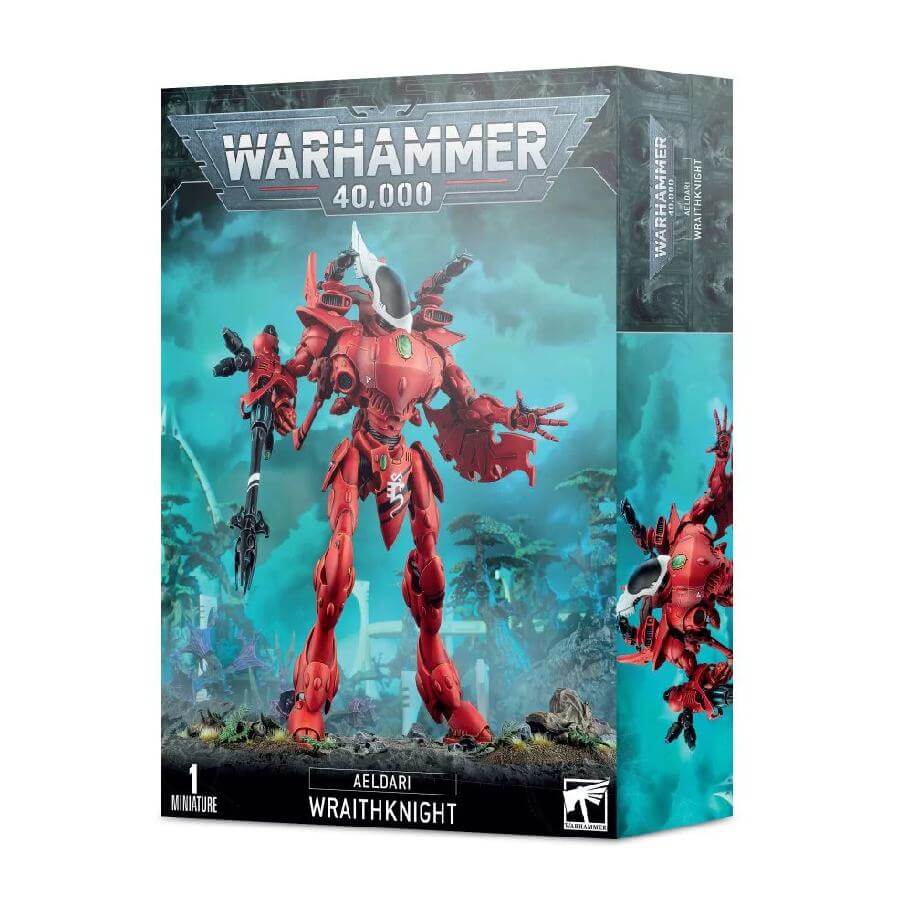
Prepare to witness the awe-inspiring presence of the Wraithknights, towering Eldar specters of war machines, surpassing even the mighty Wraithlords in size. Despite their immense stature, these war machines possess remarkable dexterity, effortlessly traversing shattered cities by leaping from pillar to spar while unleashing devastating firepower upon the enemies of the Aeldari.
Commanding attention on the tabletop, the Wraithknight stands an astonishing 9″ tall at its highest point, perched atop the Warp vanes. This colossal model offers an array of armament options, granting you the freedom to customize its loadout. The left arm can be equipped with either a formidable wraithcannon or a protective scattershield, providing strategic versatility. Meanwhile, the right arm presents a choice between a wraithcannon, ghostglaive, or suncannon, allowing you to tailor your Wraithknight’s offensive capabilities.
Additionally, you’ll find two of each secondary weapon: a shuriken cannon, scatter laser, and starcannon. These versatile shoulder-mounted weapons can be mixed and matched to suit your preferred playstyle. As if the choices weren’t abundant enough, the kit also offers a variety of closed and open fists, enabling further customization possibilities.
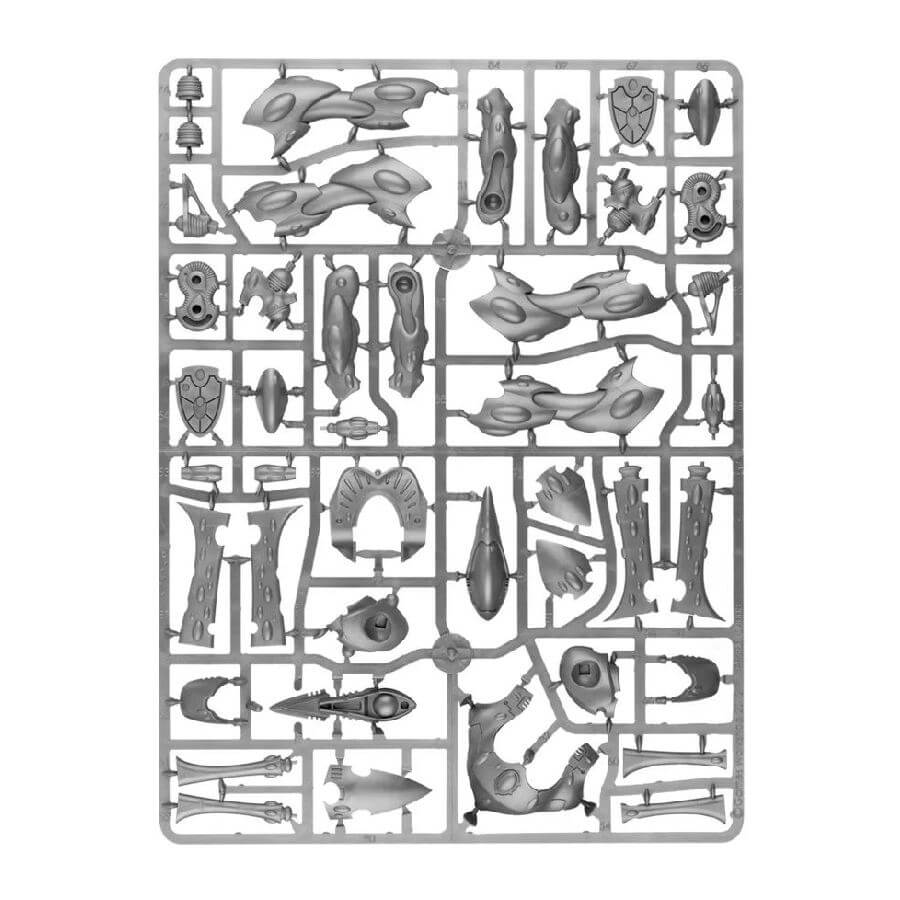
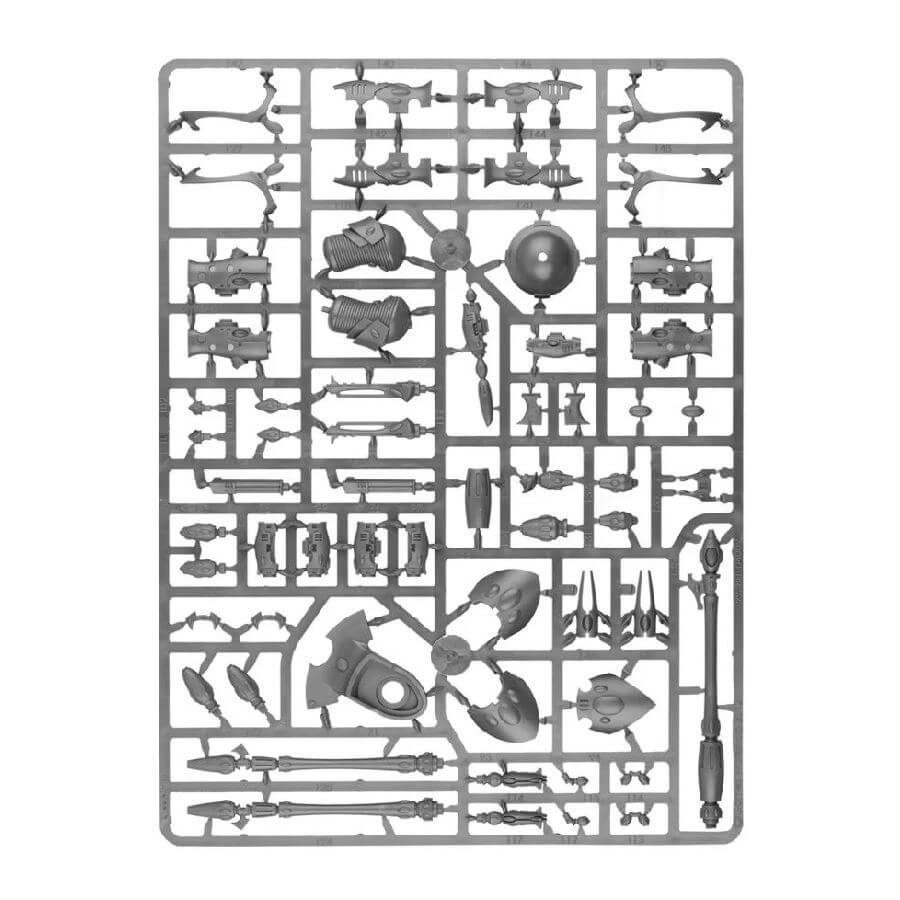
What’s in the Wraithknight box
- x114 plastic components with which to make 1 Aeldari Wraithknight.
- x1 Citadel 120mm Oval Base
How to paint the Wraithknight set
- Step 1: Basecoat
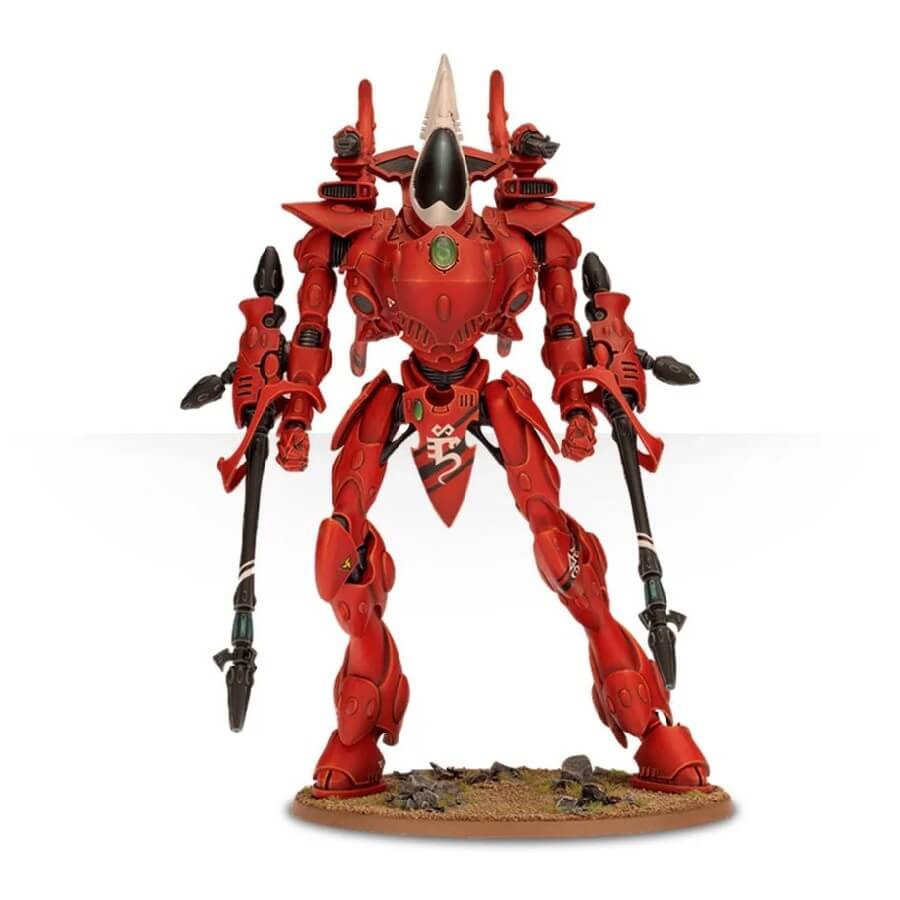
Start by painting the body of the Wraithknight with Mephiston Red or a similar bright red color. Apply thin layers of paint to ensure smooth coverage, allowing each layer to dry before applying the next. For larger surfaces, you can use a larger brush, while a smaller brush may be needed for more intricate areas. - Step 2: Layering and Shading
Once the basecoat is dry, you can add depth and dimension to the red body by applying lighter and darker shades. For example, you can layer Evil Sunz Scarlet on the raised areas to create highlights and shade the recesses with Carroburg Crimson or Agrax Earthshade. Apply these colors selectively, focusing on creating contrast and depth. - Step 3: Headgear and Aeldari Symbols
Paint the Wraithknight’s headgear and the Aeldari symbols on its body with White Scar or another white paint. Use a small brush for precise application. To enhance the details, you can add subtle shading by mixing a touch of Ulthuan Grey into the white paint and applying it to the edges. - Step 4: Gems
To paint the gems on the Wraithknight, begin with a basecoat of a vibrant color like Lothern Blue or Caliban Green, depending on the gem’s intended color. Once the basecoat is dry, apply a layer of Temple Guard Blue or Warpstone Glow to build up the color. Finish with a small dot of Baharroth Blue or Moot Green at the highest point to create a highlight effect. - Step 5: Guns
Paint the guns of the Wraithknight with Abaddon Black or a deep black color. Ensure that the black paint covers the gun barrels and other gun details. For added realism, you can dry brush the guns with a dark metallic paint like Ironbreaker or Leadbelcher to create a worn metal effect. - Step 6: Metallic Details
Add metallic accents to the guns by using Leadbelcher or a silver metallic paint. Apply the silver paint to the small details on the guns, such as triggers, barrels, and any other metallic parts. You can also highlight the edges of these metallic parts with a brighter silver like Stormhost Silver. - Step 7: Finishing Touches
Inspect your model and make any necessary touch-ups or corrections. Add additional details like freehand designs, runes, or squad markings using suitable colors. Once you are satisfied with the paint job, apply a layer of varnish to protect the model and give it a consistent finish. Choose a matte, gloss, or satin varnish based on your preferred look.