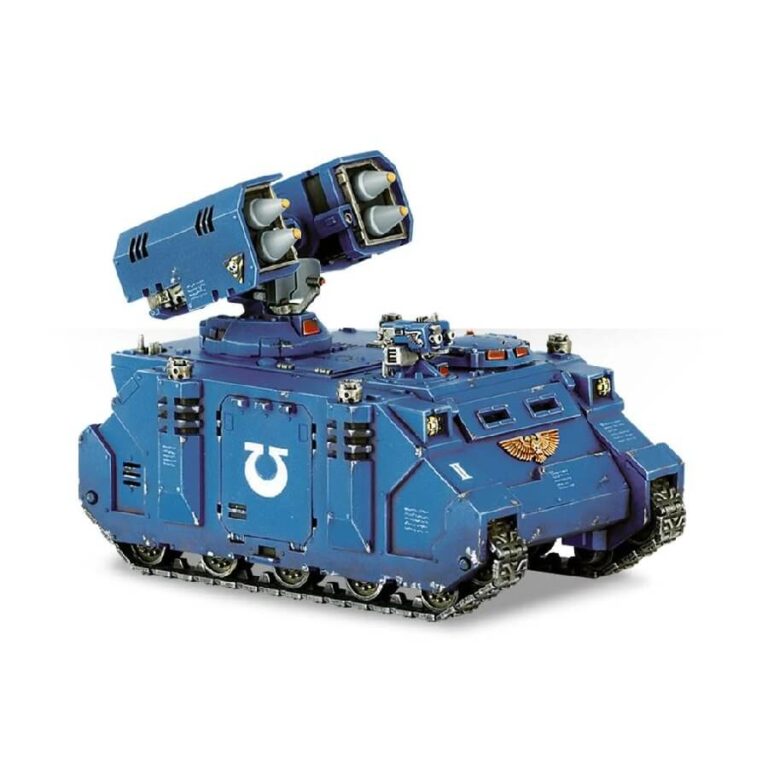
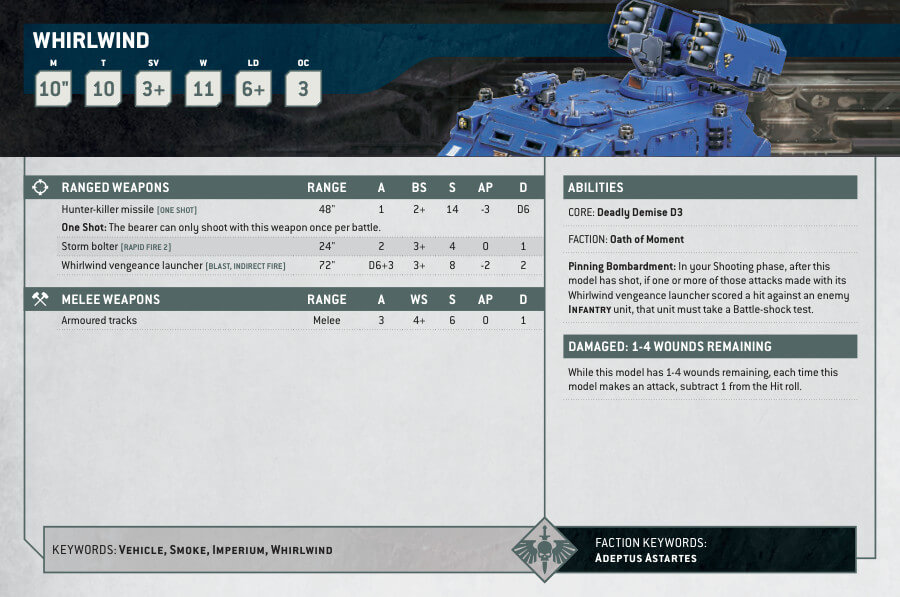
The Whirlwind is a highly versatile Space Marines tank that is based on the Rhino design. It features a lightweight armoured chassis and is armed with a multiple rocket launcher system that can deliver accurate and precise fire to enemy positions. With its advanced target acquisition system, the Whirlwind can easily target hidden or entrenched enemy positions, making it an ideal choice for taking out hard-to-reach targets. Additionally, the Whirlwind is able to operate from behind the safety of cover, making it a great choice for engaging enemies from a distance.
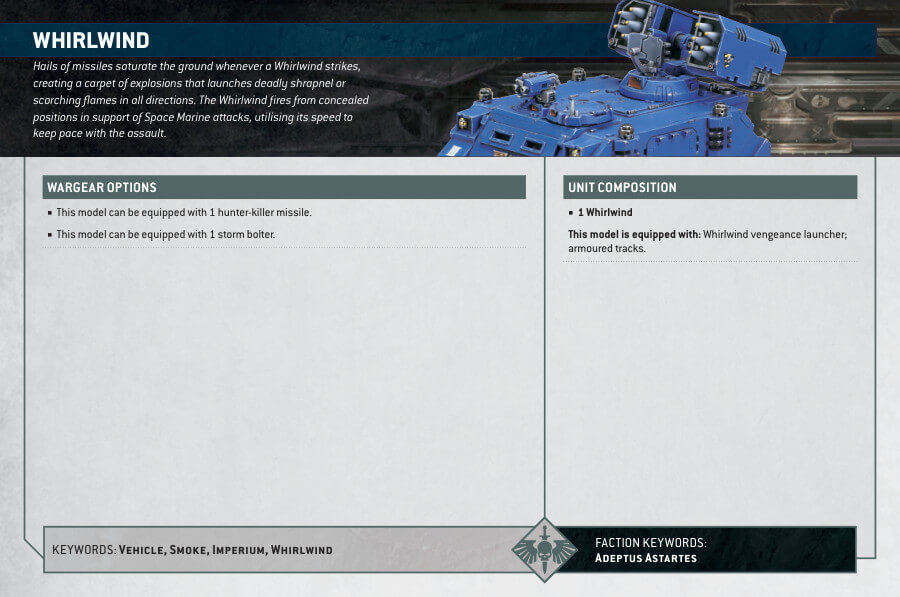
Whirlwind Datasheets
What’s in the Whirlwind box
x85 plastic components that make one Whirlwind. The Whirlwind can be assembled in two different missile configurations: Vengeance or Castellan. The Vengeance missile launcher fires fewer missiles but has greater accuracy, while the Castellan missile launcher can fire a larger number of missiles but is less accurate. Additionally, the Whirlwind can be assembled with either a closed hatch or visible tank commander.
How to paint the Whirlwind Set
- Step 1: Prime the miniature
Start by priming the Whirlwind miniature with Chaos Black or White Scar spray primer. This provides a base coat for the paint to adhere to. - Step 2: Base coat the hull
Use Kantor Blue or Macragge Blue to paint the main hull of the Whirlwind. Apply thin layers of paint, allowing each layer to dry before applying the next. - Step 3: Paint the details
Use Balthasar Gold for the metallic parts, such as the missile launcher and exhaust vents. Paint any other details, like the sensors and hatches, with Mechanicus Standard Grey or Administratum Grey. - Step 4: Apply wash
Apply a wash of Nuln Oil over the entire miniature. This will add depth and shading to the recesses, enhancing the details of the Whirlwind. - Step 5: Highlight the edges
Using Fenrisian Grey or Ulthuan Grey, carefully highlight the edges of the hull and any raised details. This will add definition and make the model pop. - Step 6: Paint the missiles
Paint the missiles with Mephiston Red or Evil Sunz Scarlet, leaving the tips in black or a dark grey for contrast. - Step 7: Detail the interior
If desired, you can paint the interior of the cockpit and any visible parts with appropriate colors. For example, you can use Moot Green for the control panels or Agrax Earthshade for weathering effects. - Step 8: Base the model
Paint the base of the Whirlwind with a suitable color, such as Armageddon Dust or Astrogranite texture paint. You can add additional details like rocks, grass, or debris to enhance the base. - Step 9: Apply varnish (optional)
To protect the paint job, you can apply a layer of Citadel Munitorum Varnish or any matte varnish of your choice. This will help preserve the colors and prevent chipping.

