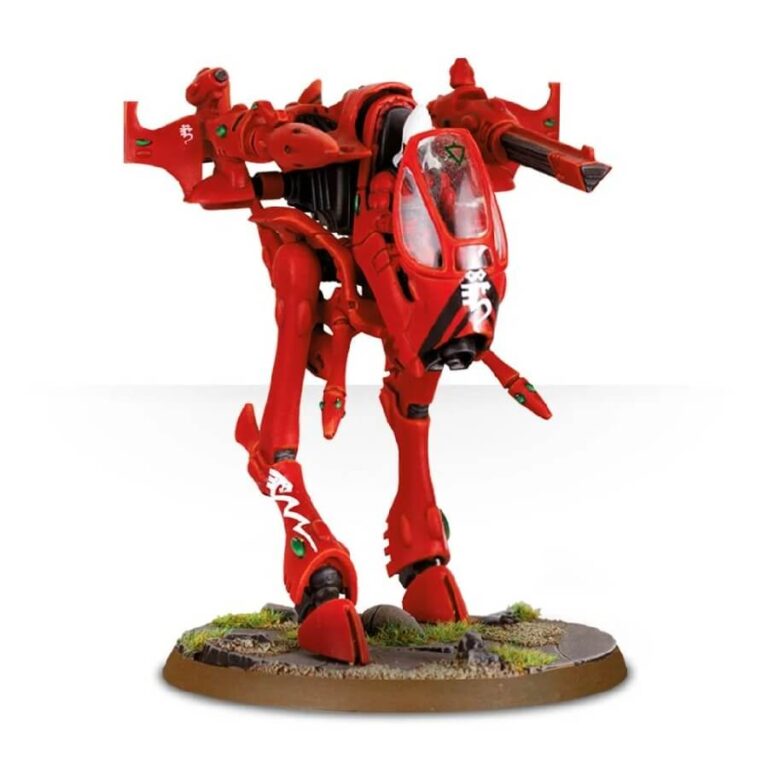
The War Walker is a fast and agile Eldar combat vehicle that serves as a versatile support unit on the battlefield. This sleek walker is equipped with powerful anti-infantry weaponry and advanced targeting systems, making it a formidable threat to enemy forces. With its dual shuriken catapults and the ability to upgrade with missile launchers or bright lances, the War Walker excels at engaging both infantry and armored targets with deadly accuracy. Its nimble legs allow it to traverse difficult terrain and provide excellent mobility, making it an ideal choice for hit-and-run tactics or flanking maneuvers. Piloted by skilled Eldar Aspect Warriors, the War Walker embodies the grace and precision of the Eldar race, delivering swift and devastating strikes against their foes.
What’s in the War Walker box
- x35 plastic components that make 1 Aeldari War Walker and includes pieces to make a variety of deadly weapons and upgrades.
- x1 Citadel 60mm Round Base
How to paint the War Walker set
- Step 1: Prime the model (optional)
Priming the model provides a base coat that helps the paint adhere better. If you choose to prime, follow the instructions on the primer can. Use a spray primer or apply it with a brush. Let it dry completely before moving on to the next step. - Step 2: Base coat
Start by applying the base coat, which is the primary color for each area of the model. Thin your paint slightly with water to achieve a smoother application. Use a larger brush for this step. For example, you can use Leadbelcher for the frame, Macragge Blue for the canopy, and Waaagh! Flesh for the body. - Step 3: Layering
Layering adds depth and highlights to your model. Thin your paint further for layering, creating a semi-transparent effect. Apply lighter shades of the base color to the raised areas of the model to simulate highlights. For instance, you can layer a lighter silver like Ironbreaker on top of the frame to highlight the edges. - Step 4: Washes
Washes are thin, darker paints that settle into the recesses of the model, creating shading and depth. Apply a wash using a smaller brush, ensuring it flows into the recesses. For example, you can use Biel-Tan Green wash to add shadows to the body. - Step 5: Detailing
Now it’s time to add smaller details to make the model stand out. Use a fine brush for this step. Paint in the finer elements such as small symbols or additional colors for details like the cockpit instruments. For example, you can use Evil Sunz Scarlet for the cockpit instrument panel. - Step 6: Highlights
To further enhance the model, apply highlights to the raised edges and areas that catch the light. Use a fine brush and a lighter shade of the base color for this step. For instance, you can highlight the edges of the frame with a brighter silver like Stormhost Silver. - Step 7: Finishing touches
Inspect your model for any areas that need touch-ups or additional details. Add any final touches, such as adding small decals or weathering effects with a sponge or drybrush technique. Be creative and make your War Walker unique!

