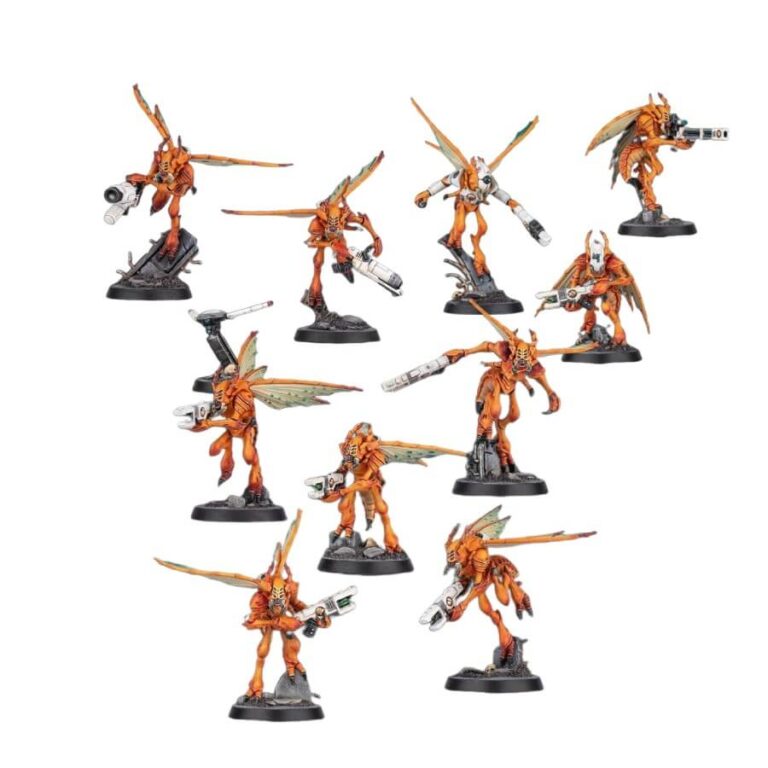
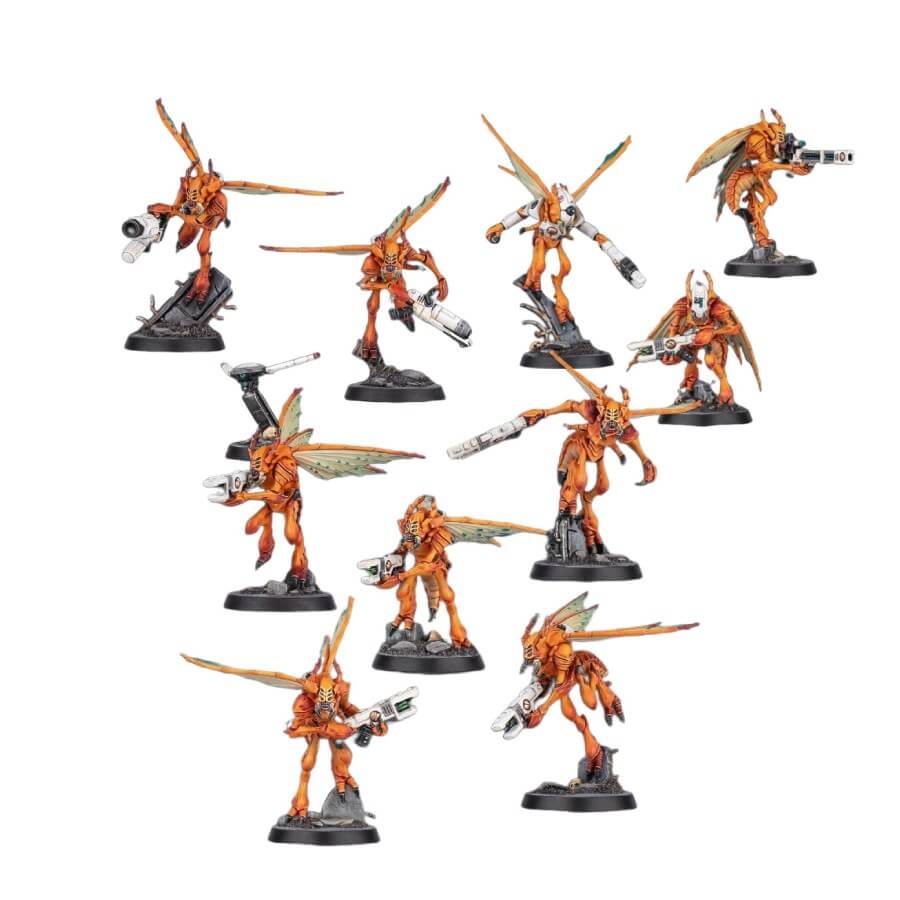
Many alien races are found to be working alongside their T’au overseers – one of these races is the Vespid Stingwings. They function as auxiliaries to T’au armies, and the T’au value them for their skill at negotiating dangerous ground at high speed. Stingwings make ideal mobile reserve or flanking troops, though the T’au rely on the communion helm issued to the Strain Leaders to communicate with the Stingwings and coordinate their actions.
Each Stingwing model comes with chitinous wings and viciously sharp claws, not to mention powerful guns. The weapon they carry, the neutron blaster, is unique to the Vespid race, though the technology is provided by the T’au. Mounted at the barrel of each one is an immensely powerful crystal harvested from deep underground, making them among the most deadly weapons of their type.
Vespid Stingwings Old vs New Models
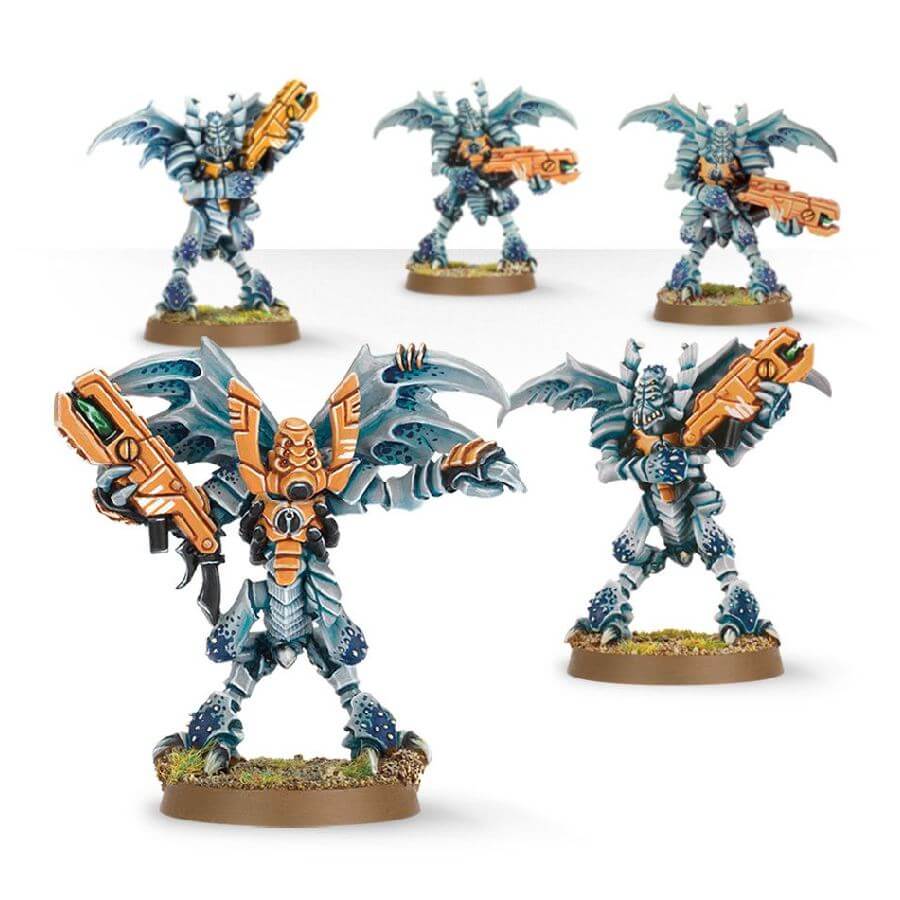
What’s in the (old) Vespid Stingwings box
- x15 resin components that make 5 Vespid Stingwings.
- x5 Citadel 25mm round bases.
How to paint the Vespid Stingwings set
- Step 1: Base Coating Armor and Skin
Start by applying a base coat of Tau Light Ochre to the Vespid Stingwings’ armor and Kantor Blue to their skin. Ensure an even and smooth coverage for a solid foundation. - Step 2: Layering Armor
Use a slightly lighter shade like Zamesi Desert to layer the armor. Apply this color to the raised areas, leaving the Tau Light Ochre in the recesses. - Step 3: Layering Skin
Use a lighter shade like Altdorf Guard Blue to layer the skin. Apply this color to the raised portions, preserving the base coat in the shaded areas. - Step 4: Shading Armor
Apply a shade like Seraphim Sepia to the armor to create shadows and depth. Concentrate on the crevices and contours, allowing the shade to settle. - Step 5: Shading Skin
Use a shade like Drakenhof Nightshade to shade the skin, enhancing the depth and natural shadows. Apply the shade to areas like facial features and folds. - Step 6: Highlighting Armor
Use a lighter shade like Ushabti Bone to gently highlight the edges and raised areas of the armor. This layering technique adds dimension and realism. - Step 7: Highlighting Skin
Use a lighter shade like White Scar to highlight the skin’s prominent features, such as the nose, cheekbones, and brow. This step adds vibrancy to the skin tone. - Step 8: Final Touches and Inspection
Inspect your work for any touch-ups or adjustments. Ensure that all colors are well-balanced and that the miniatures look cohesive and well-painted. - Step 9: Varnishing for Protection
Apply a protective varnish like Ardcoat to safeguard your work from wear and tear while giving your miniatures a lasting sheen.

