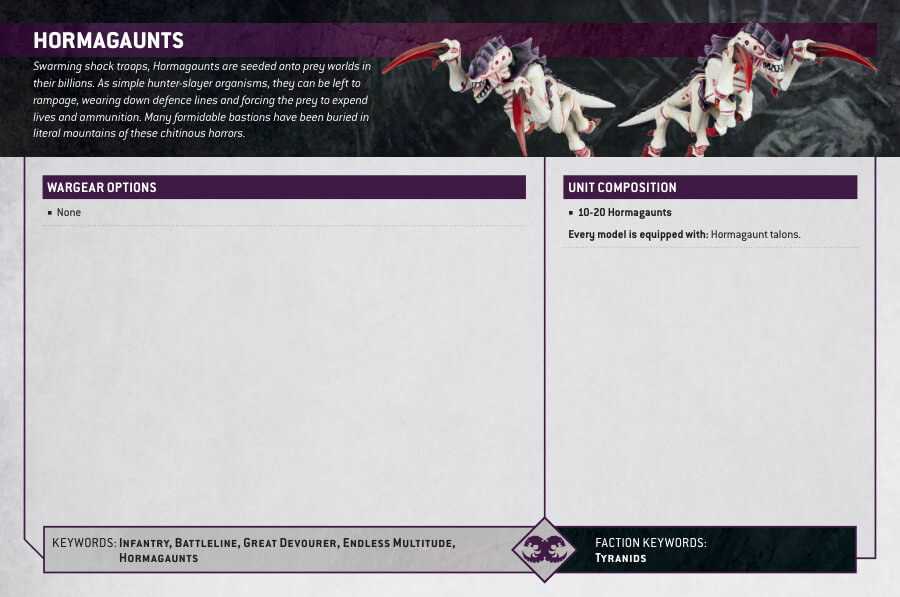
Hormagaunts serve as relentless shock troops, unleashed in vast numbers upon target worlds. As instinct-driven hunter-slayers, these Tyranid creatures can freely roam battlefields and terrorize both defenders and populations. Their relentless presence wears down defense lines, forcing the prey to deplete resources and lives. Many formidable fortifications have been overwhelmed by the sheer masses of these chitinous horrors, driven by the will of a formidable synapse creature.
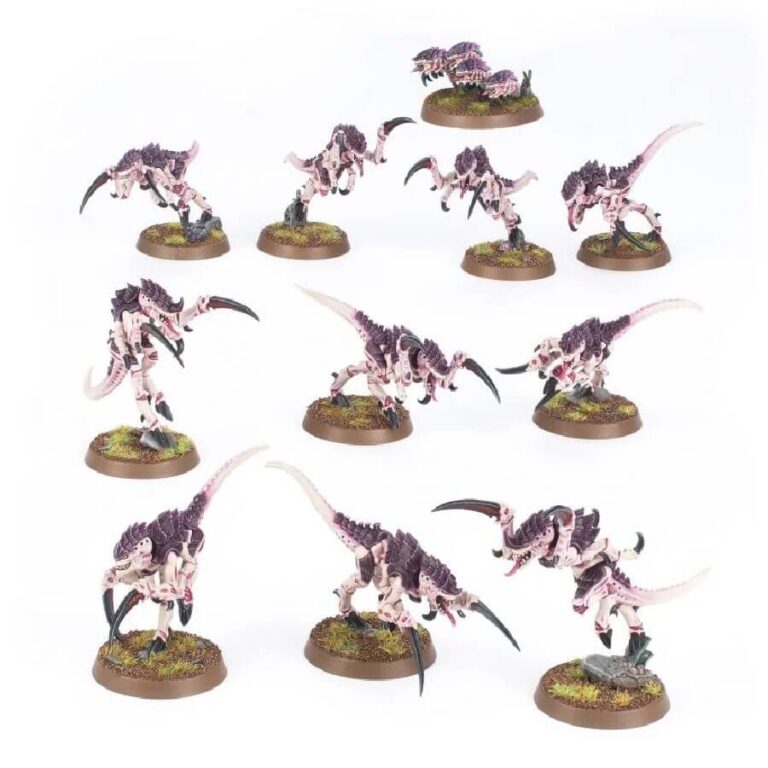
This multipart plastic kit offers the opportunity to assemble 10 Hormagaunts and includes a Ripper Swarm to expand your ever-growing horde. These aggressive creatures exhibit diverse poses, with some leaping, others stalking, and some lunging, highlighting their predatory speed and close-quarters combat prowess. The kit provides a variety of head designs, ensuring that your Hormagaunts maintain a distinct and varied appearance, regardless of the size of your swarm.
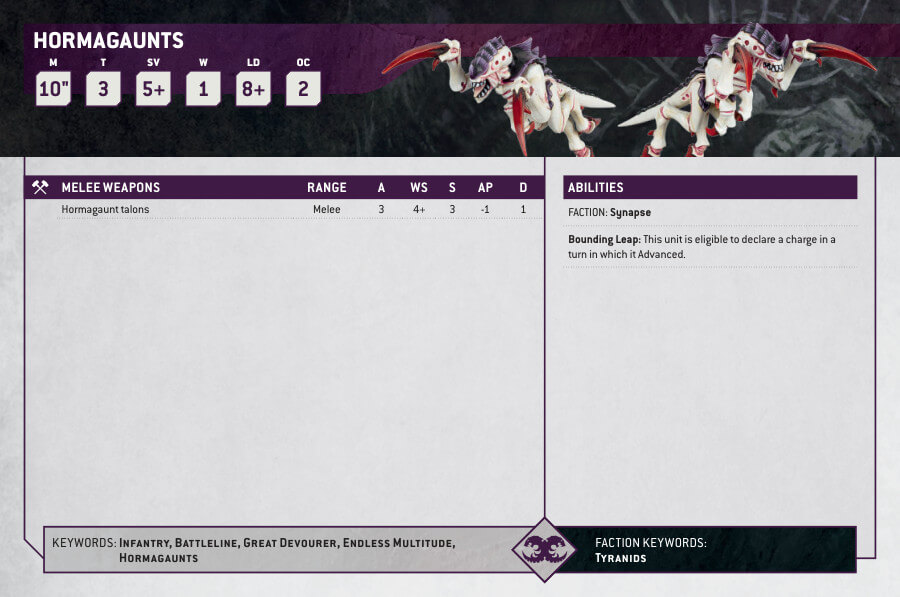
Hormagaunts set Datasheets
Hormagaunts
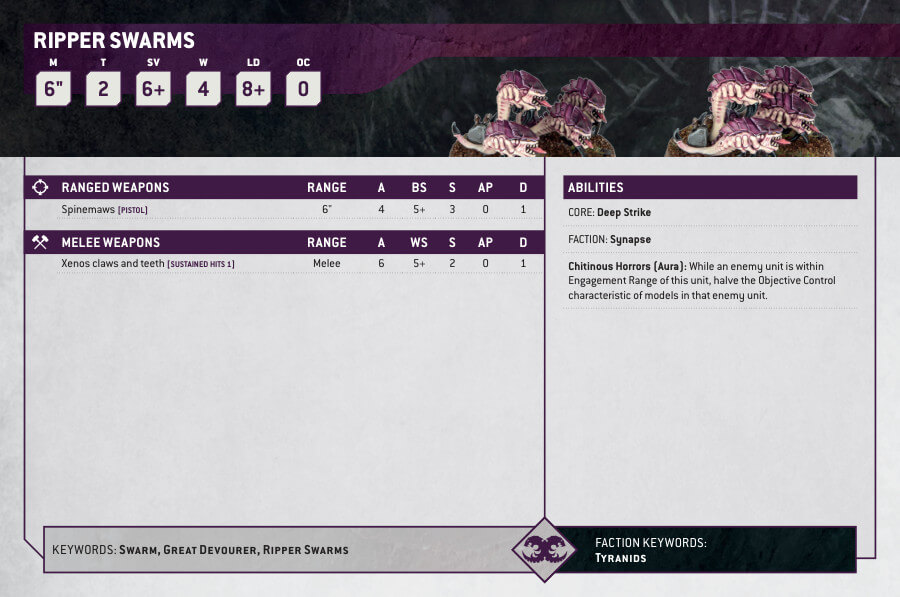
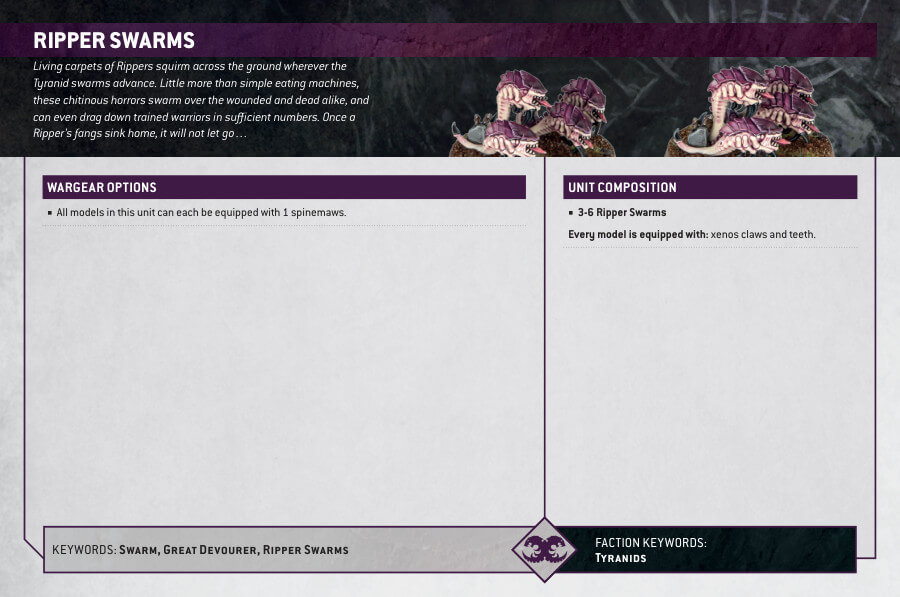
Ripper Swarm
What’s in the Hormagaunts box
- x68 plastic components that make 10 Hormagaunts and 1 Ripper Swarm.
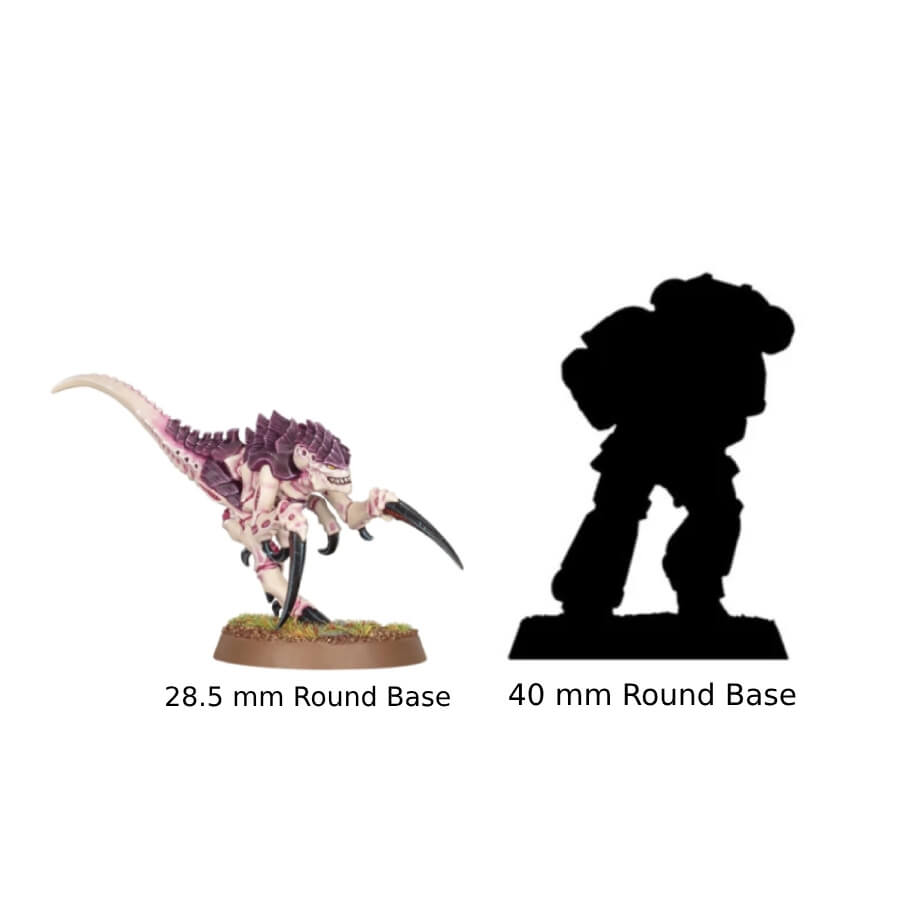
- x10 Citadel 28.5mm Round Bases (Hormagaunts).
- x1 Citadel 40mm Round Base. (Ripper Swarm).
How to paint the Hormagaunts
- Step 1: Prime Your Models
Apply a thin, even coat of primer to your Tyranid Hormagaunt Brood models. Use a light gray or white primer, such as White Scar, to create a solid base for the subsequent layers of paint. - Step 2: Basecoat the Flesh
Using a brush, apply a basecoat of pale white to the skin and bones of the Hormagaunts. For example, you can use Rakarth Flesh or Pallid Wych Flesh to achieve the classic pale white tone of the tyranids. - Step 3: Basecoat the Carapace plates
Next, basecoat the carapaces of the Hormagaunts with a dark purple or purple color. For instance, you can use Xereus Purple or Naggaroth Night to achieve a dark purple shade. - Step 4: Highlight the Flesh
Using a lighter shade of the base color, highlight the raised areas of the flesh. For example, you can use Pallid Wych Flesh or White Scar to create the desired highlight. - Step 5: Highlight the Carapace plates
Similarly, use a lighter shade of purple to highlight the carapaces. For this, you can use Genestealer Purple or Xereus Purple mixed with a touch of white. - Step 6: Paint the Details
Use various colors, such as Mephiston Red for the claws and Temple Guard Blue for the eyes, to paint some of the details on the Hormagaunts. - Step 7: Wash the Model
Apply a wash, such as Nuln Oil or Drakenhof Nightshade, to the recessed areas of the model. This will add depth and definition to the details. - Step 8: Drybrush the Carapace plates
Using a drybrushing technique, lightly apply a lighter shade of purple to the raised areas of the carapaces. This will create a weathered and textured look. Genestealer Purple or Xereus Purple mixed with a touch of white can work well for this step. - Step 9: Paint the Base
Choose a suitable color for the base of your Hormagaunt models. Consider using texture paints, such as Stirland Mud or Astrogranite Debris, to create a realistic base texture. You can further enhance the base by adding small rocks or foliage for extra detail. - Step 10: Varnish the Model
To protect your painted models, apply a layer of varnish. Choose a finish that suits your preference, such as matte or gloss, and follow the instructions on the varnish can for proper application. - Step 11: Optional: Add Final Details
If desired, you can further enhance your Tyranid Hormagaunt Brood models by adding additional details. This can include painting the fleshy parts of the mouth with a darker shade to create depth, adding small highlights to the eyes, or applying blood effects using Blood For The Blood God to the claws for a more menacing appearance.

