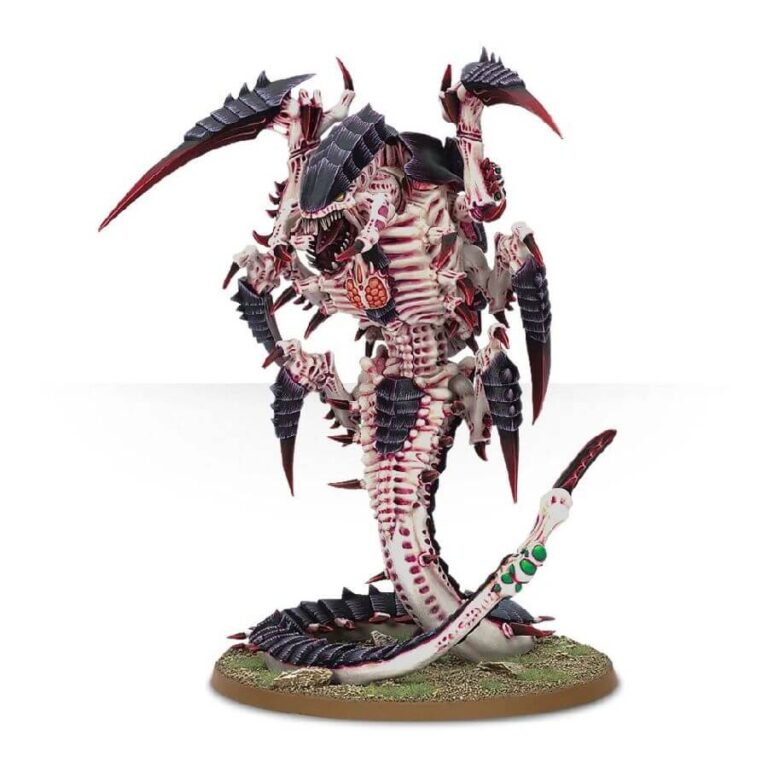
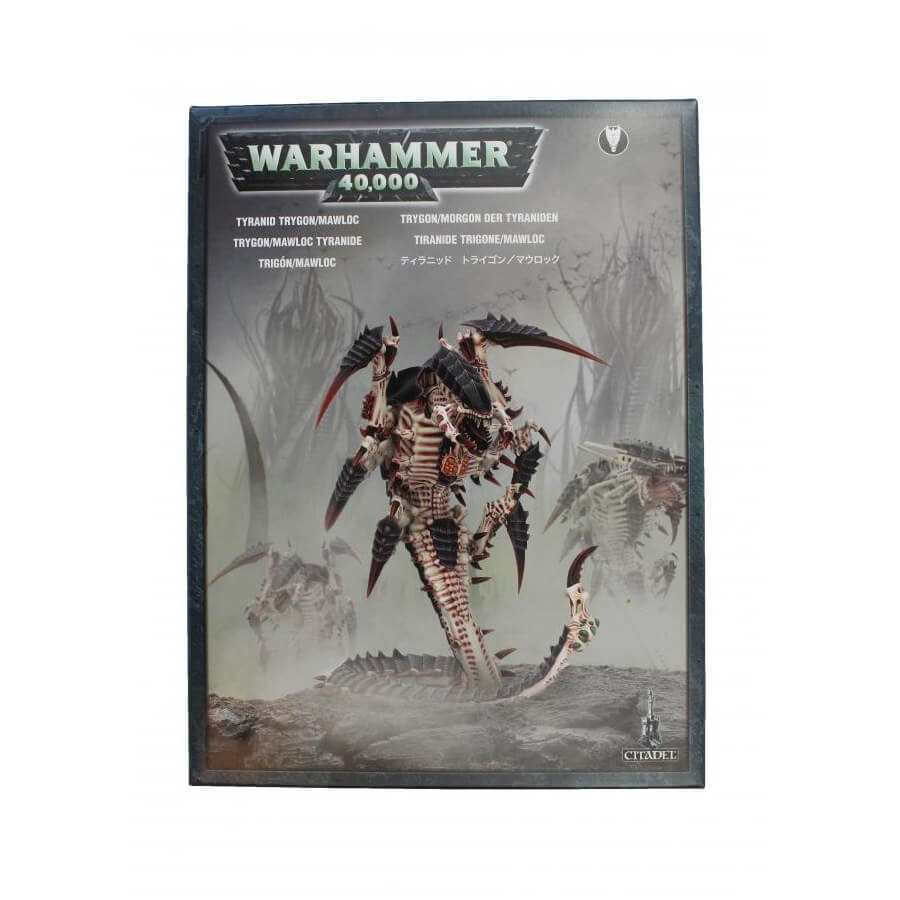
The Trygon, a nightmarish sight even among the fearsome Tyranids, boasts a myriad of horrifying features. From its menacing chitinous shell to the fleshy, skeletal underbody, and its gaping maw filled with razor-sharp teeth, every aspect exudes a terrifying aura. The ominous chimneys lining its back add to its otherworldly appearance. The model is strikingly posed, with raised limbs and an immense tail reminiscent of a cobra’s stance, making it a sinister and commanding addition to any Tyranid army.
Prepare to unleash this monstrous behemoth on the battlefield, as the Trygon showcases the raw power and malevolence of the Tyranid forces. Its presence alone is enough to send shivers down the spines of adversaries, for none can escape the wrath of this deadly predator.
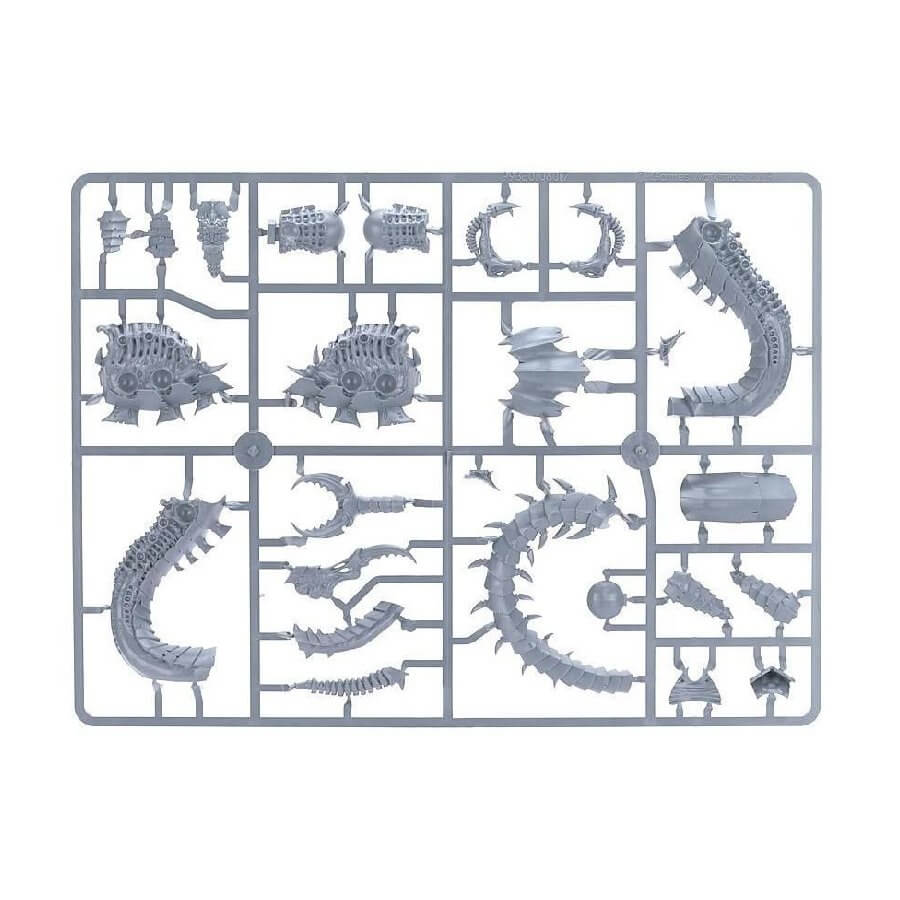
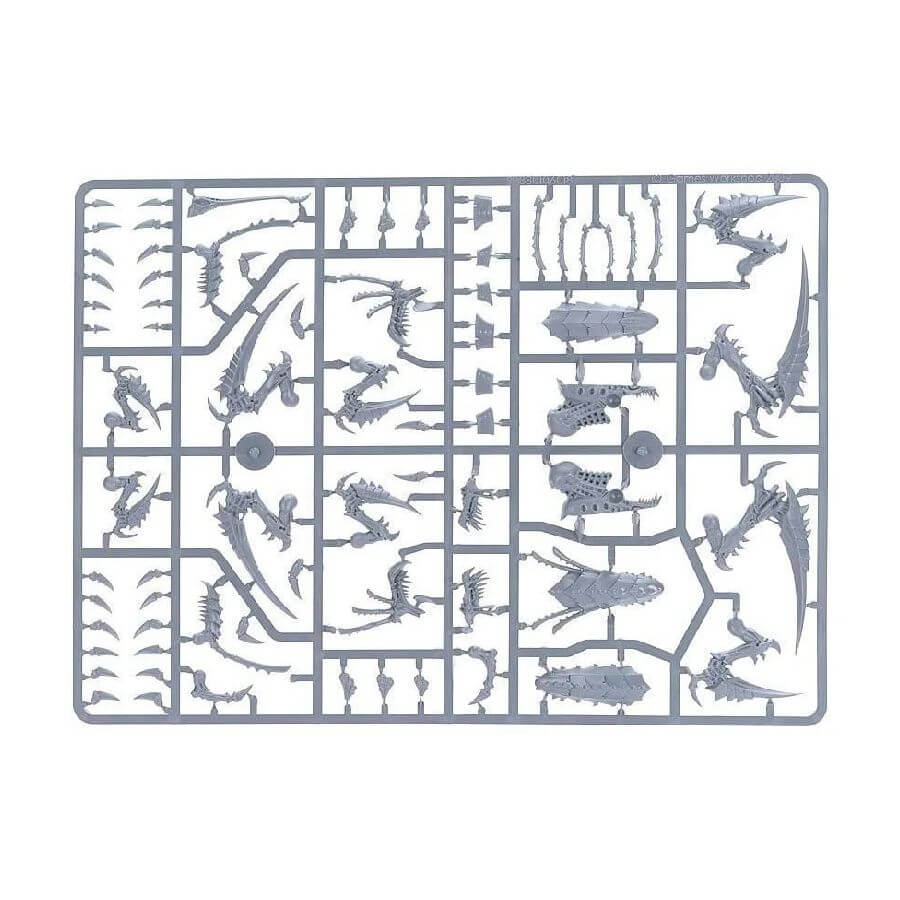
What’s in the Trygon box
- x97 plastic components with which to make either a Tyranid Trygon or Tyranid Mawloc.
- x1 Citadel 120mm Oval Base.
How to paint the Trygon set
- Step 1: Prime the Miniature
Start by applying a thin, even layer of primer to the Trygon miniature. Use either black or white primer based on the color scheme you want to achieve. Black primer gives a darker appearance, while white primer provides a brighter look. - Step 2: Base Coat – Dark Purple Carapace
Use a deep purple color like Xereus Purple to paint the Trygon’s carapace. Apply multiple thin coats to ensure smooth and even coverage. Make sure to leave any other areas that you plan to paint a different color, such as the skin and details. - Step 3: Base Coat – White Skin
For the Trygon’s skin, use a white color like Pallid Wych Flesh. Apply the white paint carefully, making sure to cover the skin areas while avoiding the already painted carapace. Multiple thin coats are essential for a clean and crisp white appearance. - Step 4: Define Details
With a smaller brush, paint the Trygon’s other details using appropriate colors. For example, you can use colors like Abaddon Black for the mouth and claws, Mephiston Red for the eyes, and Leadbelcher for any metallic parts. - Step 5: Shade the Carapace
Apply a wash of Druchii Violet to the dark purple carapace. The wash will settle into the recesses, adding depth and shadows to the Trygon’s armored exterior. - Step 6: Shade the Skin
Use a wash like Seraphim Sepia to shade the Trygon’s white skin. This will add definition and contrast to the skin texture. - Step 7: Highlights
After the shades have dried, go back and apply highlights to the carapace and skin. For the dark purple carapace, use a lighter purple shade like Genestealer Purple on the raised edges. For the white skin, use Pallid Wych Flesh to highlight the edges and create a smooth transition between the highlights and shaded areas. - Step 8: Finish the Details
Touch up any additional details like teeth, eyes, and other small features using appropriate colors. For example, you can use colors like Ushabti Bone for the teeth and Fire Dragon Bright for the eyes. - Step 9: Varnish and Display
Once you’re satisfied with the paint job, let the miniature dry completely. Then, protect your work by applying a coat of varnish. Choose either matte or gloss varnish based on your preference.