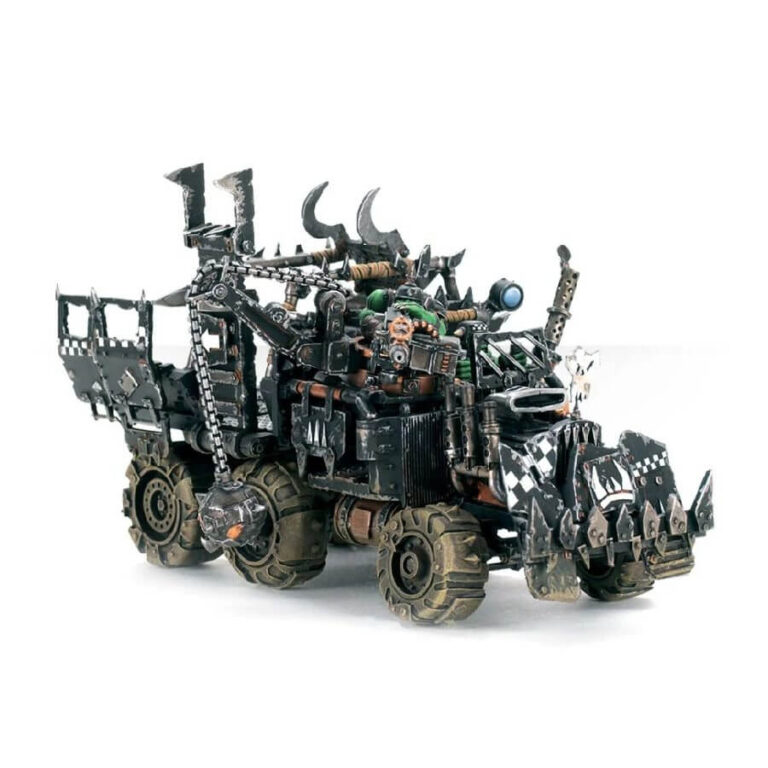
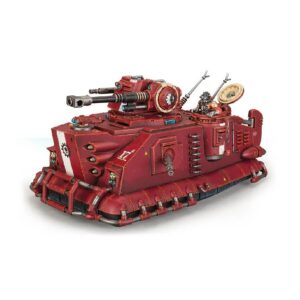
Trukks are purpose-built transport vehicles, designed to swiftly ferry hordes of choppa-wielding Boyz into the heart of battle. These rugged machines serve as a canvas for each warband and clan to showcase their unique style and preferences. A Goff trukk, for instance, prioritizes functionality with its spacious crew compartment, while the Evil Sunz favor speed, often outfitting their trukks with turbo-charged engines and a signature red paint job. Embracing their individuality, Ork clans unleash their creativity upon these roaring vehicles, adding a touch of flair to their unstoppable Waaagh!
What’s in the Trukk box
- x97 plastic components that make one Trukk model.
How to paint the Trukk set
- Step 1: Preparing the Trukk for Painting
Ensure the Trukk is clean and free of any mold lines or imperfections. Use a hobby knife to carefully remove any excess plastic or resin. Additionally, inspect the miniature’s components and make any necessary adjustments for easy assembly. - Step 2: Priming the Trukk
Apply a suitable primer, such as Chaos Black or Mechanicus Standard Grey, to the Trukk. This will create a solid base for the subsequent layers of paint. - Step 3: Painting the Body
Start by painting the Trukk’s body with a base coat of Mephiston Red, a bold crimson color that will form the foundation for the vehicle’s appearance. - Step 4: Adding Clan-Specific Colors
Refer to the lore and choose the appropriate colors for your Trukk based on its clan affiliation. For instance, if it belongs to the Evil Sunz, highlight the prominent surfaces with Fire Dragon Bright, a lighter shade of red. If it’s part of the Goff clan, focus on functional details and use a dark hue like Abaddon Black. - Step 5: Highlighting and Weathering
Once the base colors are dry, add highlights to make the Trukk’s design pop. Use lighter shades of the chosen colors to emphasize edges and raised areas. Additionally, consider adding weathering effects using techniques like dry brushing with Dawnstone or sponge weathering with Rhinox Hide to achieve a realistic look. - Step 6: Metallic Details
Paint the Trukk’s metallic elements, such as rivets, exhaust pipes, and weapons, with Leadbelcher, a metallic silver paint. This adds a touch of mechanical authenticity to the miniature. - Step 7: Applying Decals and Transfers
If your Trukk comes with decals or transfers, carefully apply them to the appropriate areas of the vehicle. This step adds additional details and markings, further enhancing its character. - Step 8: Sealing the Paint Job
To protect your hard work, apply a clear varnish or matte coat over the painted surface. This step helps prevent chipping and protects the paint job from wear and tear.

