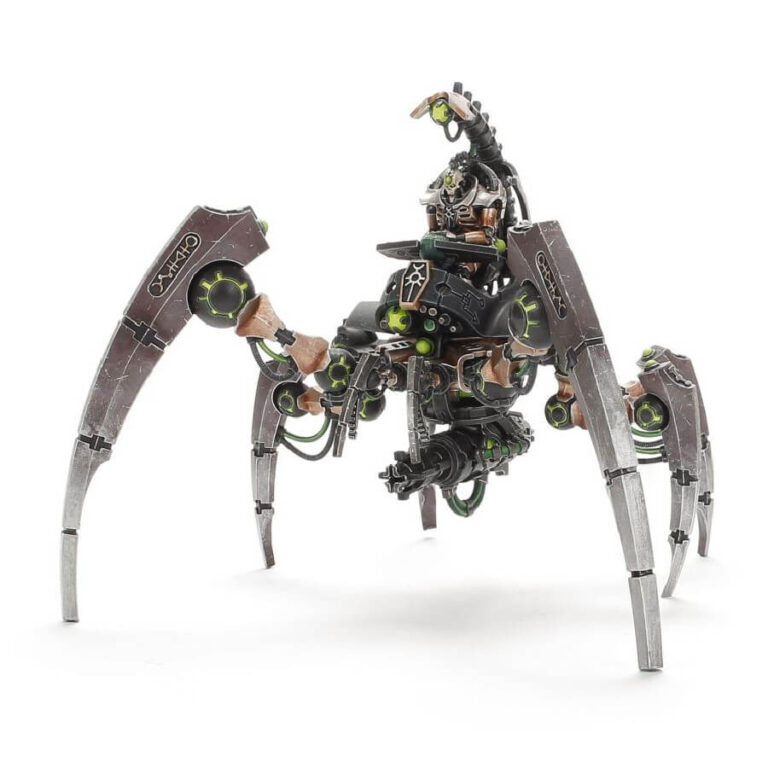
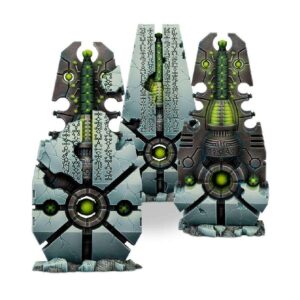
Despite its jerking gait, the Triarch Stalker defies expectations with its remarkable speed and precision. Its progress across diverse terrains is a testament to its mastery, outshining less advanced walkers and traversing obstacles with grace.
While the Triarch Stalker boasts versatility in armament, its true proficiency lies in dedicated tank-hunting. Swift and agile, it easily outmaneuvers bulkier tracked vehicles, allowing it to unleash its formidable firepower on the exposed sides and rear of targets.
Envision your Triarch Stalkers leading the charge in your Necron assault, surging ahead of your legion to confront resilient adversaries. Every Necron commander understands the necessity of countering tanks, and the Triarch Stalker’s specialized heat ray excels in this role. As tank numbers dwindle, it seamlessly transitions to eliminate infantry threats.
What’s in the Triarch Stalker box
- x75 plastic components with which to build one Necron Triarch Stalker.
- x2 Necron transfer sheets.
How to paint the Triarch Stalker set
- Step 1: Basecoat with Abaddon Black
Begin by applying a solid layer of Abaddon Black to the body and legs of the Triarch Stalker. This initial coat provides a strong foundation for your painting. - Step 2: Shading for Depth
Using a slightly thinned shade like Nuln Oil, carefully apply it to the recessed areas and joints of the Triarch Stalker’s body and legs. This shading technique enhances the contrast and adds depth, bringing out the details. - Step 3: Basecoat the Necron Pilot with Runelord Brass
Paint the Necron pilot with Runelord Brass. This metallic color provides a distinctive appearance for the pilot and contrasts well with the dark body of the Triarch Stalker. - Step 4: Adding Green Details
With Tesseract Glow, carefully paint the green details such as the eyes, energy sources, and glyphs on the Triarch Stalker. This vibrant color adds a striking contrast to the dark body, creating an otherworldly effect. - Step 5: Layering on the Green
Use a slightly lighter green, like Warpstone Glow, to layer the green details you painted in the previous step. Apply this color to the edges and raised areas of the green details. This technique enhances the glow and adds depth to the energy sources and glyphs. - Step 6: Shading the Green
Apply a thin wash of Coelia Greenshade to the green details. This shading technique adds depth and realism, making the energy sources and glyphs appear more intricate and dimensional. - Step 7: Final Highlights
For the ultimate highlights, use Moot Green to delicately accentuate the edges of the green details. This adds a final touch of brilliance, making the energy sources and glyphs truly pop. - Step 8: The Last Touches
Inspect your work and make any necessary touch-ups to ensure a clean and polished look. If desired, you can further enhance the model by adding a complementary base color and texture.
Once you’re done, apply a varnish, to protect your model against chipping during gameplay.

