Advertisement
Continue Reading Below


Warhammer 40K is a game of epic battles, strategic maneuvers, and immersive storytelling. One of the key elements that bring these aspects to life is the terrain on which these battles are fought.
Terrain miniatures and models not only enhance the visual appeal of the game but also play a crucial role in the strategy and dynamics of each battle.
Fortifications in Warhammer 40K are essential for providing defensive advantages and creating strongholds on the battlefield. These structures are designed to protect units, offer cover, and create strategic points that can turn the tide of battle.
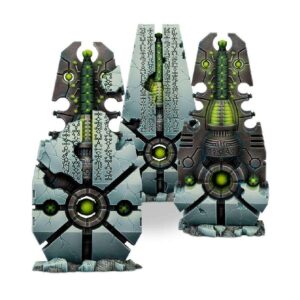
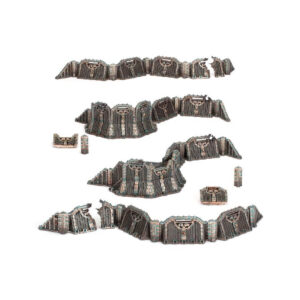
The Aegis Defense Line is one of the most iconic fortifications in Warhammer 40K. It consists of a series of modular barricades that can be arranged in various configurations to create defensive perimeters.
The Aegis Defense Line provides cover for infantry units, making it harder for enemy forces to inflict damage. Additionally, it can be equipped with a gun emplacement, such as an Icarus Lascannon or Quad Gun, offering anti-aircraft and anti-infantry capabilities.
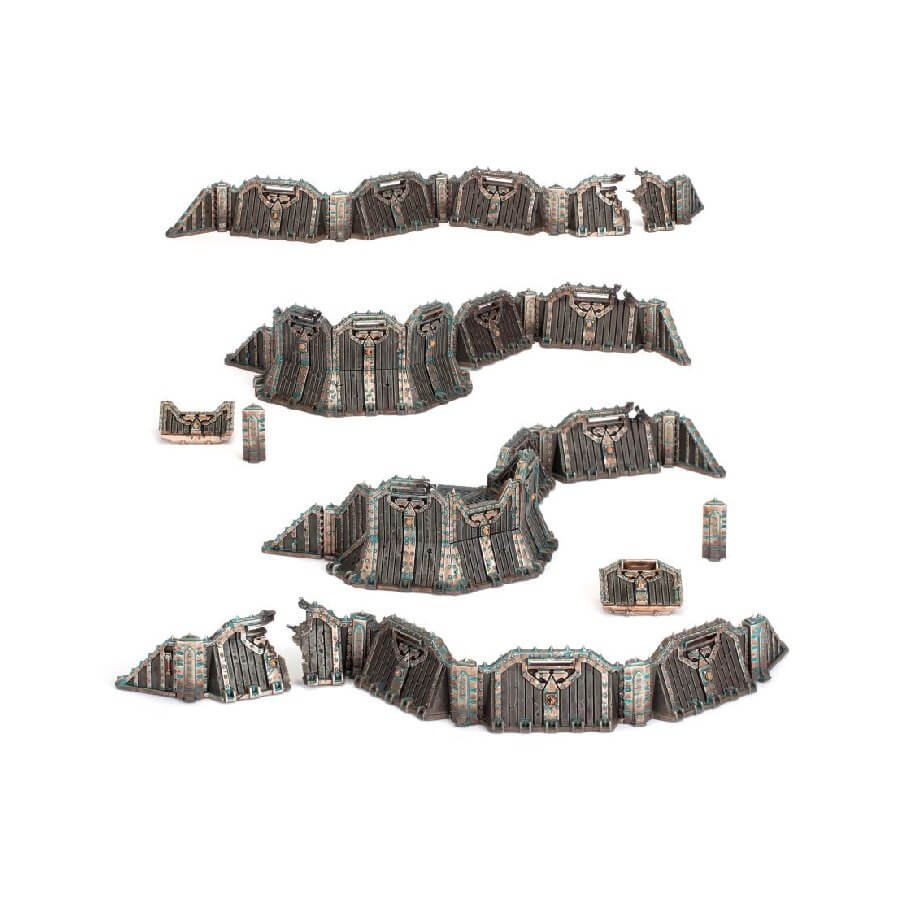
The versatility of the Aegis Defense Line makes it a popular choice for many players. It can be quickly set up to create chokepoints or protect key objectives.
For example, an Imperial Guard commander might use the Aegis Defense Line to fortify their position around a vital supply depot, ensuring that their troops remain protected while they fend off waves of Ork attackers.
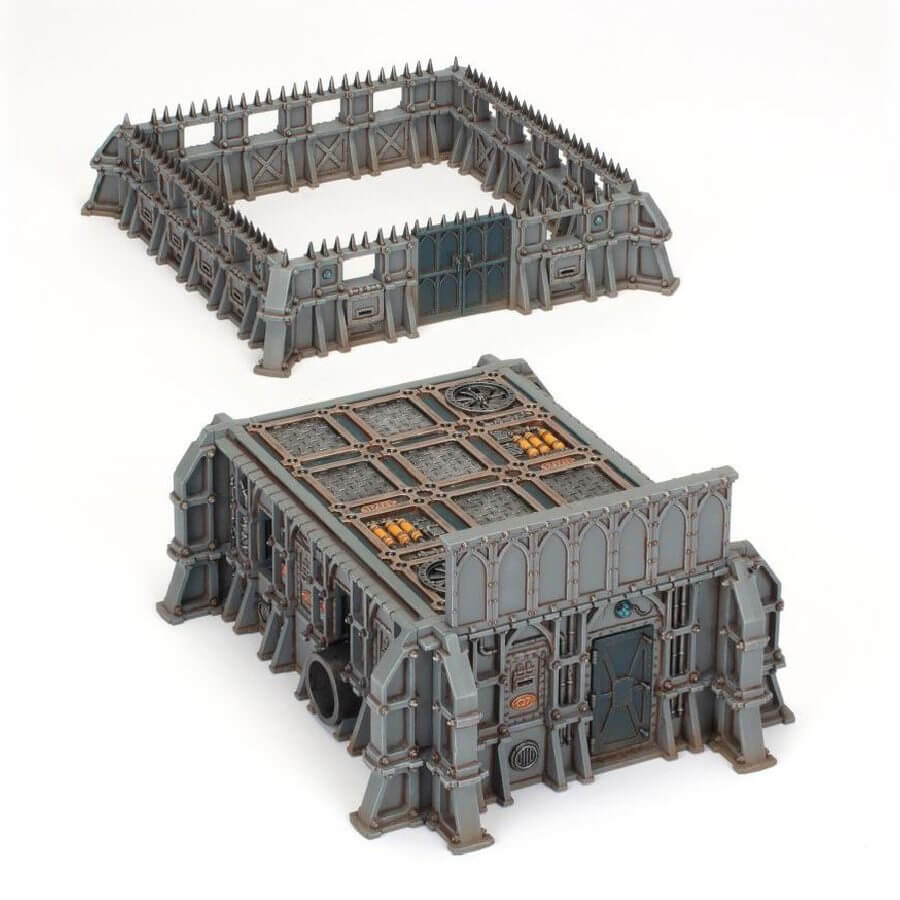
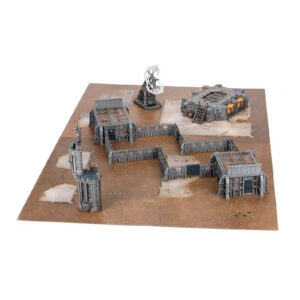
Bastions and bunkers are fortified structures that provide exceptional protection and strategic value.
These buildings are often equipped with heavy weaponry and are capable of withstanding significant damage.
Bastions are typically taller and more heavily armed than bunkers, offering elevated firing positions and a commanding view of the battlefield.
Bunkers, on the other hand, are more compact and can be concealed within the terrain. They offer excellent cover for infantry and can house various heavy weapons.
A Space Marine force might deploy a network of bunkers to create a defensive line, using the elevated firing positions to rain down bolter fire on advancing Tyranid swarms.
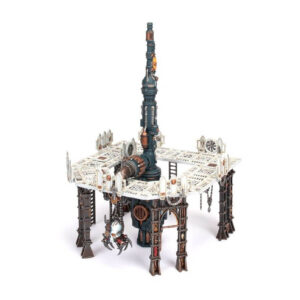
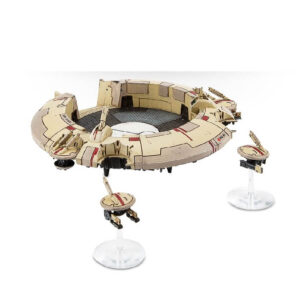
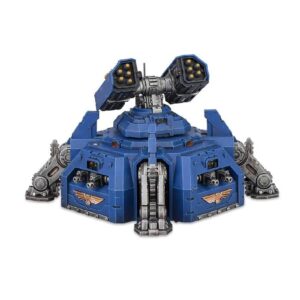
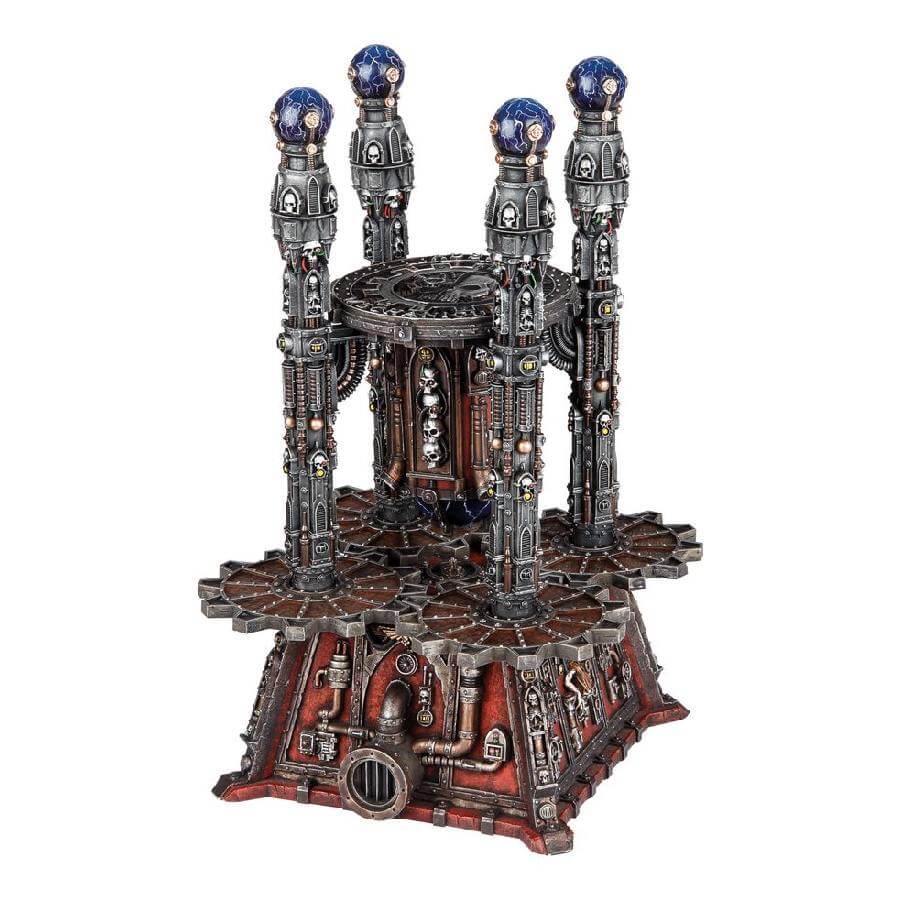
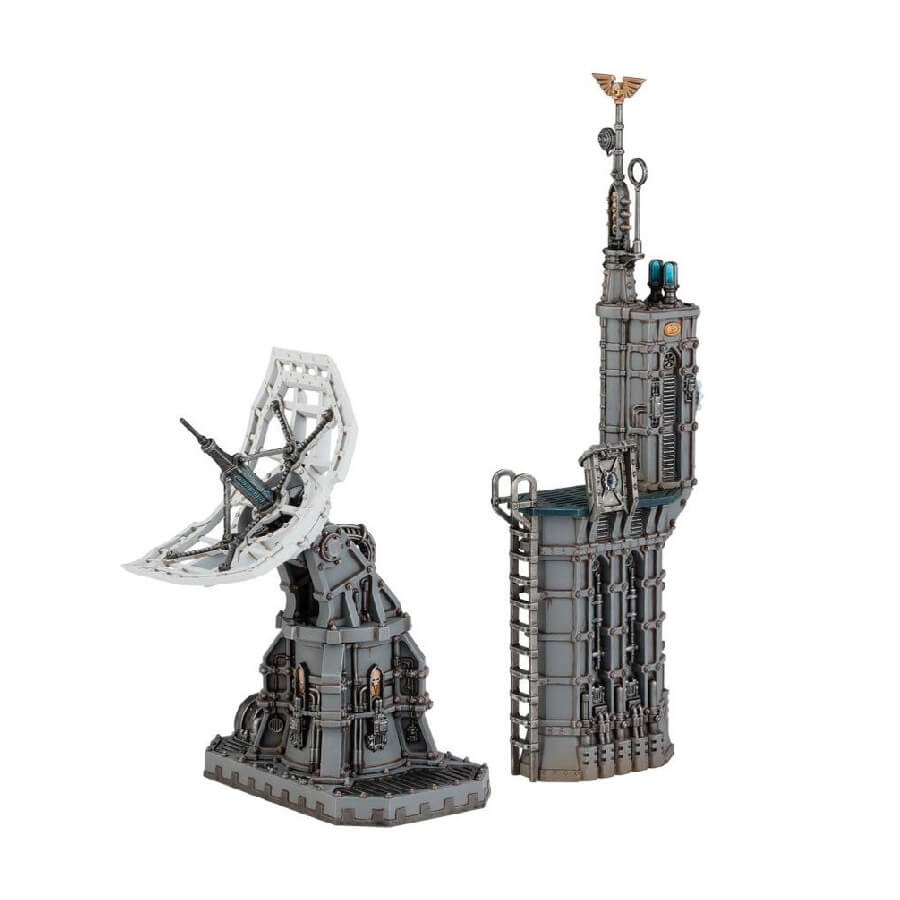
The Void Shield Generator is a unique fortification that projects a protective energy field, known as a void shield, over a designated area.
This shield absorbs incoming fire, providing a significant defensive advantage. Units within the shielded area are protected from harm until the void shield is breached.
Void Shield Generators are often used to protect critical assets or high-value targets. In a battle against Chaos forces, an Adeptus Mechanicus army might deploy a Void Shield Generator to safeguard their precious relics and artifacts, ensuring that they remain intact despite the onslaught of the enemy.
Creating and customizing fortifications is a rewarding aspect of the hobby. Many players purchase kits from Games Workshop or other manufacturers, which can be assembled and painted to match their army’s theme.
Customization allows players to add unique touches to their fortifications, such as battle damage, weathering effects, and personalized insignias.
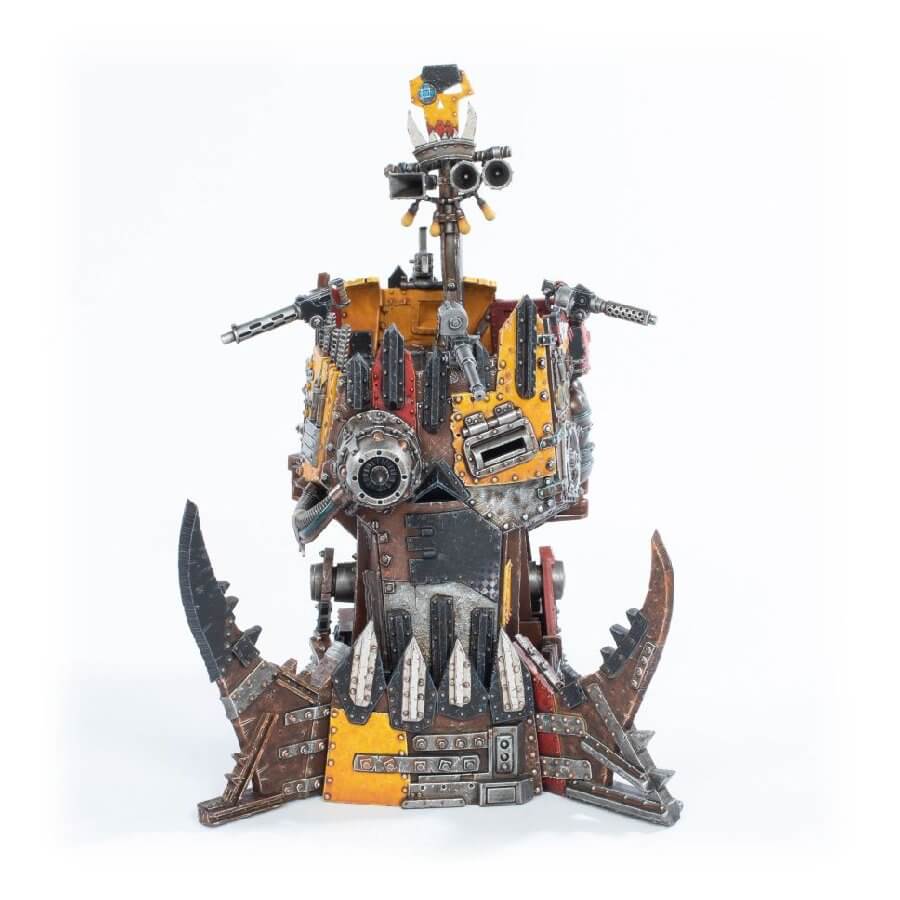
For instance, an Ork player might build a ramshackle fortification using bits of scrap metal, adding crude glyphs and graffiti to give it a distinctly Orky feel. On the other hand, an Eldar player might construct elegant, rune-covered barricades that blend seamlessly with their army’s aesthetic.
Fortifications play a vital role in Warhammer 40K tactics. Different factions utilize fortifications in unique ways to complement their strategies.
An Imperial Guard commander might use a network of bunkers and defense lines to create a stronghold, while an Ork Warboss might rely on crude barricades to protect their boyz as they charge into battle.
A notable example of fortifications in action is the Siege of Vraks, a prolonged campaign in which the forces of Chaos besieged an Imperial stronghold.
The defenders used a combination of bastions, bunkers, and Aegis Defense Lines to create a formidable defense, holding off the attackers for months. This battle highlights the importance of fortifications in shaping the outcome of a conflict.
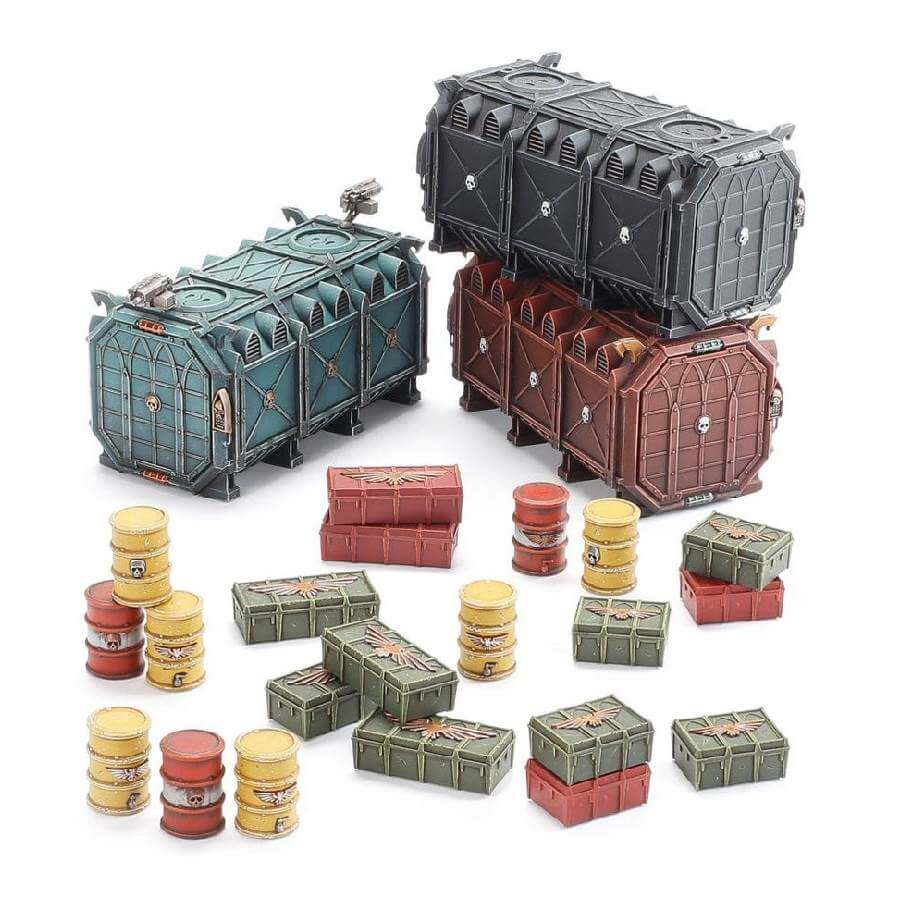
Obstacles are an essential aspect of Warhammer 40K terrain, used to disrupt enemy movements and create strategic challenges. These elements can slow down advancing forces, create chokepoints, and provide cover for units.
Barricades and barbed wire are common obstacles used to create defensive perimeters and control the movement of enemy troops. Barricades provide cover for infantry, while barbed wire slows down advancing units, making them more vulnerable to attack.
An Astra Militarum force might deploy a line of barricades and barbed wire to protect their trenches, forcing enemy units to navigate through the hazardous terrain. This delay can provide critical time for the defenders to bring their heavy weapons to bear and repel the attackers.
Tank traps and dragon’s teeth are obstacles designed to impede the movement of vehicles. Tank traps are typically made of concrete or metal and are placed in strategic locations to block the path of tanks and other armored vehicles.
Dragon’s teeth are large, pyramid-shaped obstacles that can halt the advance of even the most formidable war machines.
During a battle against the Necrons, a Space Marine force might deploy tank traps to create a defensive line, preventing the enemy’s Monoliths from reaching their position.
This allows the Space Marines to focus their firepower on the advancing infantry while keeping the enemy’s heavy vehicles at bay.
Cratered landscapes are created by explosions and artillery strikes, leaving behind a treacherous terrain filled with craters and debris. These obstacles can provide cover for infantry, disrupt line of sight, and create challenges for movement.
A Tau Commander might use cratered landscapes to their advantage, positioning their Fire Warriors in the craters to provide cover while they engage enemy forces at range.
The uneven terrain can also make it difficult for enemy units to advance, giving the Tau the upper hand in a defensive battle.

Creating realistic obstacles adds depth and immersion to the battlefield. Players can use various materials, such as foam, plastic, and metal, to construct barricades, tank traps, and other obstacles. Painting and weathering techniques can enhance the realism of these elements, making them look battle-worn and authentic.
Strategic placement of obstacles is crucial for maximizing their effectiveness. Placing barbed wire and barricades in chokepoints can funnel enemy units into kill zones, while tank traps can be used to protect vulnerable flanks. Players should consider the terrain and the objectives of the battle when positioning obstacles, ensuring that they complement their overall strategy.
Obstacles can have a significant impact on the outcome of a battle. They can slow down advancing forces, create defensive advantages, and force opponents to adapt their strategies. In some cases, the placement and utilization of obstacles can turn the tide of a battle, giving one side the upper hand.
During the Battle of Armageddon, the Imperial forces used a combination of obstacles and fortifications to defend Hive City from the Ork invasion.
Tank traps and barbed wire slowed the Ork advance, allowing the defenders to concentrate their firepower and hold the line. This battle demonstrates how obstacles can be used effectively to disrupt and delay enemy forces.
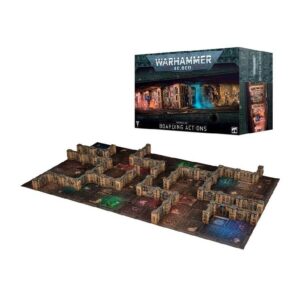
Buildings are a vital component of Warhammer 40K terrain, providing cover, vantage points, and thematic depth to the battlefield. These structures can range from ruined edifices to towering manufactorums, each offering unique advantages and strategic opportunities.
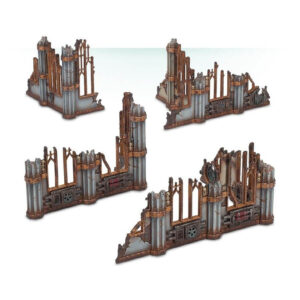
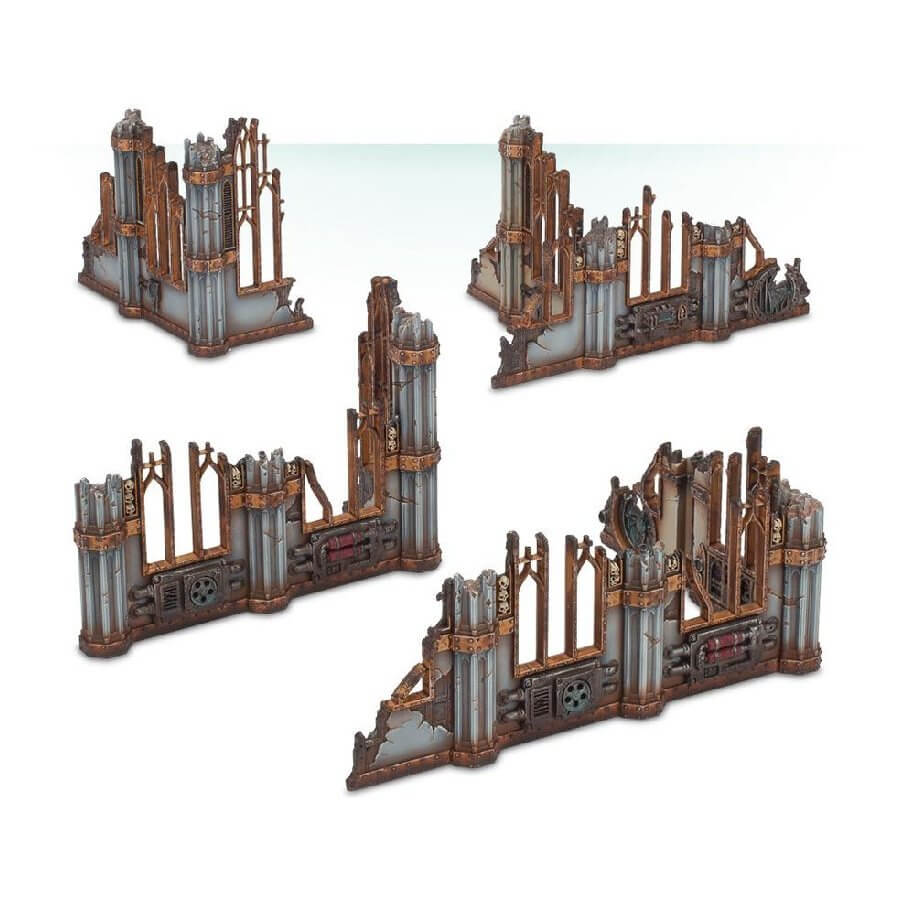
Ruins and abandoned structures are common sights on Warhammer 40K battlefields. These crumbling buildings provide cover for infantry units and can serve as strategic points for snipers and heavy weapons teams.
The broken walls and collapsed roofs create a dynamic environment, offering both challenges and opportunities for players.
In a battle against the Tyranids, an Imperial Guard force might take cover in the ruins of an abandoned city, using the crumbling buildings to shield themselves from the enemy’s bio-weapons.
The ruins offer excellent vantage points for heavy weapon teams, allowing them to target the advancing swarms from a safe distance.
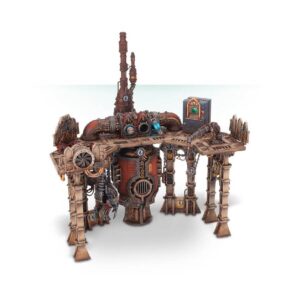
Manufactorums and hab-blocks are more intact structures that offer significant strategic value. Manufactorums are industrial buildings filled with machinery and equipment, often used by the Adeptus Mechanicus to produce weapons and armor. Hab-blocks are residential buildings that can house large numbers of troops.
A Space Marine force might deploy in a manufactorum, using the machinery as cover while they defend the building from enemy forces. The manufactorum’s elevated platforms and conveyor belts provide excellent vantage points for snipers and heavy weapons teams, allowing them to dominate the battlefield.
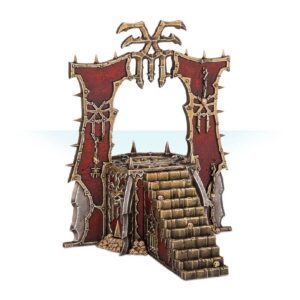
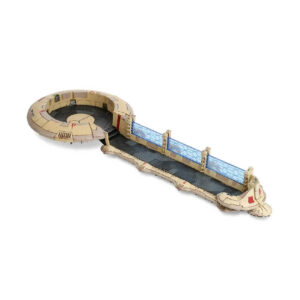
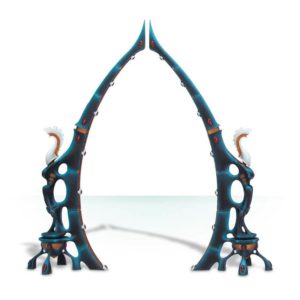
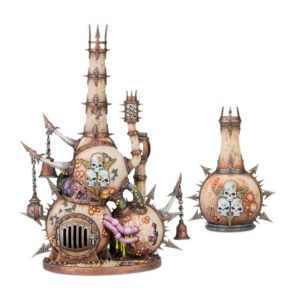
Imperial shrines and monuments are not only strategic assets but also hold great symbolic significance. These buildings are often erected to honor fallen heroes or important events, and their presence can inspire the troops defending them. Imperial shrines can also serve as focal points for narrative-driven battles, adding depth and meaning to the conflict.
In a battle against the forces of Chaos, an Adeptus Sororitas army might defend an Imperial shrine dedicated to Saint Celestine. The presence of the shrine boosts the morale of the defenders, giving them the resolve to stand firm against the heretical invaders. The ornate architecture and sacred relics within the shrine provide a dramatic backdrop for the battle, enhancing the narrative and immersion.
Constructing and customizing buildings is a central aspect of the Warhammer 40K hobby. Players can purchase kits from Games Workshop or scratch-build their structures using various materials.
The process of assembling and painting these buildings allows players to express their creativity and bring their vision of the 41st Millennium to life.
A Necron player might construct a monolithic tomb complex, adorned with glowing green runes and ancient hieroglyphs. The stark, metallic surfaces and eerie lighting create a foreboding atmosphere, perfectly suited to the Necrons’ aesthetic.
Conversely, an Ork player might build a ramshackle fort filled with crude barricades, rusty metal plates, and haphazardly placed glyphs, capturing the chaotic nature of the Orks.
Buildings play a crucial role in Warhammer 40K strategy, offering both defensive and offensive advantages. They provide cover for units, obstruct line of sight, and create opportunities for ambushes and surprise attacks. Players must consider the placement and utilization of buildings to maximize their effectiveness on the battlefield.
In a battle against the Dark Eldar, a Tau Commander might use a network of buildings to create a defensive perimeter, positioning their Fire Warriors on elevated platforms to gain a clear line of sight.
The buildings provide cover and protection, allowing the Tau to repel the enemy’s fast-moving raiders and skimmers.
A notable example of buildings influencing the outcome of a battle is the defense of Hive City during the Second War for Armageddon. The Imperial defenders used the towering buildings of the hive city to create chokepoints and ambushes, forcing the Ork invaders into narrow streets where they could be easily targeted.
The strategic use of buildings allowed the defenders to hold off the Ork hordes and ultimately secure victory.