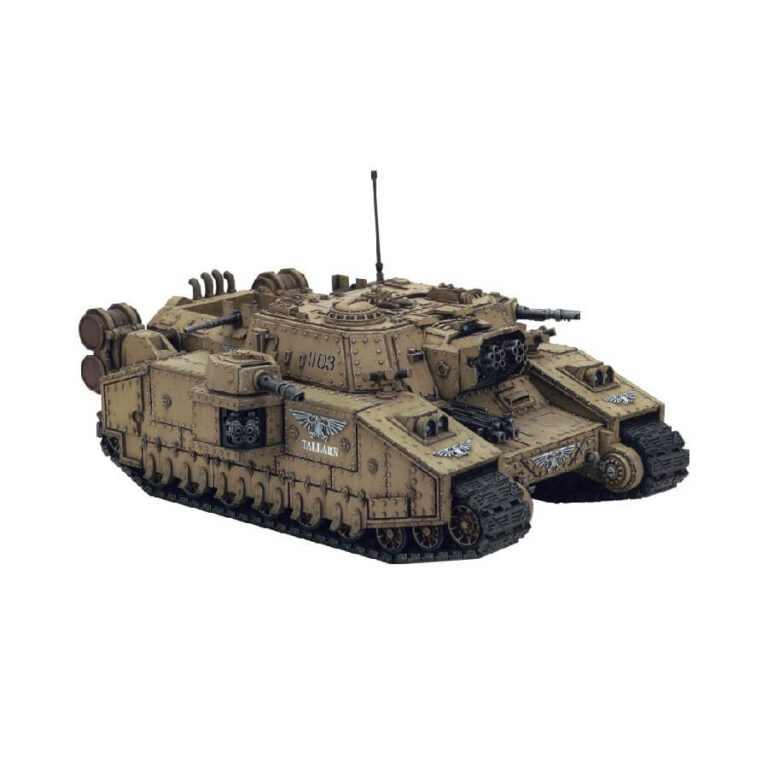
The Stormlord stands as the ultimate Astra Militarum assault vehicle, capable of delivering devastating firepower while transporting squads of warriors. From its firing steps, embarked squads can direct their own volleys at the enemy. However, the true spectacle lies in the twin barrels of the Stormlord’s vulcan mega-bolter, which unleash a hurricane of massive, mass-reactive shells, eclipsing all other firepower.
This gargantuan multipart plastic kit is a testament to Imperial engineering, crafting a super heavy Stormlord tank that can absorb punishment capable of annihilating a smaller army. If you seek a lynchpin for your armored column, the super heavy tank class is an exceptional choice. The Stormlord can both shock your adversaries and absorb incredible amounts of enemy firepower, thereby preserving the rest of your army.
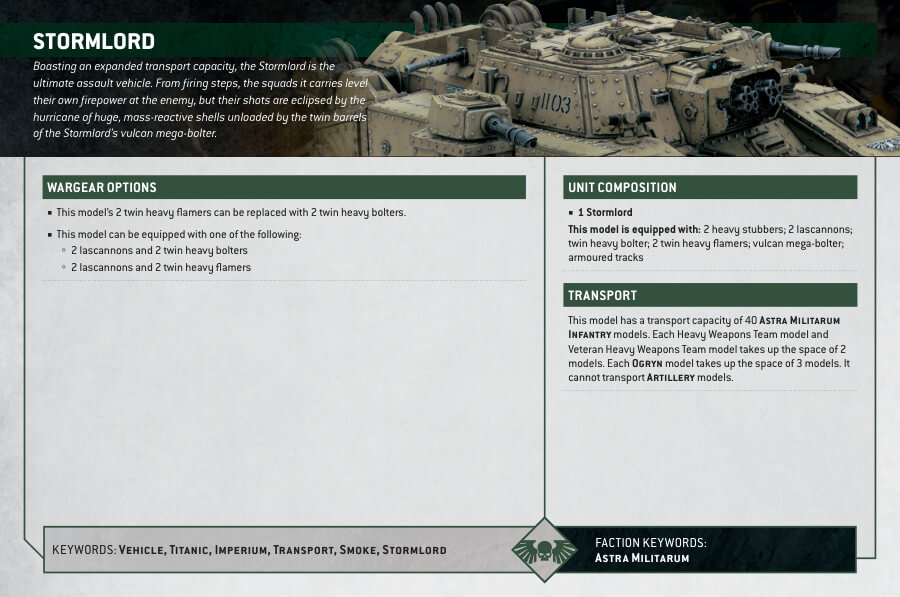
The Stormlord is armed to the teeth, featuring:
- A vulcan mega-bolter on the turret.
- Two lascannons mounted on side turrets.
- Twin heavy bolters adorning a forward hull turret.
- Two twin heavy flamers in sponson mounts, which can alternatively be replaced with twin heavy bolters.
- Additional lascannons, twin heavy bolters, or twin heavy flamers on extra sponsons.
Beyond its destructive capabilities, the Stormlord serves as a troop carrier, ferrying units into the heart of battle. It boasts a firing deck for embarked units, allowing them to contribute to the onslaught.
For those who appreciate the finer details, the kit includes cosmetic options such as extra stowage, additional armor plating for the treads, tow hooks, fuel canisters, and various choices for gunners and tank commanders in the hatches. You can even opt to build the tank commander on foot, armed with a bolt pistol or laspistol in one hand, and a power sword or pointing hand in the other.
As a bonus, your bits box will thank you for the surplus plastic components, providing ample extras for your future hobby projects.
This massive kit can alternatively build a variety of other super-heavy tanks:
- Baneblade – armed with a baneblade cannon for maximum versatility
- Banesword – armed with a quake cannon to punish vehicles and fortifications at extreme range
- Shadowsword– armed with a tank-slagging volcano cannon
- Doomhammer – armed with a titan-slaying magma cannon and troop-carrying capacity
- Stormsword – armed with a bunker-busting stormsword siege cannon
- Banehammer – armed with a tremor cannon to slow down an aggressive opponent
- Hellhammer – armed with a hellhammer cannon for close-quarters warfare
Stormlord Datasheets
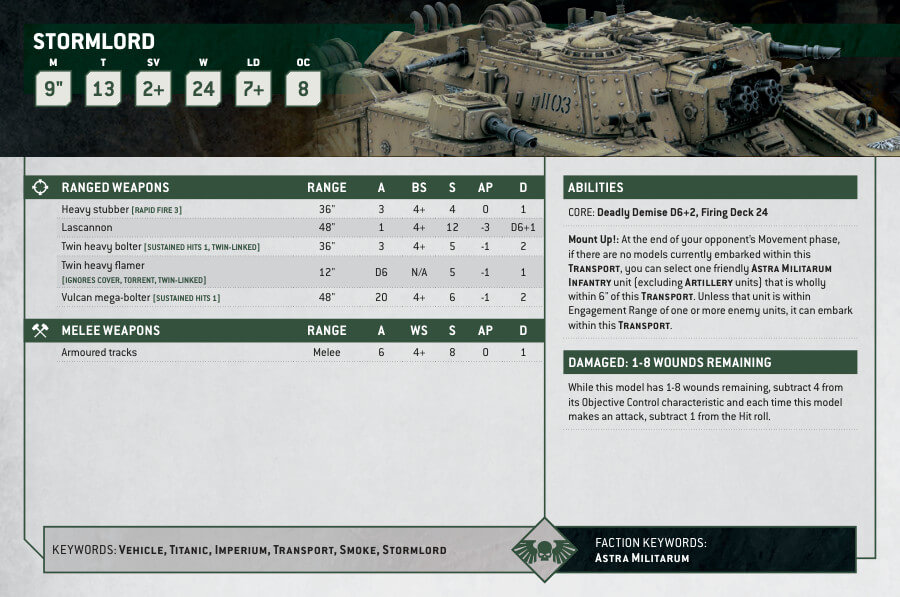
What’s in the Stormlord box
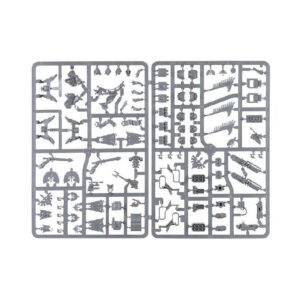
- x381 plastic components to buid the Stormlord tank.
- x1 Baneblade Transfer Sheet with 253 transfers.
How to paint the Stormlord Set
- Step 1: Prime the Model
Apply a thin, even coat of primer to the Stormlord tank model. Use a brown or tan primer spray to create a suitable base for the brownish-sandy color scheme. - Step 2: Basecoat the Tank
Choose a brownish-sandy color as the basecoat for the tank’s main body. Apply the basecoat evenly using a medium-sized brush. Examples of suitable basecoat colors include Zandri Dust or XV-88. - Step 3: Highlight the Tank
To add depth and dimension, select a lighter shade within the brownish-sandy range. Use a dry brushing technique to gently brush the lighter color onto raised edges and details. This technique helps create highlights and shadows. For example, you can use Ushabti Bone or Baneblade Brown for highlighting. - Step 4: Paint the Details
Focus on painting the smaller details of the tank using appropriate colors. For metallic parts like gun barrels or tracks, you can use Leadbelcher or a similar metallic color. Use a fine detail brush for precision. - Step 5: Apply Shading
To enhance the realism of the tank, apply shading using a wash. Choose a brown wash, such as Agrax Earthshade, and carefully apply it to recessed areas and panel lines. This will add depth and definition to the model. - Step 6: Weathering (Optional)
If desired, you can add weathering effects to simulate wear and tear. Dry brush a lighter or darker shade of brown onto edges and areas prone to damage. This technique can create the appearance of chipped paint or exposed metal. Experiment with different levels of weathering to achieve the desired effect. Aditionally, you can use Typhus Corrosion or Ryza Rust for this, add drops of Stirland Mud on the armor or even paint the tracks with that to simulate mud. The limit is your imagination! - Step 7: Varnish (Optional)
Consider applying a varnish to protect your painted tank. Select a matte varnish to maintain the realistic appearance of the tank. Follow the instructions provided by the varnish manufacturer for proper application.

