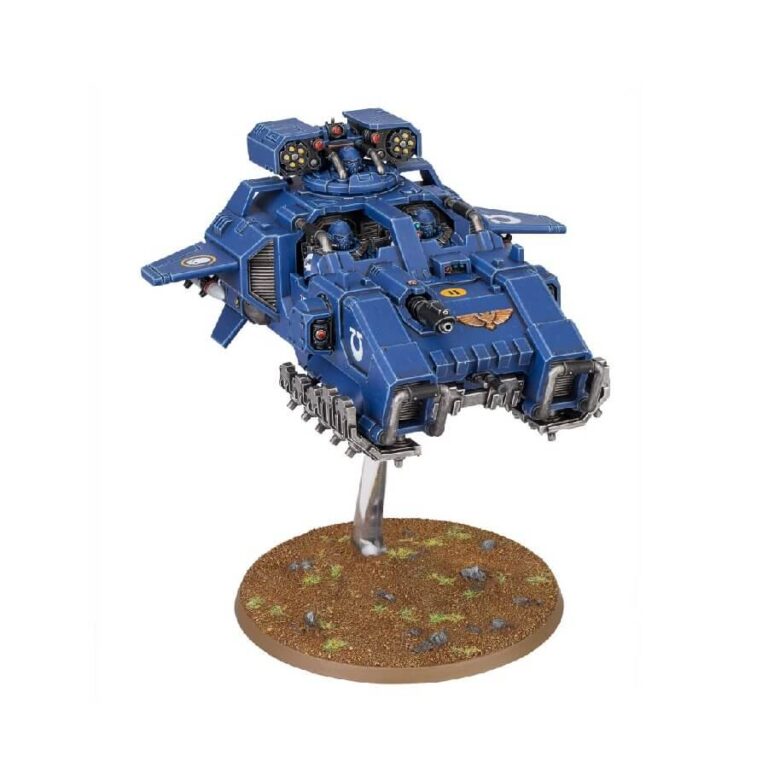
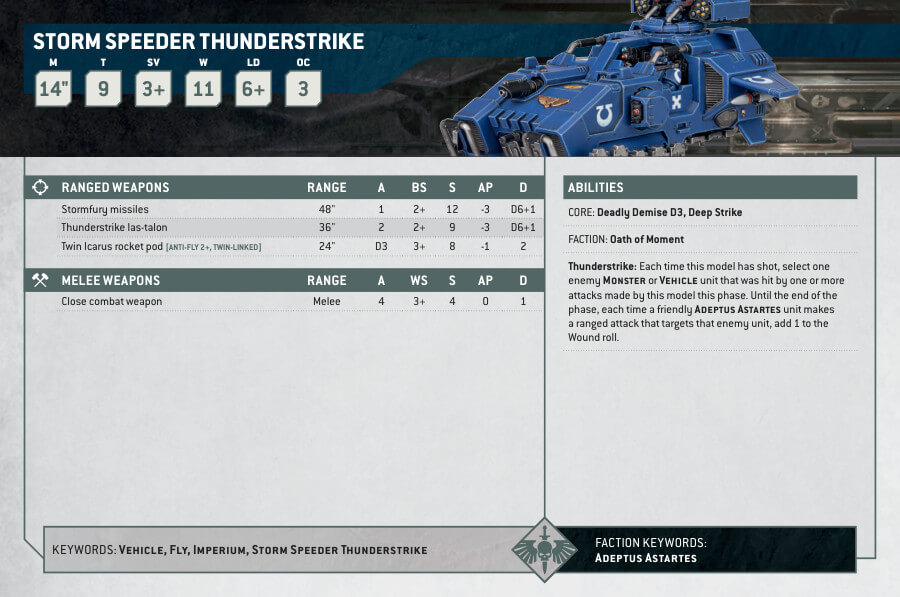
The Space Marines Storm Speeder Thunderstrike is a fast-moving tank hunter that specializes in targeting weak spots in enemy armor, fuel tanks, and missile hoppers, effectively destroying the enemy’s armored breakthrough attempts with its potent weaponry. This variant of the Storm Speeder is ideal for players who are facing heavily armored vehicles in battle. The Storm Speeder Thunderstrike is equipped with stormfury missiles, a thunderstrike las-talon, and a twin icarus rocket pod. The gun platform can be built to move, which can be an effective intimidation tactic against your opponents.
Storm Speeder Thunderstrike Datasheets
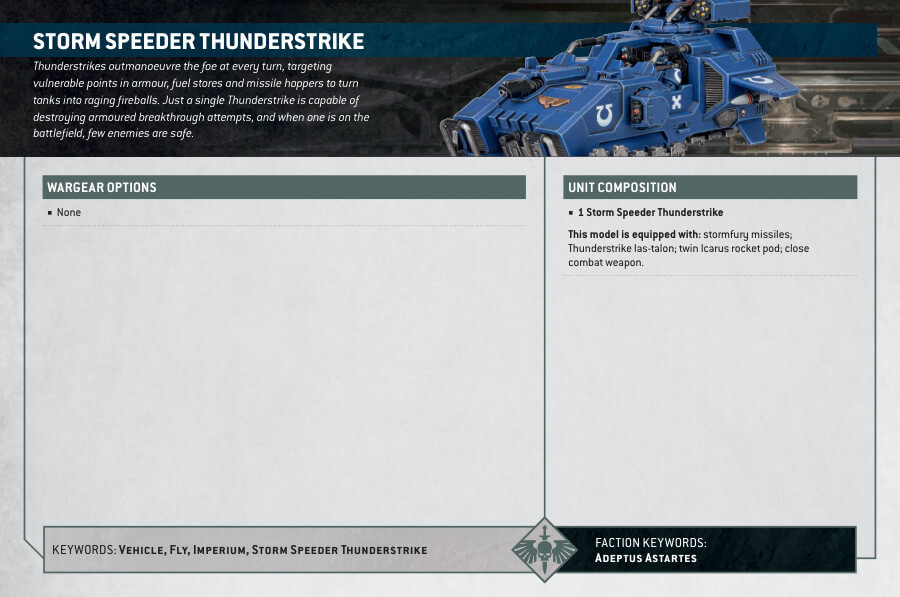
What’s in the Storm Speeder Thunderstrike box
- x94 components that can be used to build a Storm Speeder Thunderstrike. The gun platform can be built to move, which can be used to intimidate opponents by having the heaviest weaponry pointing right at their units. The same kit can also be used to build the Storm Speeder Hailstrike or Storm Speeder Hammerstrike, giving players the flexibility to customize their army according to their needs.
- x1 Citadel 90mm Round Base
- x1 Flying Stem to give the model stability and height
How to paint the Storm Speeder Thunderstrike Set
- Step 1: Prime the miniature
Prime the Storm Speeder Thunderstrike with a black or gray primer to create a base for the paint. - Step 2: Basecoat the main colors
Use Kantor Blue for the main hull, Warplock Bronze for the metallic areas, and Mephiston Red for any additional details like weapon casings or markings. - Step 3: Apply washes
Apply Nuln Oil wash over the entire miniature to add depth and shading. Use Agrax Earthshade on the metallic areas to enhance the weathered effect. - Step 4: Highlight the colors
Using Fenrisian Grey, carefully highlight the edges of the hull and other raised areas to create a subtle contrast and add dimension to the model. Use Runelord Brass to highlight the metallic parts. - Step 5: Paint the details
Use Retributor Armor for any gold details, such as the trim or insignias. Use Abaddon Black for any small details like the cockpit windows or gun barrels. - Step 6: Weathering and effects
Add weathering effects with stippling or dry brushing techniques using Mechanicus Standard Grey or Dawnstone to create a worn and battle-damaged appearance. - Step 7: Finishing touches
Paint the base in a suitable color, such as Armageddon Dust, and add texture with static grass or small rocks for added realism. Finally, apply a protective coat of varnish to seal the paint and protect the miniature.

