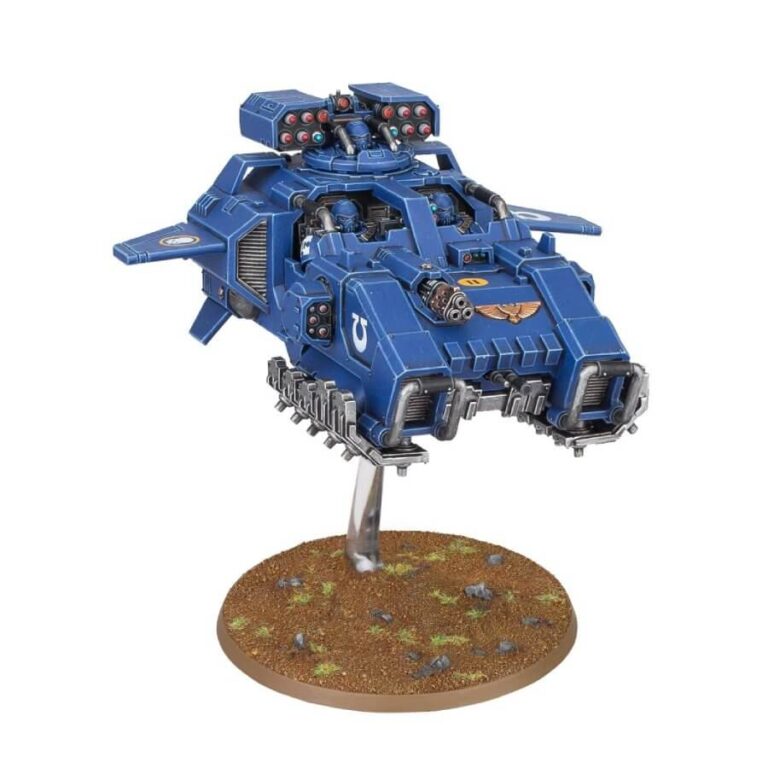
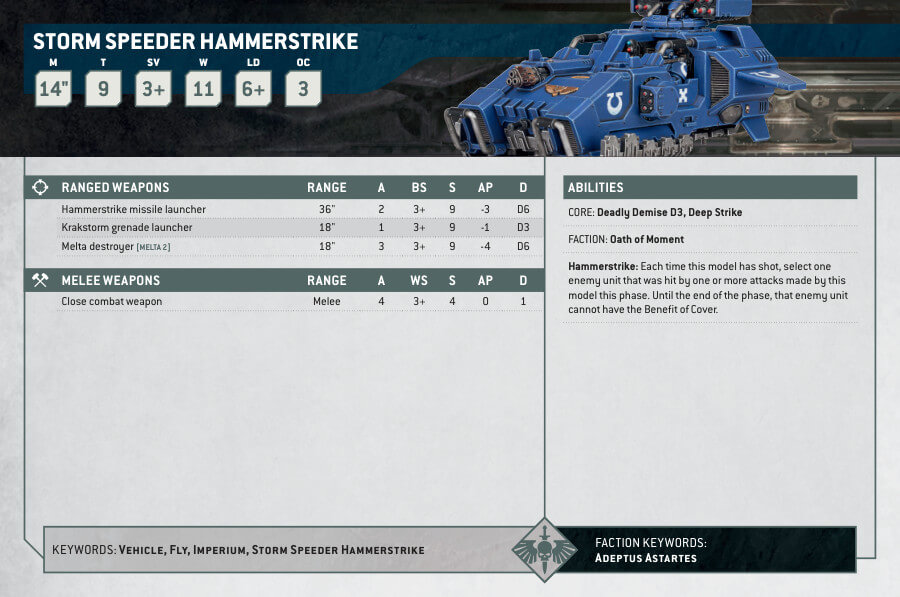
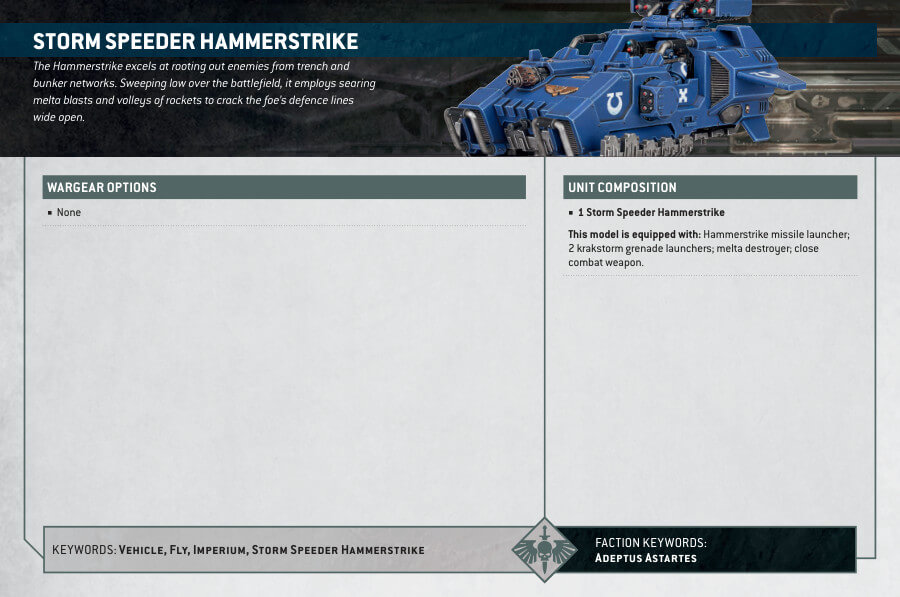
The Storm Speeder Hammerstrike is a variant of the Storm Speeder designed to break through defensive fortifications. It is armed with a hammerstrike missile launcher, two krakstorm grenade launchers, and a melta destroyer, making it perfect for rooting out enemies from trench and bunker networks. This kit includes 94 components and allows the gun platform to be built to move. This version of the Storm Speeder is ideal for dealing with a dug-in foe with lots of fortifications to contend with. Intimidate your opponents by having your heaviest weaponry pointing right at their units!
Storm Speeder Hammerstrike Datasheets
What’s in the Storm Speeder Hammerstrike box
- x94 components that can be used to build a Storm Speeder Hammerstrike.
The Storm Speeder Hammerstrike is equipped with a dual ironhail heavy stubber, an onslaught gatling cannon, and two fragstorm grenade launchers.The ability to shift the gun platform allows for intimidation of adversaries by having the heaviest weapons aimed directly at their units.The Storm Speeder Hailstrike and Storm Speeder Thunderstrike may both be constructed with the kit. - x1 Citadel 90mm Round Base.
- x1 Flying Stem.
How to paint the Storm Speeder Hammerstrike Set
- Step 1: Prime the miniature
Spray the Storm Speeder Hammerstrike with a black or white primer to provide a base for the paint. This helps the paint adhere better to the surface. - Step 2: Base coat the armor
Use a base coat of Macragge Blue to paint the main body and armor plates of the Storm Speeder. Apply an even layer of paint, ensuring full coverage. - Step 3: Highlight the armor
Using Fenrisian Grey, carefully apply highlights to the edges and raised areas of the armor plates. This will add depth and dimension to the model. - Step 4: Paint the details
Use Abaddon Black to paint the cockpit, weapons, and any other small details on the Storm Speeder. Take your time and use a fine brush for precision. - Step 5: Add metallic accents
Apply a thin layer of Runefang Steel to the metallic areas, such as the engine components, gun barrels, and trim. This will give them a metallic shine. - Step 6: Wash for shading
Using a wash like Nuln Oil, carefully apply it over the entire model. This will settle into the recesses and crevices, creating shadows and adding depth. - Step 7: Add decals or freehand designs
If desired, apply decals or use a fine brush to paint any specific markings or designs on the Storm Speeder. This adds character and personalization to the model. - Step 8: Finish with a clear coat
Once the paint is dry, apply a clear coat of varnish to protect the paint job and add a subtle sheen. Citadel’s Munitorum Varnish is a suitable option.

