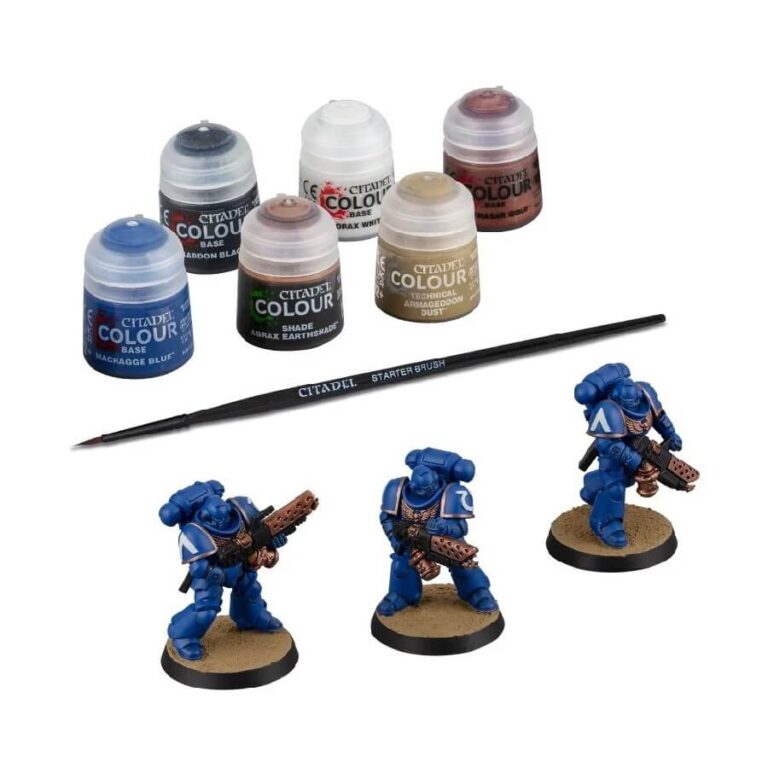
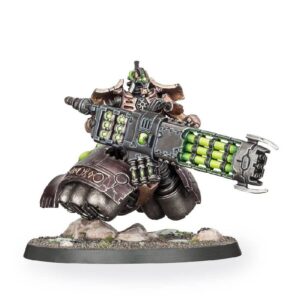
Begin your collection of Space Marines with this exceptional box set. Inside, you’ll find three plastic Infernus Marines, each expertly crafted with unique poses that capture their resolute stance in the face of the enemy. To prepare them for battle, the set includes all the paints you need, as well as a paintbrush to kickstart your painting journey. Assembling these models is a breeze, as they are push-fit, requiring only clippers—no glue, no mess.
Armed with their powerful pyreblasters and holstered bolt pistols, the Infernus Marines are ready to lay waste to their adversaries. The intricately detailed armor of these miniatures showcases moulded squad markings and proudly displays the iconic symbol of the Ultramarines Chapter, making it a joy to bring these captivating details to life through painting. Each miniature is supplied with appropriate bases to complete their striking appearance.
With the Infernus Marines set, you’ll dive headfirst into the action-packed world of Primaris Space Marines, armed with an elite squad ready to unleash devastation upon your foes. Don’t miss out on this fantastic opportunity to start your collection and command these fierce warriors on the battlefield.
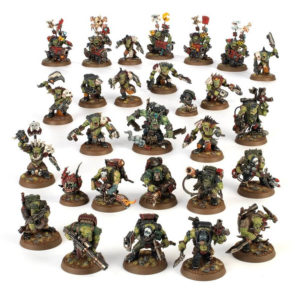
You may also like this set:
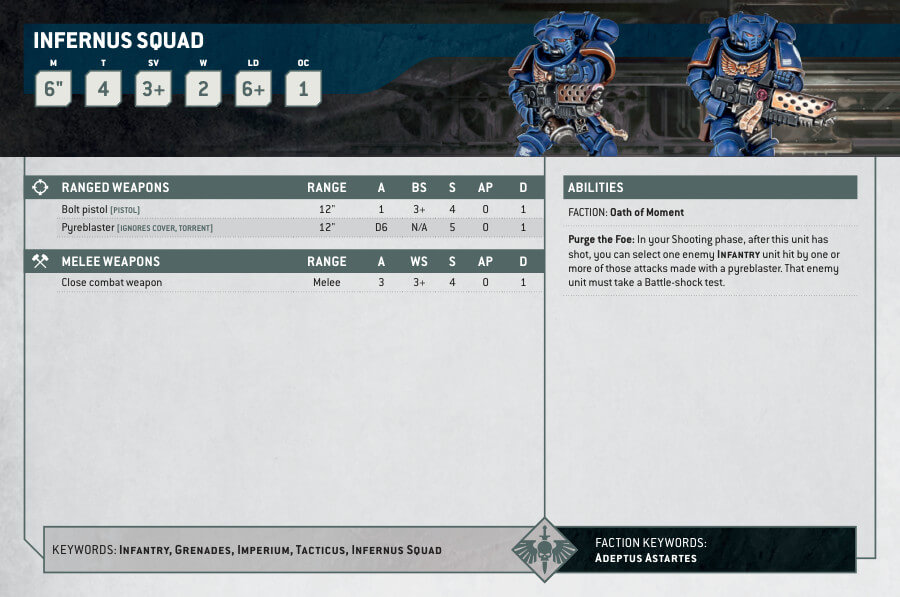
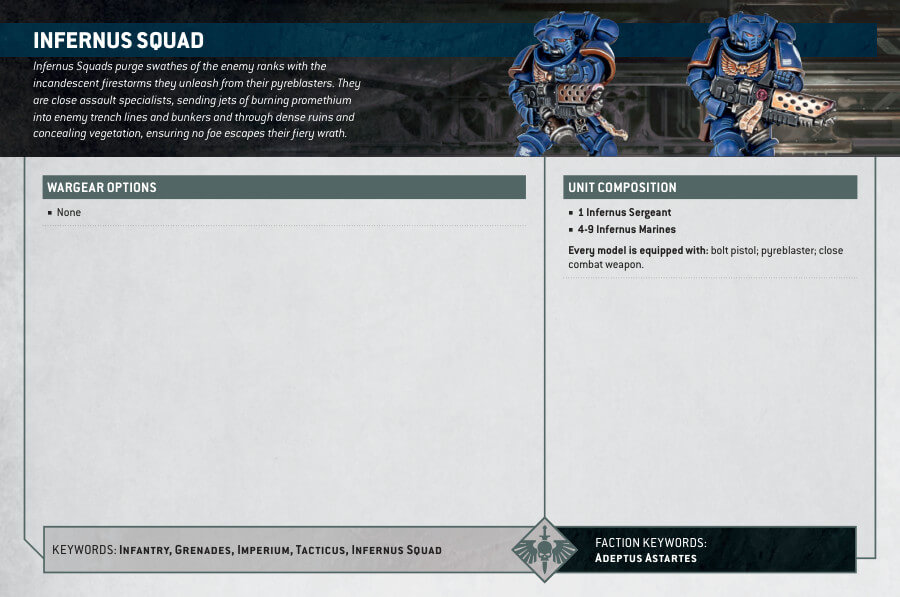
Infernus Marines Datasheets
What’s in the Space Marines: Infernus Marines + Paints Set box
- x20 plastic components that make 3 Infernus Marines.
- x3 Citadel 32mm Round Bases to put your models on.
- x6 Citadel Colour paints that are supplied in 12ml pots, and feature the essential colours needed to paint these miniatures as Ultramarines. Here are the paints:
How to paint the Infernus Marines using the paints included in the set
- Step 1: Priming the Model
To start, apply Corax White to your Infernus Marines. This step creates a smooth base coat for the subsequent layers of paint, ensuring better adhesion and a consistent finish. - Step 2: Painting the Armor
Next, use Macragge Blue to paint the armor of the Marines. Apply this color evenly, covering the entire surface of the armor. If needed, apply multiple thin coats for a smooth and vibrant finish. - Step 3: Adding Detail
Now it’s time to add detail using Balthasar Gold. Use this paint to accentuate the trim on the armor, the bolt pistol casings, and other golden elements. Take your time to ensure precise application, filling in all the desired areas. - Step 4: Enhancing Depth
To enhance depth and shading, apply a wash of Agrax Earthshade. This step involves carefully brushing the shade over the armor and gold areas, allowing it to flow into the recesses and crevices. This adds shadows and brings out the fine details of the model. - Step 5: Painting Black Details
Use Abaddon Black to paint areas that require a black color, such as the bolter barrels and holstered pistol. Take care to stay within the intended areas, avoiding smudging neighboring colors. - Step 6: Creating a Base Texture
For the base, use Armageddon Dust to create a textured effect. Apply this paint evenly, achieving a sandy or dusty appearance that complements the model. - Step 7: Highlighting with Drybrushing Corax White(optional)
To further highlight the model, use drybrushing techniques with Corax White. Gently dip a dry brush into the paint and lightly brush it over raised areas of the model, such as edges and details. This technique creates highlights and makes the details stand out.

