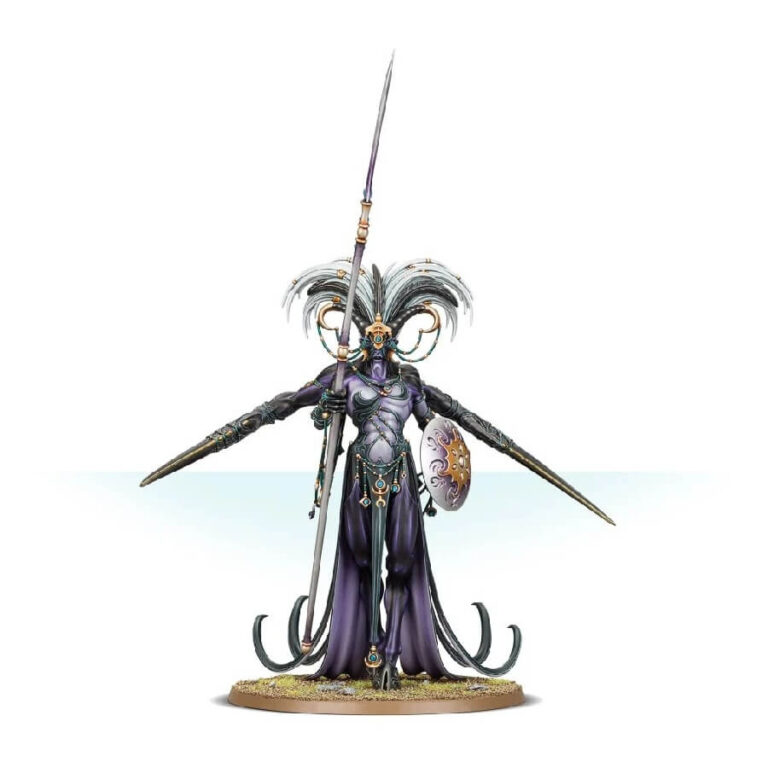
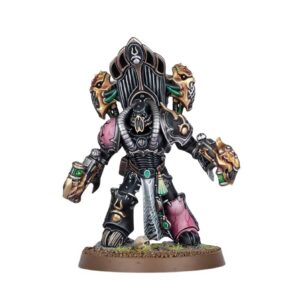
Renowned as the Monarch of the Hunt, Shalaxi Helbane is a formidable weapon wielded by Slaanesh against the Daemons of other Chaos Gods. With heightened senses and a record of countless victories, this commanding warrior stands as an unparalleled monster hunter.
Shalaxi Helbane possesses unmatched prowess as a duelist and shares the speed, lethal nature, and magical abilities of a typical Keeper of Secrets. This champion of the Dark Prince excels in both Warhammer 40,000 and Warhammer Age of Sigmar, posing a formidable challenge to Bloodthirsters, Hive Tyrants, and Stardrakes alike. Adding Shalaxi Helbane to your Slaanesh or Chaos Daemons army will elevate its power and strategic value.
What’s in the Shalaxi Helbane box
- x51 plastic components that make Shalaxi Hellbane, and includes a choice of wargear: a shining aegis or a living whip. Alternatively, this kit can also build a Keeper of Secrets.
- x1 Citadel 100mm round base
How to paint the Shalaxi Helbane set
- Step 1: Basecoat the model with a pale white color, such as Celestra Grey, to create a smooth foundation for subsequent layers.
- Step 2: Apply a wash of purple ink, like Druchii Violet, to the recessed areas of the model, enhancing the shadows and creating a vibrant contrast with the pale white base.
- Step 3: Use a lighter shade of purple, such as Genestealer Purple, to highlight the raised areas of the model, adding depth and dimension.
- Step 4: Paint the armor and weapons with metallic silver paint, such as Runefang Steel, to give them a sleek and reflective appearance. You can also use Daemonette Hide for the armor to give this guy the classic Slaanesh look.
- Step 5: Apply a thin layer of gloss varnish to the armor and weapons to simulate a polished finish, adding a touch of luxury to the model.
- Step 6: Paint the details, such as the eyes and claws, with a bright, contrasting color like Black Legion to make them stand out.
- Step 7: Highlight the edges of the model using a lighter shade of the base color, such as Ulthuan Grey, to create a crisp and defined look.
- Step 8: Add additional details, such as gemstones or patterns, using colors like Screamer Pink or Retributor Armour to bring out the intricate design elements of the model.
- Step 9: Apply a final layer of matte varnish to the entire model to protect the paintwork and provide a unified, non-reflective finish.

