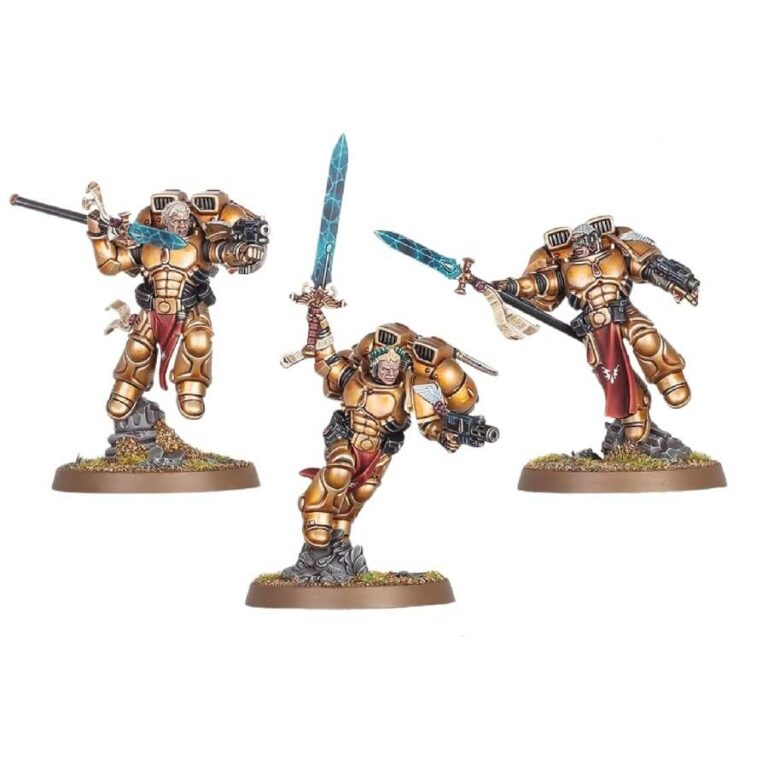
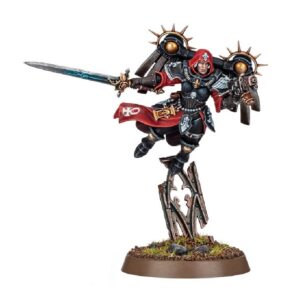
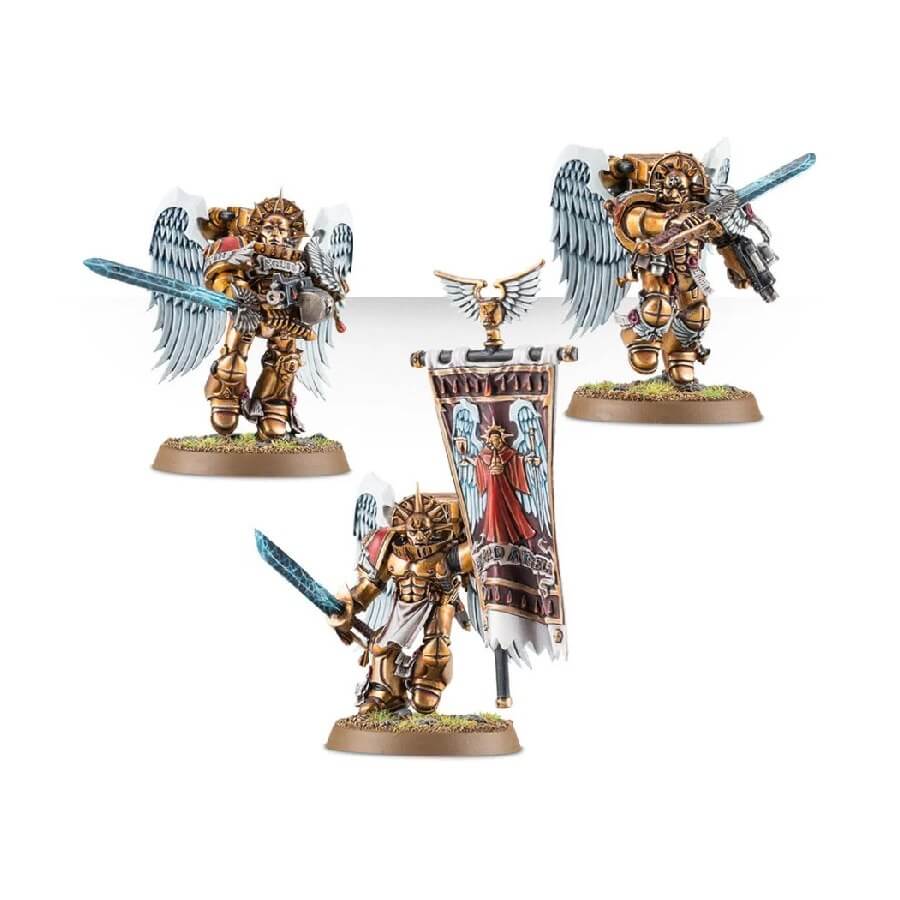
The Sanguinary Guard is the most elite force within the Blood Angels chapter, composed of mortals-turned-gods who have achieved legendary status among their brethren. They are equipped with powerful wrist-mounted Angelus boltguns that allow them to wield crackling power glaives with their free hands. Their combat prowess is awe-inspiring, and their deeds on the battlefield are celebrated as heroic legends.
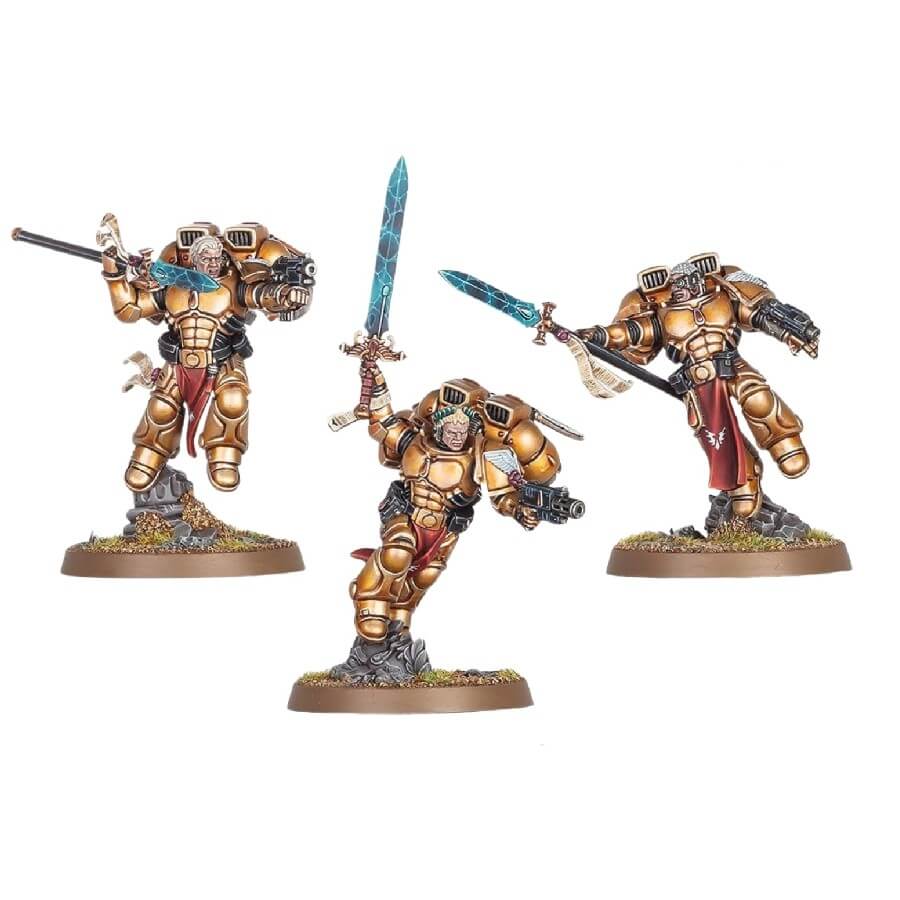
Sanguinary Guard Old vs New Models
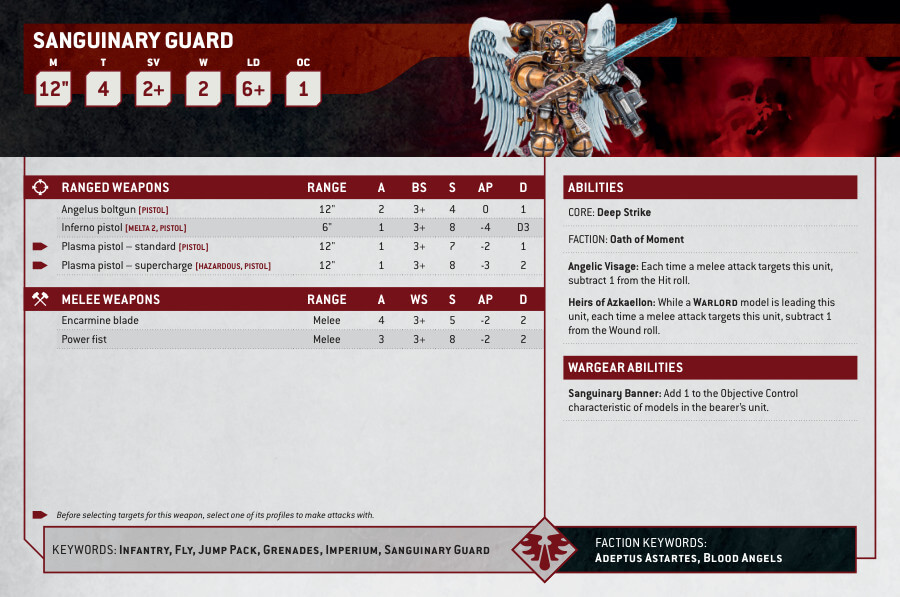
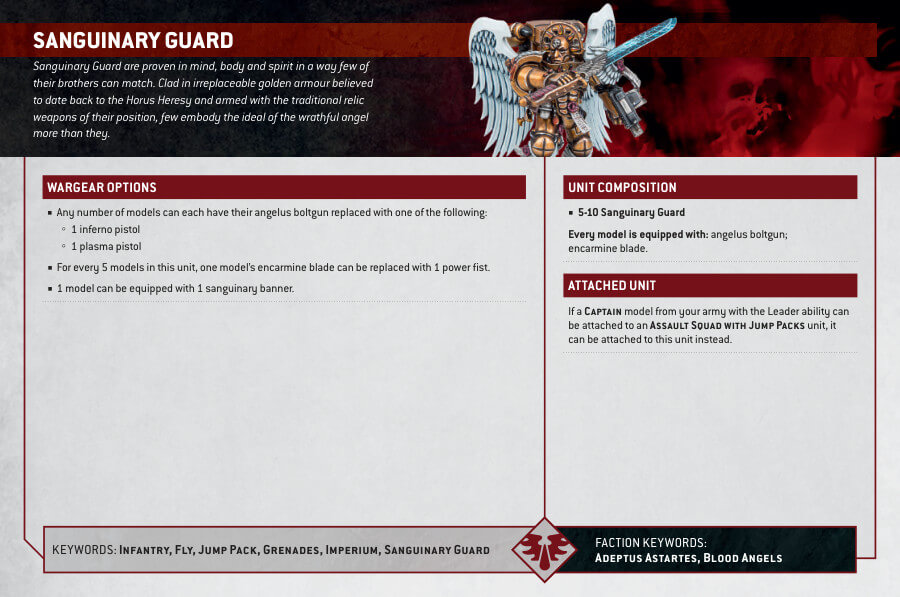
Sanguinary Guard Datasheets
What’s in the (old) Sanguinary Guard box
- x95 plastic components that make 5 Blood Angels Sanguinary Guards.
- x5 Citadel 32mm round bases.
How to paint the Sanguinary Guard
- Step 1: Primer Coat
Begin by applying a thin, even coat of Chaos black spray to all the miniatures in your Sanguinary Guard set. Primer helps the paint adhere and gives a consistent base for your colors. - Step 2: Base Coat – Armor
With the primer in place, paint the armor of the Sanguinary Guard with a base coat of gold, such as a bright metallic paint like Retributor Armour. Ensure you cover all the armored areas evenly. - Step 3: Shading – Armor
Enhance the depth and details of the gold armor by applying a shade of brown, like Agrax Earthshade. Focus on the recesses and crevices of the armor, allowing the shade to settle and create shadows. - Step 4: Layer – Armor
To add highlights and dimension to the gold armor, layer it with a lighter gold, such as Liberator Gold. Focus on the raised areas and edges for a shining effect. - Step 5: Painting Details
For the red details on the Sanguinary Guard’s armor, like their wings and shoulder pads, use a base coat of red, such as Mephiston Red. Ensure clean and even application for a crisp appearance. For the parchments or cloth elements, use Wraithbone. - Step 6: Shading – Red Details
Enhance the red details by applying a shade of red, like Carroburg Crimson. Focus on the areas that should appear darker and recessed. - Step 7: Layer – Red Details
Highlight the red areas with a lighter red, such as Evil Sunz Scarlet. Apply this sparingly to the raised portions for depth. - Step 8: Painting Wings and Feathers
For the angelic wings and feathers on the Sanguinary Guard, use a base coat of white, like Corax White. Ensure full coverage on these large, intricate areas. - Step 9: Shading – Wings and Feathers
Enhance the wing and feather details by applying a shade of Nuln Oil. Focus on the areas where shadows would naturally fall. - Step 10: Layer – Wings and Feathers
Highlight the wings and feathers with a lighter white, such as White Scar. Apply this to the raised portions for a feathered and luminous effect. - Step 11: Painting Weapons and Metallic Details
For the weapons and metallic elements, use a base coat of silver, such as Leadbelcher. Ensure smooth coverage on these parts. - Step 12: Shading – Weapons and Metallic Details
Enhance the metallic details by applying a shade of black, like Nuln Oil. Focus on the crevices and edges to create contrast. - Step 13: Layer – Weapons and Metallic Details
Highlight the weapons and metallic areas with a lighter silver, such as Stormhost Silver. Apply this sparingly to the raised portions for a polished look. - Step 14: Painting the Bases
Consider using texture paints like Astrogranite Debris or Armageddon Dunes to create a realistic terrain effect on the bases. Apply the chosen texture paint evenly across the base. - Step 15: Protective Seal
To safeguard the integrity of your Sanguinary Guard set, apply a protective varnish. This will shield the miniatures from wear and tear. Consider using a varnish that aligns with your desired finish, whether it’s glossy or matte, to suit your preference. Ensure the miniatures are completely dry before applying the seal.

