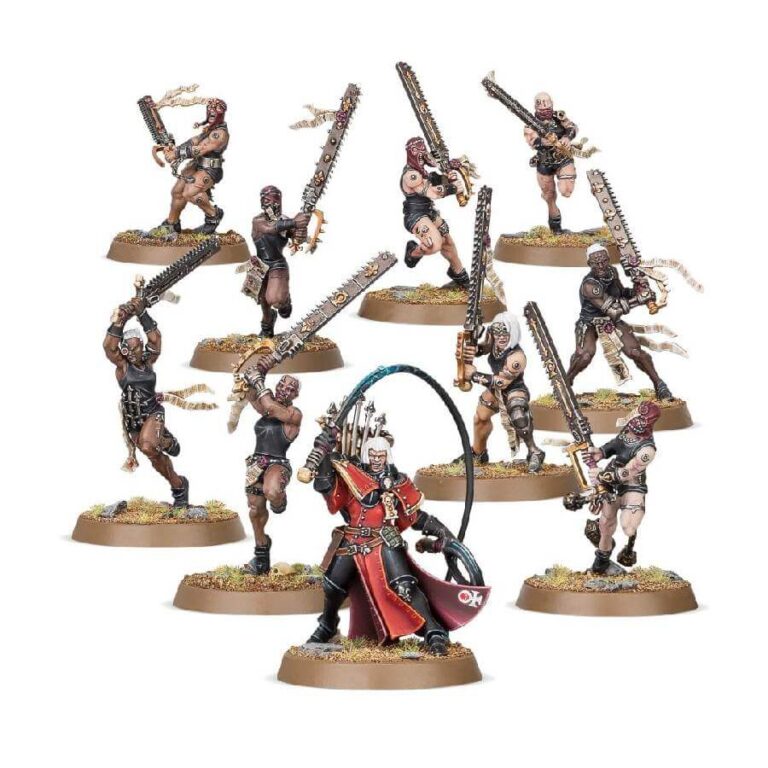
Within the ranks of the Adepta Sororitas, those who have failed to uphold the strict codes of service are deemed Repentia, their wargear taken and their ties severed from their former Orders. United with fellow fallen sisters, they form squads where they have a chance to absolve their transgressions through the spilling of the faithless blood. Through acts of exceptional bravery and merciless combat, a Repentia can emerge from the shadows of her past, as exemplified by Celestine, The Living Saint, who once walked the path of repentance.
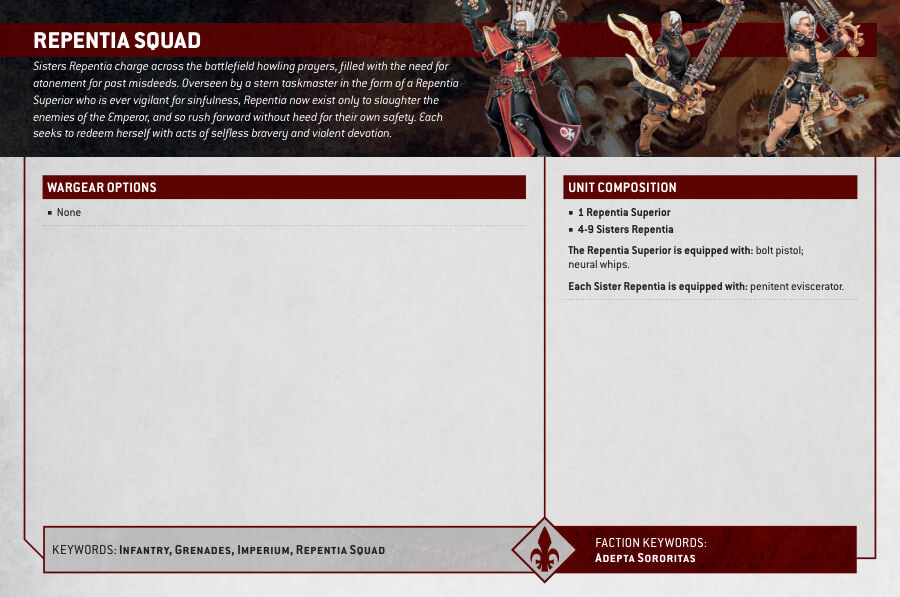
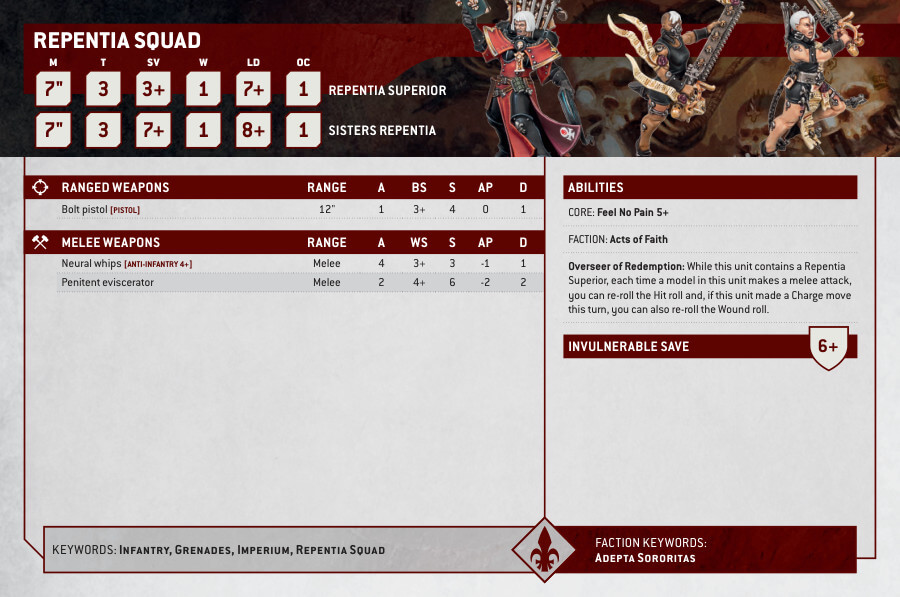
Repentia Squad Datsheets
What’s in the Repentia Squad box
- x95 plastic components, providing everything you need to assemble the Repentia squad.The kit allows you to build nine Repentia warriors equipped with penitent eviscerators, offering a range of arm options for increased diversity in your squad.
The Repentia Superior carries dual neural whips, with one coiled and the other in mid-lash, but can also wield a holy tome as an alternative.Customize the Repentia Superior further by choosing between two different heads, with or without a helmet. - x1 Citadel 32mm Round Base for the Repentia Superior
- x9 Citadel 28.5mm Round Bases for the Repentia warriors.
How to paint the Repentia Squad Set
- Step 1: Prime the miniatures
Spray the miniatures with a black or white primer to create a base for the paint. - Step 2: Paint the base colors
Use Khorne Red for the armor and cloth areas, and Leadbelcher for the metal parts of the eviscerators. Use Rakarth Flesh for the skin and Mechanicus Standard Grey for the neural whips. - Step 3: Apply washes
Use Nuln Oil to apply a wash over the entire miniature, focusing on the recessed areas to add depth and shading. Apply Agrax Earthshade to the metal parts for a weathered look. - Step 4: Highlight the details
Use Evil Sunz Scarlet to highlight the red areas, and Administratum Grey to highlight the skin and neural whips. Use Ironbreaker to highlight the metal parts. - Step 5: Add additional details
Paint the eyes with Yriel Yellow and apply a dot of White Scar to create a glowing effect. Use Reikland Fleshshade to add a wash over the skin areas for a natural look. - Step 6: Paint the base
Paint the base with Astrogranite texture paint and dry brush it with Karak Stone for a rocky appearance. Add tufts of grass or other scenic elements for added realism. - Step 7: Varnish the miniatures
Apply a layer of varnish to protect the paint job and give the miniatures a matte or gloss finish, depending on your preference.

