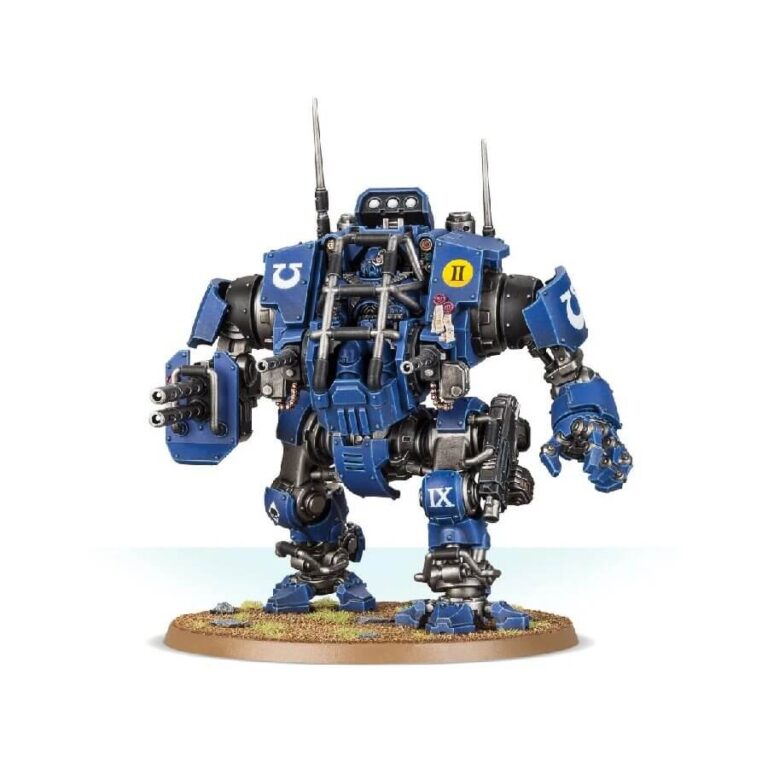
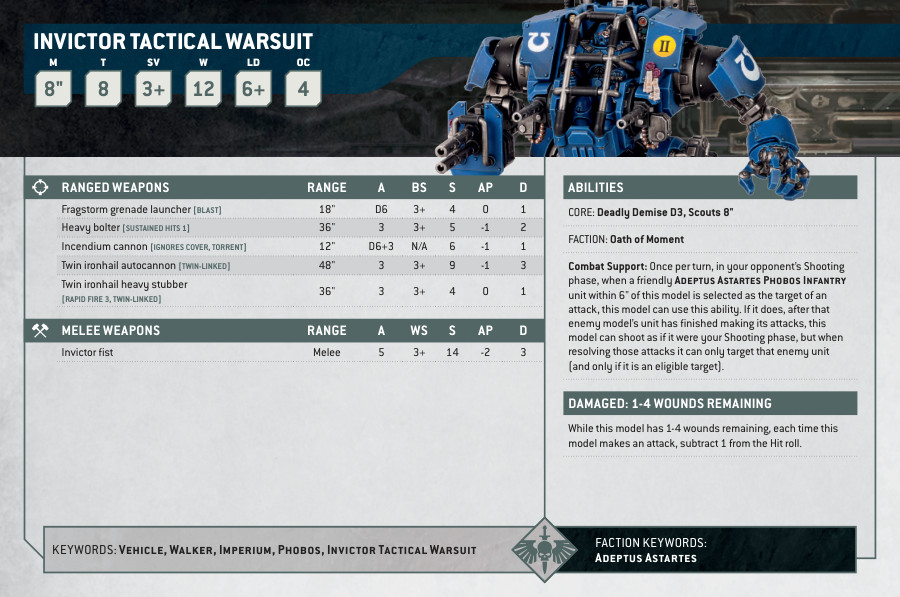
Step into battle with the Invictor Tactical Warsuit – a formidable combat walker piloted by a live Primaris Space Marine, capable of performing various tasks from armoured escort duties to close-range siege breaking and urban monster-hunts. One of its iconic roles is to provide armoured support for Vanguard Space Marines, with mid- to close-range firepower and exceptional armoured resilience. Deploy it in a concealed position outside your deployment zone, which is a unique advantage over other Dreadnought-class vehicles in the Space Marines armoury. Arm it with either a twin ironhail autocannon for ranged support or an incendium cannon for close combat. Not to mention, the Invictor Tactical Warsuit can fire its heavy bolter as a pistol at point-blank range in melee, making it an excellent addition to your army’s close combat capabilities.
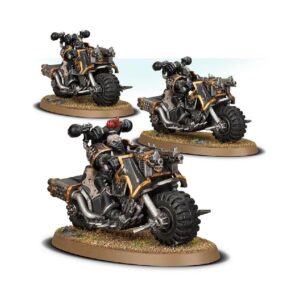
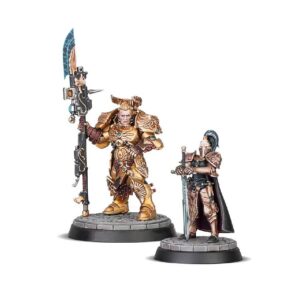
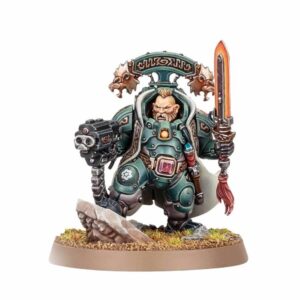
Also available in this box:
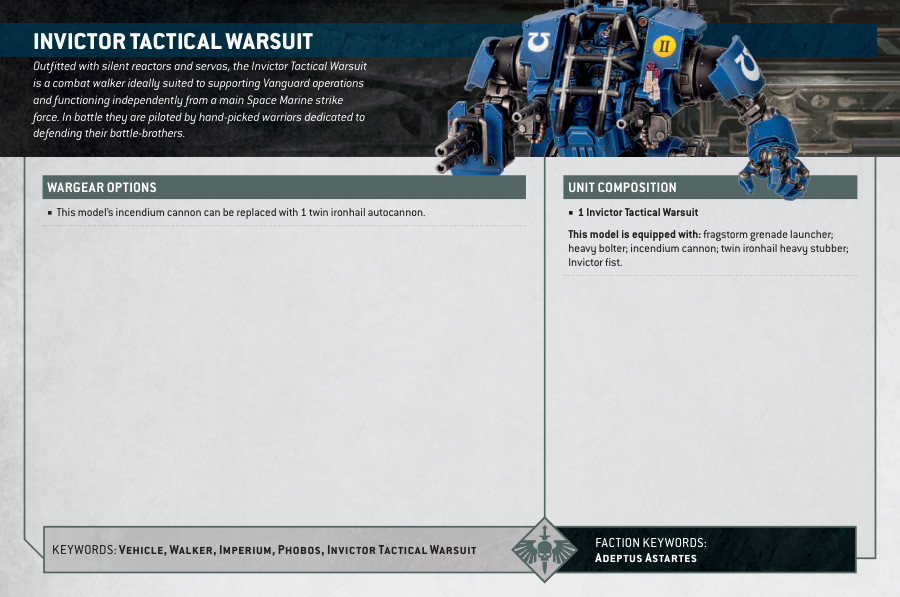
Primaris Invictor Tactical Warsuit Datasheets
What’s in the Primaris Invictor Tactical Warsuit box
- x116 plastic components that make 1 Primaris Invictor Tactical Warsuit.
- x1 Citadel 90mm Round Base.
- x1 Ultramarines Vehicle Transfer Sheet.
How to paint the Primaris Invictor Tactical Warsuit
We are going to paint the model to fit in a Space Wolves army
- Step 1: Basecoat the Armor
Apply a basecoat of Mechanicus Standard Grey to the metallic parts of the Primaris Invictor Tactical Warsuit. Ensure even coverage, focusing on the roll cage, crevices, and weapon barrels. - Step 2: Apply the Base Colors
Using Thunderhawk Blue, paint the armor plates, leg guards, and other details that you want to differentiate from the metallic frame. Be precise and take your time to achieve clean lines. - Step 3: Highlight the Armor
To bring out the details, create highlights on the armor. Mix Fenrisian Grey with a touch of White Scar and apply it to the raised edges and prominent areas of the armor, such as the edges of the shoulder pads and the front of the legs. - Step 4: Paint the Details
Focus on painting the additional details of the Warsuit. Use appropriate colors for different elements, such as a bright red for the eye lenses and gun muzzle. For example, use Mephiston Red for the eye lenses of the Space Marine pilot and a metallic color like Runelord Brass for the gun muzzles. You can also use Abaddon Black to add accents on specific parts of the metallic body. - Step 5: Weathering
Add weathering effects to give the Warsuit a battle-worn appearance. Use a small sponge or brush to dab on patches of Rhinox Hide or Dryad Bark on areas that would experience wear and tear, such as the edges of the armor plates and joints. - Step 6: Paint the Accents
Focus on the smaller details and accents of the Warsuit. Use colors like Averland Sunset for any decorative elements, like symbols or runes. You can also use a bone color, such as Screaming Skull, to paint any parchments or bone details. - Step 7: Basing
Complete the model by painting the base to match the rest of your Space Wolves army. Use appropriate textures and colors, such as Valhallan Blizzard for a snowy terrain and Stirland Mud for earthy areas. Consider adding additional details like grass tufts or small rocks for added visual interest. - Step 8: Safeguarding Your Creation with Varnish
To ensure the longevity of your work and attain a consistent satin matte appearance, generously apply a layer of Munitorum Varnish across the entire model. This protective step not only preserves your masterpiece but also maintains a uniform finish.

