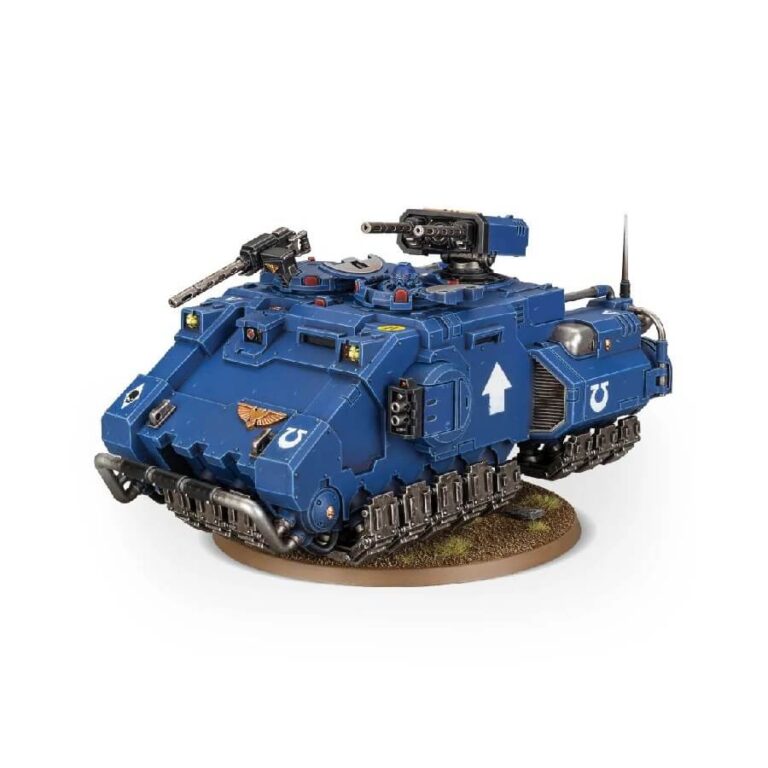
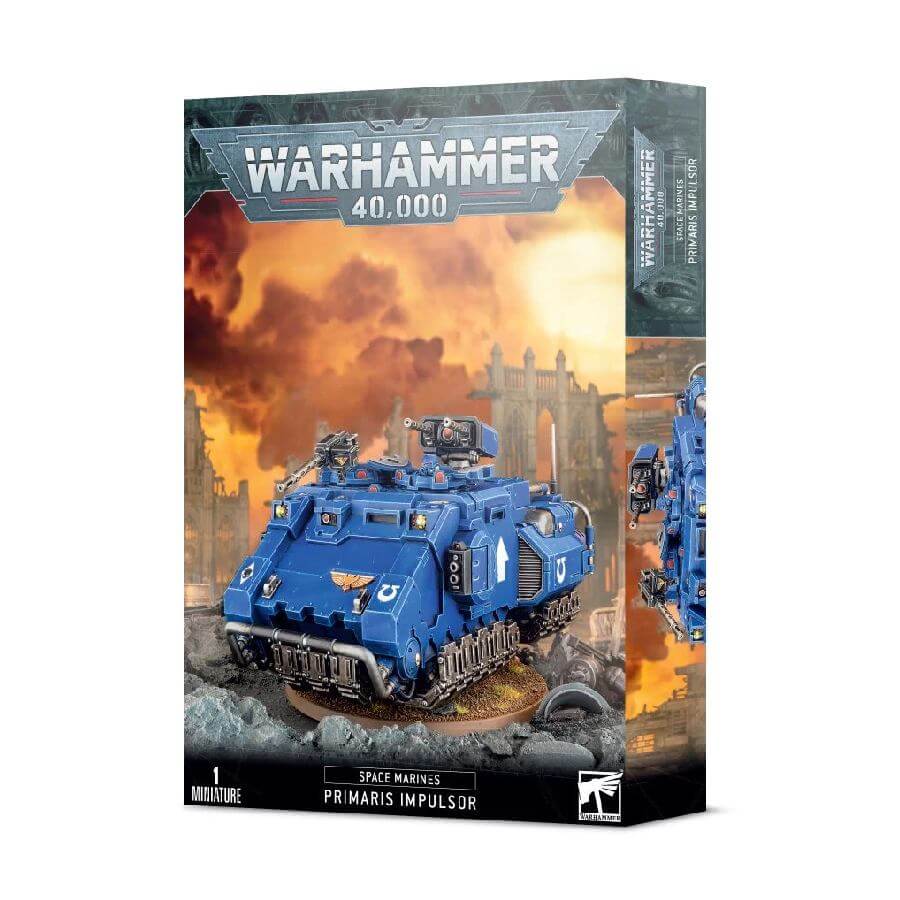
The Impulsor is an exceptional and versatile assault transport that is highly favored by the Vanguard Space Marine forces. It is equipped with advanced gravitic-impulsion technology, which is also utilized by the heavier Repulsor-class chassis, making it a fast-moving and lightly armored vehicle that provides exceptional maneuverability. With an open-backed design, the Impulsor can transport a squad of Space Marines quickly into battle, bypassing obstacles and delivering them directly into the thick of the action.
The standard armament of the Impulsor includes a pair of storm bolters that can be switched out for two fragstorm grenade launchers. However, it also has the ability to be upgraded with a variety of other powerful weapons. The Ironhail heavy stubber is one of the options, and it can be paired with either the Bellicatus missile array or the Ironhail skytalon array. Moreover, the Impulsor can be fitted with an orbital comms array, which can be used to call in devastating artillery strikes from space, or a shield dome that will provide an additional layer of protection to the vehicle through a powerful force field.
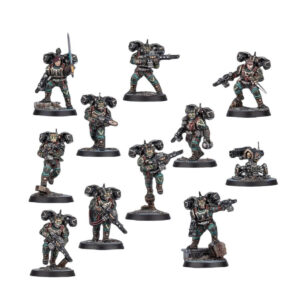
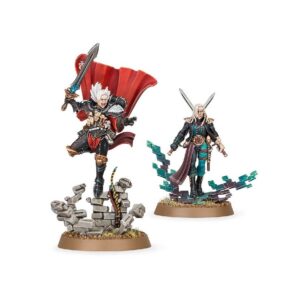
Also available in this box:
Primaris Impulsor Datasheets

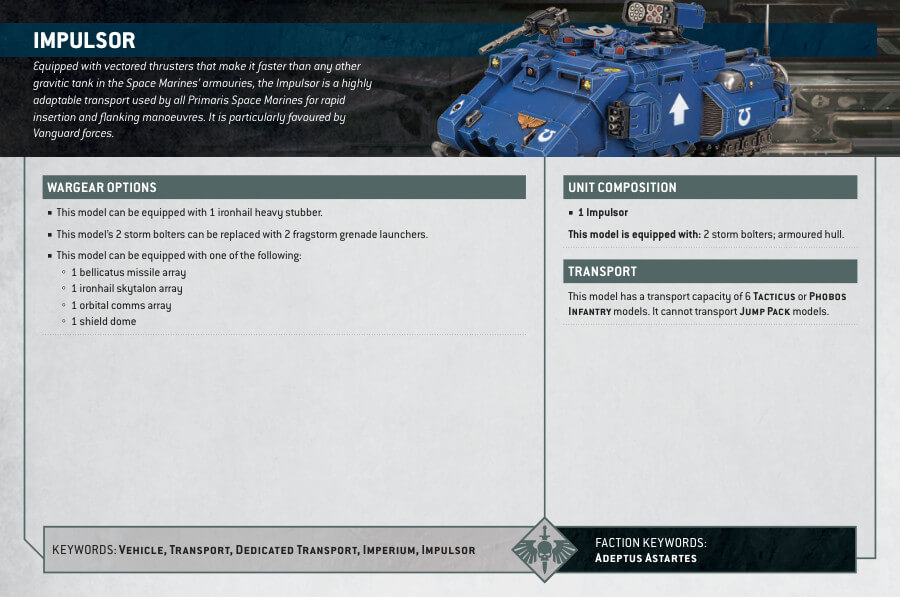
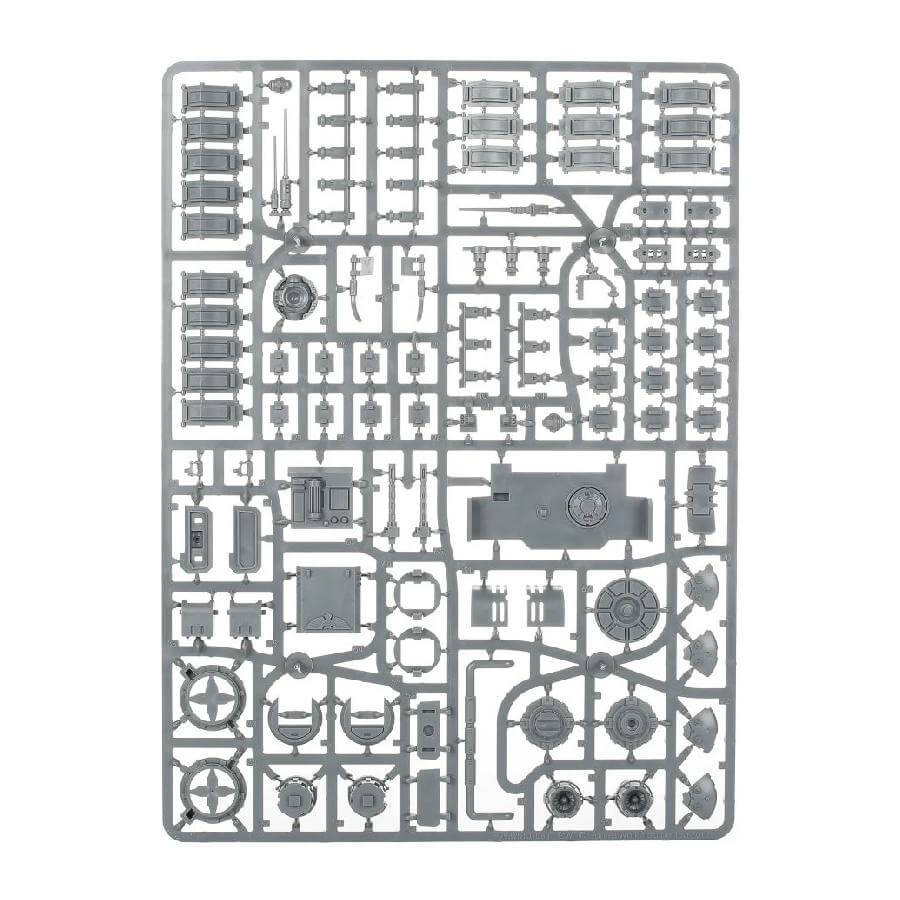
What’s in the Primaris Impulsor box
- x108 components that make up the model.The kit includes all of the Impulsor’s weapons and wargear options, allowing customization
- x1 Citadel 100mm round base, providing a sturdy foundation for the model
- x1 clear hover stand is included to give the impression of the vehicle hovering above the battlefield
- x1 Ultramarines Vehicle Transfer Sheet is also included, providing decals to personalize the model with Ultramarines iconography
How to paint the Primaris Impulsor
- Step 1: Base Coat
Begin by painting the main body of the Primaris Impulsor with Macragge Blue. Apply this paint evenly, making sure to cover the entire surface. Don’t worry about being too precise at this stage; we’ll refine it later. - Step 2: Thrusters, Vents, and Weapons
Next, focus on the thrusters, vents, and weapons. Use Abaddon Black for these parts. Be careful when applying black, as it can be quite strong. Take your time to paint these areas neatly. - Step 3: Metallic Components
Now, let’s add some metallic details. Use Leadbelcher to paint any metallic components like pipes, joints, or mechanical parts. This will give them a realistic metallic appearance. - Step 4: Red Details
For any red details, such as sensors or emblems, use Mephiston Red. Apply this paint precisely to make these details stand out. - Step 5: Gold Accents
To add a touch of regal elegance, use Retributor Armour to paint any gold accents, such as decorative trim or symbols. This will make your Primaris Impulsor look even more impressive. - Step 6: Shading
To enhance the depth and realism of your model, apply a shade. For the blue parts, use Nuln Oil to create shadows in the recessed areas. For the black, use Nuln Oil again, but be careful not to overdo it. For the metallic and red parts, use Agrax Earthshade to create a weathered look. Apply the shade sparingly and let it dry thoroughly. - Step 7: Layering
Now, it’s time to add highlights for a more dynamic appearance. For the blue body, use Calgar Blue to carefully highlight the edges and raised surfaces. For the black, use Eshin Grey to highlight edges and sharp details. For metallic parts, use Ironbreaker to highlight edges and edges that catch the light. For red details, use Evil Sunz Scarlet for highlights. - Step 8: Base Painting
Prepare the base of your Impulsor by painting it with a suitable base color. This could be a simple texture paint like Stirland Mud or Agrellan Earth, depending on the terrain you want to depict. Let the base paint dry completely. - Step 9: Base Detailing
Once the base paint is dry, add some texture and realism to the base. You can use Astrogranite Debris or Agrellan Badland to create rocky textures. Apply it sparingly and let it dry. Then, dry brush with a lighter color, like Karak Stone, to make the details pop. - Step 10: Varnishing
To protect your hard work and give your model a nice finish, apply a varnish. Use Ardcoat for a glossy finish or Stormshield for a matte one.