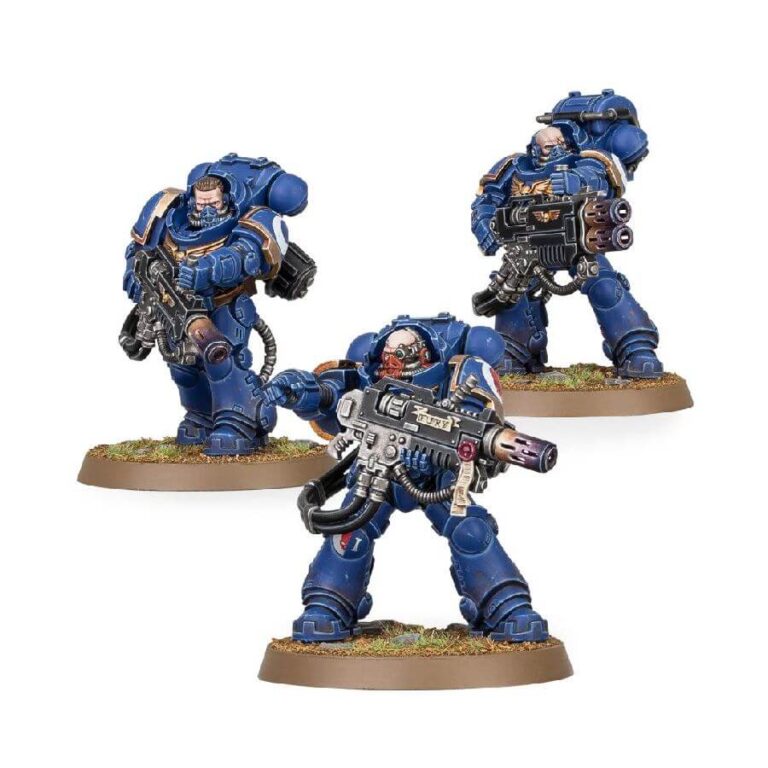
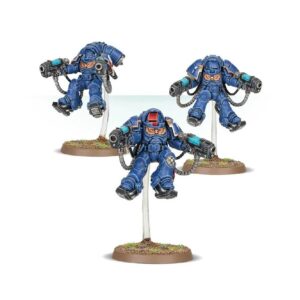
Unleash unrelenting firepower against any obstacle with these battle-hardened warriors. Each member of the squad offers versatile loadout options, equipped with either a melta rifle or a heavy melta rifle. Additionally, one Eradicator can opt for the formidable multi-melta. For those seeking leadership on the field, you have the choice to designate one squad member as the sergeant.
This kit offers incredible customization opportunities with a generous supply of 20 heads and a variety of other accessories. So, whether you prefer the precision of a melta rifle or the raw power of a multi-melta, the Space Marines Eradicator Squad is your ticket to total annihilation on the battlefield. Prepare to dominate with relentless firepower and unmatched versatility.
Primaris Eradicators Datasheets
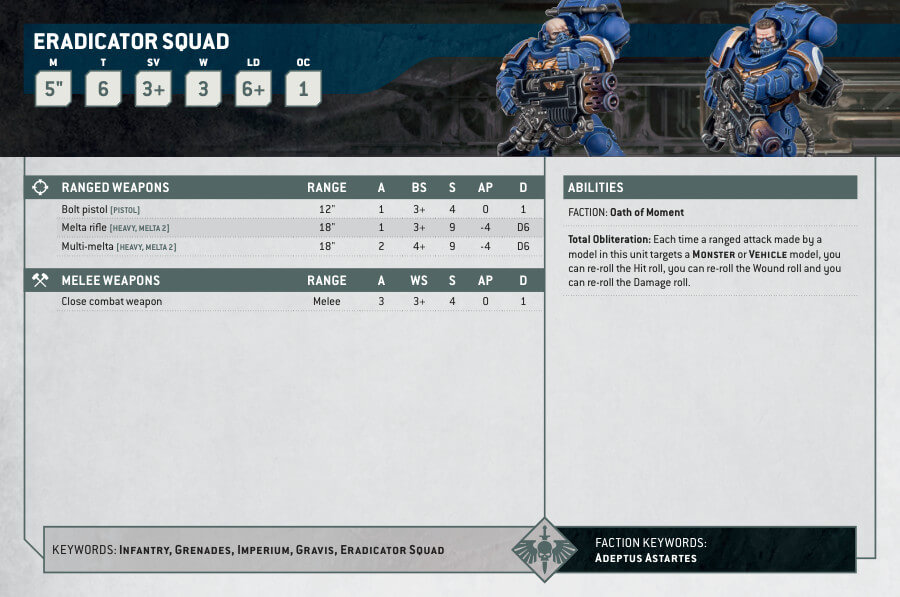
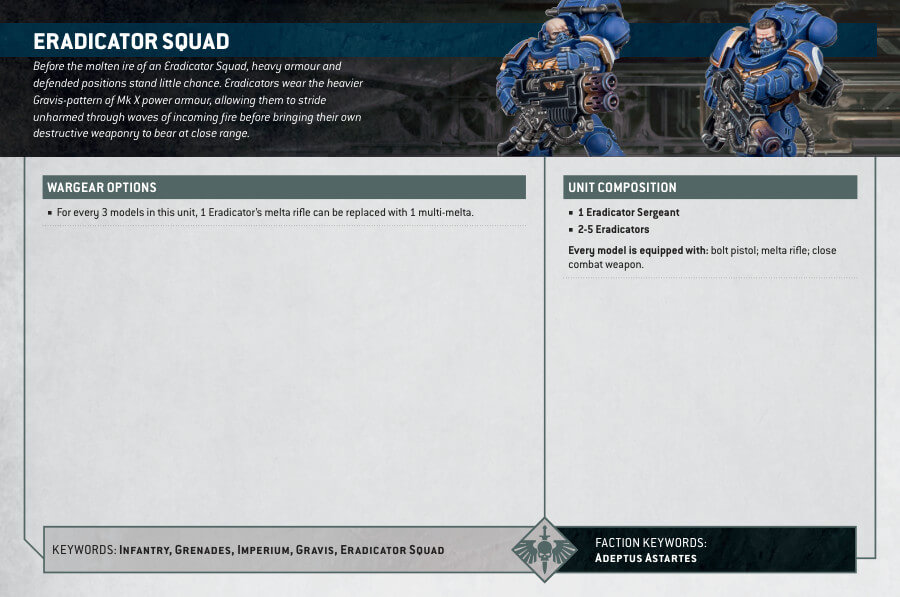
What’s in the Primaris Eradicators box
- x122-part plastic kit that makes 3 Eradicators.
- x3 Citadel 40mm round bases.
- x1 Ultramarines Infantry transfer sheet, which can be used to add iconography to the miniatures.
How to paint the Primaris Eradicators
- Step 1: Priming with Chaos Black
To kick off your Primaris Eradicators painting journey, start by priming the miniatures with Chaos Black spray primer. This provides a solid foundation for your paint and helps the colors adhere smoothly. - Step 2: Armor in Macragge Blue
For the distinctive blue armor of your Eradicators, use Macragge Blue. Apply this paint evenly to cover the entire armor, ensuring a bold and uniform color. - Step 3: Gold Details with Retributor Armour
Highlight the intricate gold details on the miniatures, such as emblems and trims, using Retributor Armour. Be precise to make these elements stand out. - Step 4: Weapons and Cables in Abaddon Black
Now, turn your attention to the weapons and cables. Paint them with Abaddon Black to give them a sleek, menacing appearance. - Step 5: Metallic Components with Leadbelcher
The metallic components of the weapons require Leadbelcher. Apply this paint to bring out the metallic shine on these parts. - Step 6: Exposed Head with Kislev Flesh (or any flesh tone)
If your Eradicators have an exposed head, carefully paint it with Kislev Flesh or your chosen flesh tone. This adds a realistic touch to their appearance. - Step 7: Layering and Highlighting
Enhance the depth and details of your miniatures with layering and highlighting techniques. Use lighter shades of the base paints to create highlights on the armor, gold details, and metallic components. For instance, you can use Calgar Blue to highlight the armour, Liberator Gold for the gold details, and Stormhost Silver for the metallic parts. - Step 8: Texture for the Base
Now, let’s create a textured base for your Eradicators. Consider using texture paints like Astrogranite Debris or any preferred texture paint. Apply it to the base to create a realistic terrain effect. - Step 9: Varnishing for Protection
To safeguard your meticulous paintwork, apply a protective varnish over the entire miniatures. This not only preserves your colors but also gives them a finished look. Ensure the varnish is completely dry before displaying your Primaris Eradicators proudly on the battlefield.

