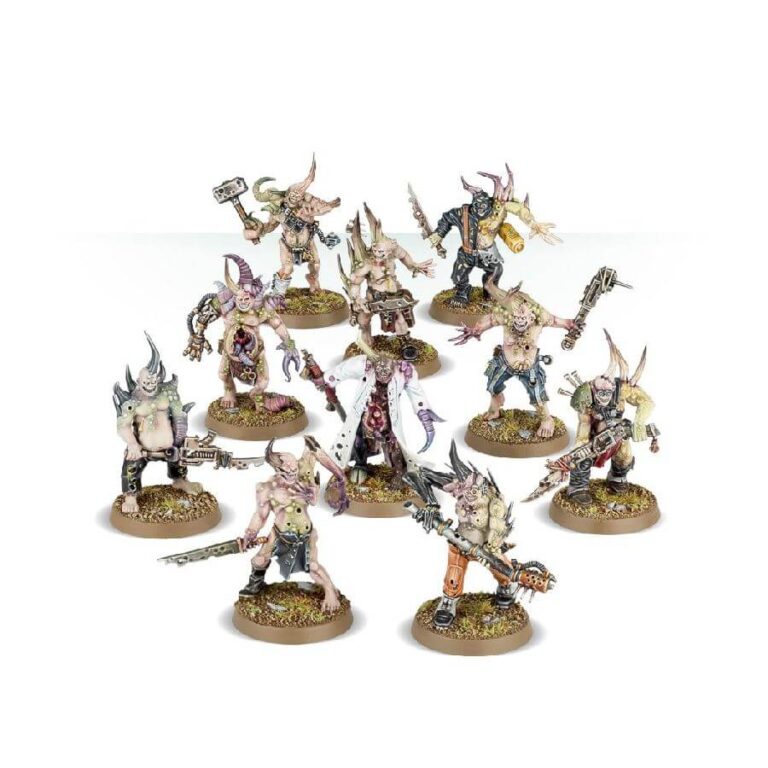
Reeking hordes of Poxwalkers, cursed victims of Nurgle’s plagues and unliving weapons of the Death Guard, shamble across the battlefield, engulfing their enemies in rotting tides of grasping hands, gnashing teeth, and squirming tentacles. This kit includes 10 uniquely unpleasant Poxwalkers, each armed with hastily improvised close-combat weapons or relying on their bare teeth and fingernails. Their ghastly pallid faces are twisted into sneering grimaces, while mutations, boils, and gashes cover their spindly limbs, creating a truly horrifying sight.
What’s in the Poxwalkers box
- x24 plastic components that make 10 poxwalkes
- x10 25mm Round bases
How to paint the Poxwalkers set
- Step 1: Priming
Start by priming your Poxwalkers with a base coat of black or grey spray primer. This will provide a good foundation for the subsequent layers of paint. - Step 2: Base Colors
Using a medium-sized brush, apply the base colors to the different parts of the Poxwalkers. For the rotting flesh, you can use a mix of green and brown paints such as Moot Green and Rhinox Hide. For the tattered clothing, you can use a variety of colors like Zandri Dust or Baneblade Brown for the rags and Mechanicus Standard Grey for the pants. - Step 3: Wash
Apply a wash to the entire model to add depth and shadows. A suitable option for the Poxwalkers would be an Agrax Earthshade wash, which will enhance the decayed look. Apply the wash liberally, making sure it seeps into the recesses and details of the model. - Step 4: Drybrush
Once the wash is dry, take a dry brush and lightly dip it into a bone or off-white color like Ushabti Bone. Remove most of the paint from the brush by brushing it on a tissue or paper towel. Now, gently brush the raised areas of the model, such as the bones, to create highlights and add texture. - Step 5: Detailing
Now it’s time to add some details to make your Poxwalkers stand out. Use a fine brush to paint the nails with a dark color like Abaddon Black or XV-88. You can also pick out the wounds and sores with a bright, fleshy color such as Kislev Flesh or Pallid Wych Flesh. Don’t forget to paint the eyes with a vibrant color like Mephiston Red or Wild Rider Red. - Step 6: Basing
To complete the look of your Poxwalkers, let’s work on the base. Apply texture paint or use a mixture of PVA glue and sand to create a gritty, decayed ground. Once dry, paint the base with a dark brown or gray color, like Dryad Bark or Mechanicus Standard Grey. You can add some drybrushing or washes to bring out the texture further. - Step 7: Varnishing
To protect your beautifully painted Poxwalkers, apply a layer of varnish. Choose either a matte varnish for a more realistic finish or a gloss varnish for a more slimy appearance.

