In the vast universe of Warhammer 40,000, the Necrons stand as a race shrouded in ancient mysticism and astromancy.
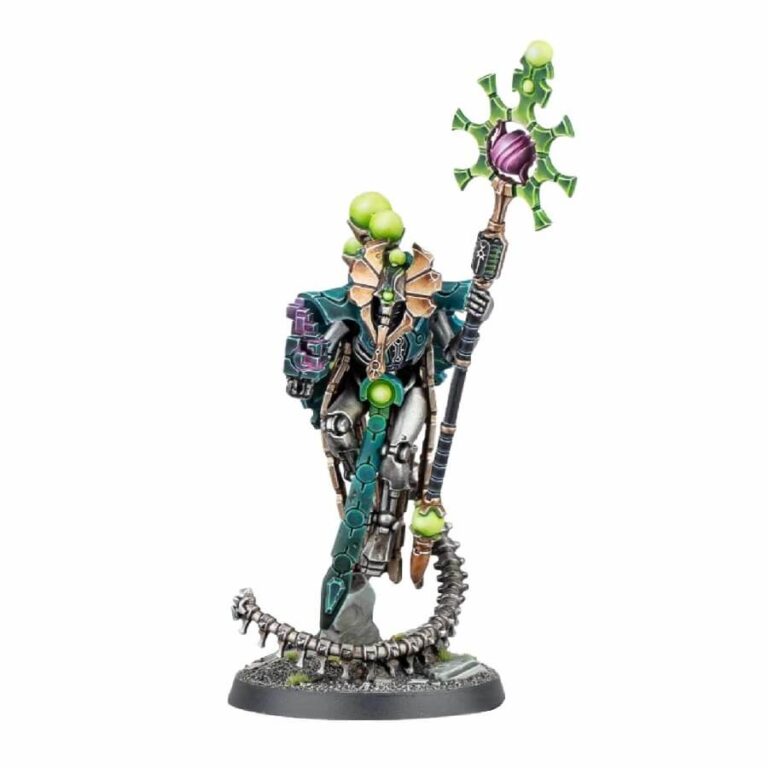
Among their ranks, Orikan the Diviner emerges as a figure of legendary status. Known for his mastery in the arcane arts of prediction and prophecy, Orikan’s return is marked by the release of a new, intricately detailed miniature.
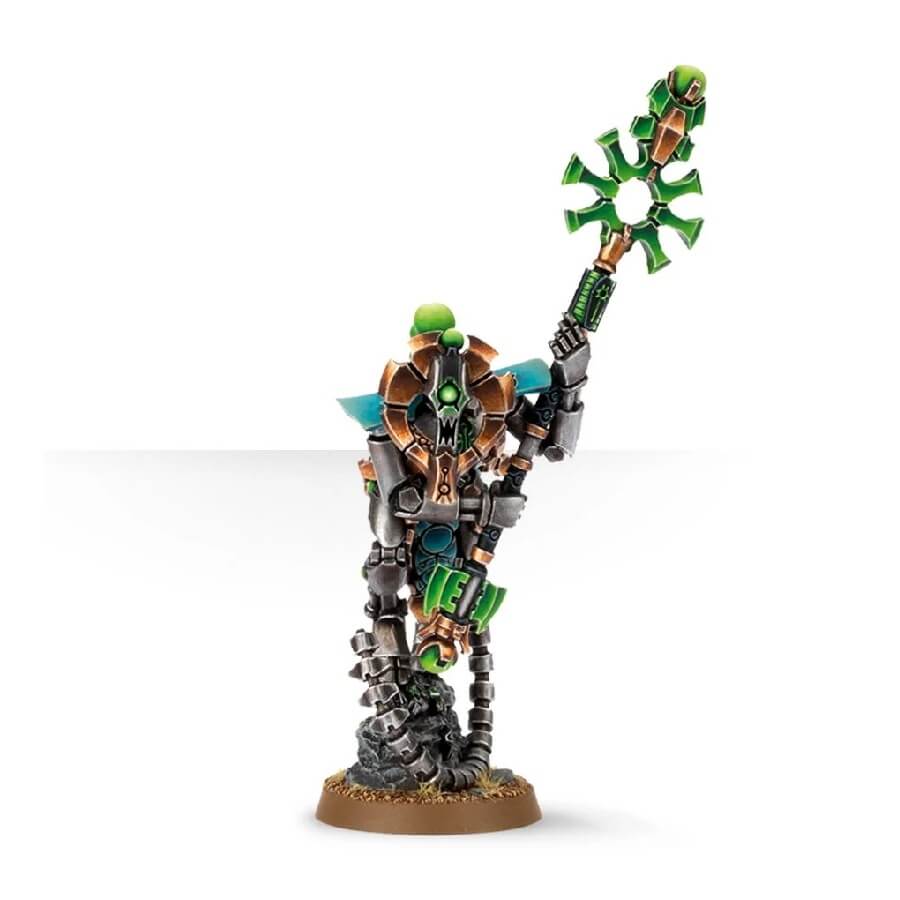
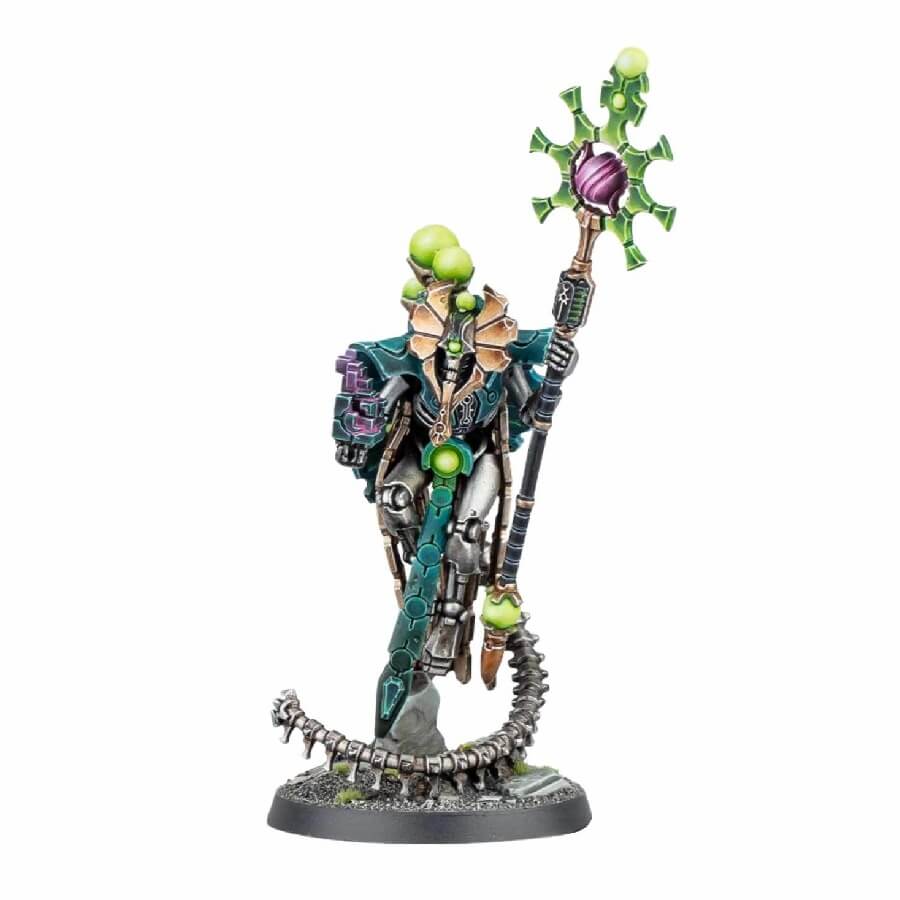
As a Cryptek, Orikan wields his chronomantic powers with a precision that bends the fabric of time, realigning events to match his prophetic visions. This ability not only cements his place in Necron lore but also makes him a pivotal character in the unfolding narrative of the Warhammer 40,000 universe.
The story progresses in the upcoming supplement, Crusade: Pariah Nexus. This once-peaceful region of space now braces for a surge of conflict, with the Silent King escalating his efforts against the forces of the Indomitus Crusade. Orikan’s foresight reveals an impending cataclysm so severe that he prioritizes it over an audience with Szarekh, the Silent King himself.
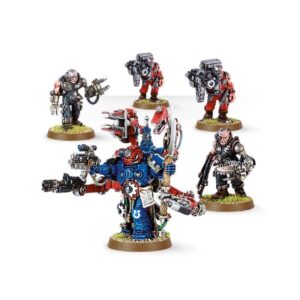
This convergence of forces in the Pariah Nexus, including the technologically advanced Adeptus Mechanicus led by Belisarius Cawl, sets the stage for a cataclysmic showdown. Orikan’s presence in this narrative is not just as a spectator but as a harbinger of the apocalyptic events he has long foreseen.
The Orikan the Diviner miniature offers enthusiasts a chance to embody this iconic character. With its detailed design and customization options, it’s a must-have for collectors and players alike, bringing a piece of the rich Warhammer 40,000 history to life on the gaming table.
How to paint the Orikan the Diviner set
- Step 1: Apply Primer
Start by priming your model with Chaos Black primer. This will provide a solid base for your paint layers. - Step 2: Base Coat – Armor
Begin painting the armor plates with Leadbelcher. Once dry, layer Ironbreaker over the armor plates and Stormhost Silver on edges and raised areas for a metallic sheen. - Step 3: Head and Shoulder Pads
Paint the head with Screaming Bell, capturing the distinctive Necron style. For the shoulder pads, use Fenrisian Grey for a crisp contrast against the armor. - Step 4: Staff Detailing
Paint the staff’s handle with Abaddon Black, creating a strong contrast against the metallic armor. Add Hashut Copper to intricate details on the staff for a touch of elegance. - Step 5: Staff Blade and Energy Sources
For the staff’s blade and energy sources, use Moot Green to create a vibrant, glowing effect. Apply this to the blade and any other energy-related elements. - Step 6: Basing
Enhance the model’s base to match its theme. Use materials like Astrogranite or Agrellan Earth for texture, and add details like rocks, skulls, or grass tufts to bring the base to life. - Step 7: Final Touches
Inspect your model for any missed spots or areas that need touch-ups. Make sure all colors are smooth and consistent. - Step 8: Varnish
To protect your work, apply a protective varnish. Choose the finish that suits your preference – a glossy varnish can enhance metallic elements, while a matte varnish offers a more balanced look.

