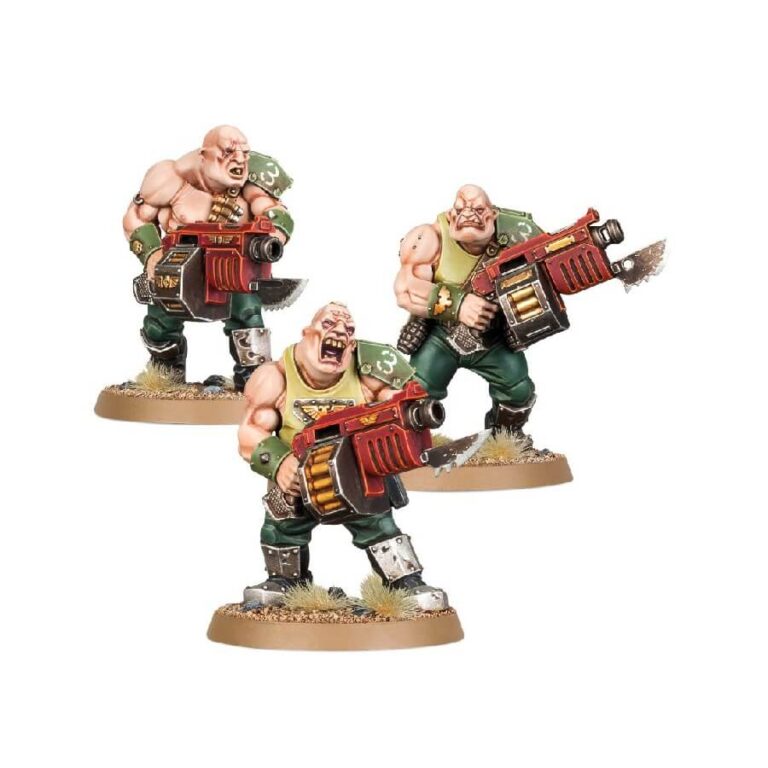
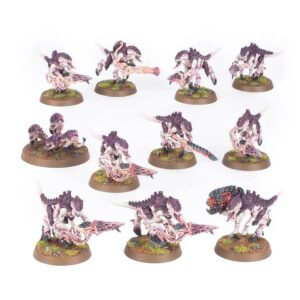
The Ogryns are a force to be reckoned with, adapted for sheer strength and endurance on high-gravity worlds, and are deployed as tough shock troops. Armed with ripper guns that can withstand use as clubs, they hit the enemy with devastating force. This multipart plastic kit includes three Ogryns with interchangeable components for customization, including a range of accessories such as bayonet blades, spare ammo, and armor plates. The kit also features a special cybernetic head for a Bone ‘ead squad leader. In addition to building three Ogryns, this kit can be used to build armoured Bullgryns or Nork Deddog, or an Ogryn Bodyguard, providing a range of options for your Astra Militarum army.
Ogryns Datasheets
Ogryns
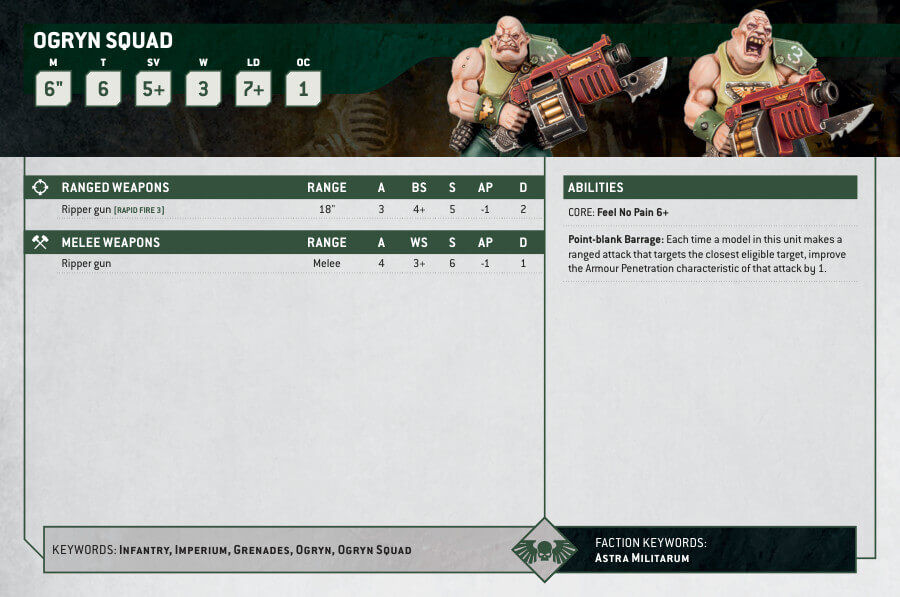
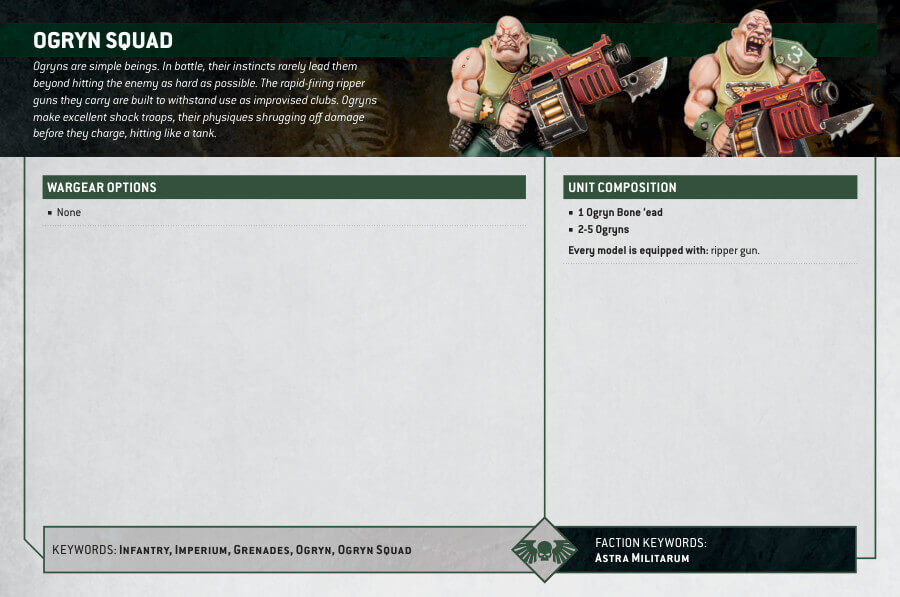
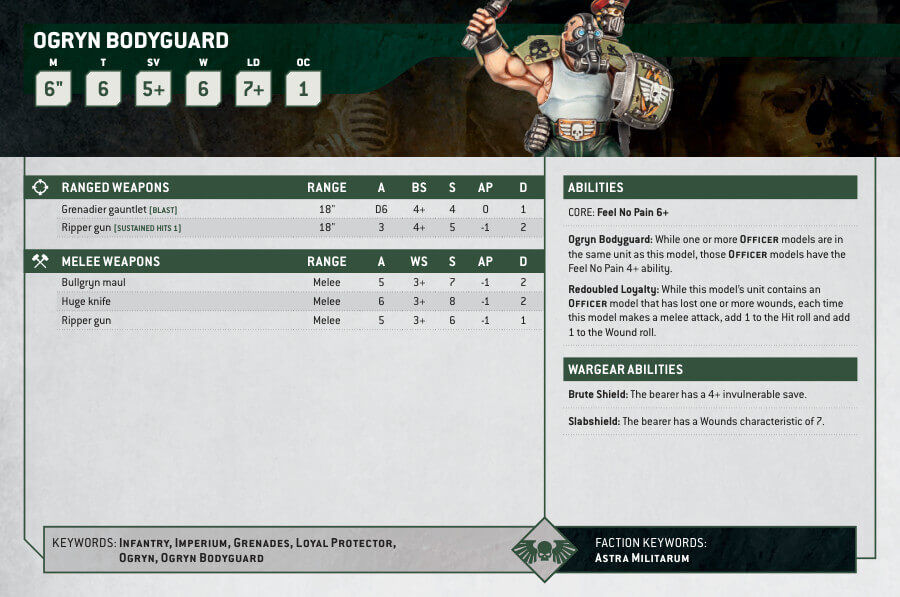
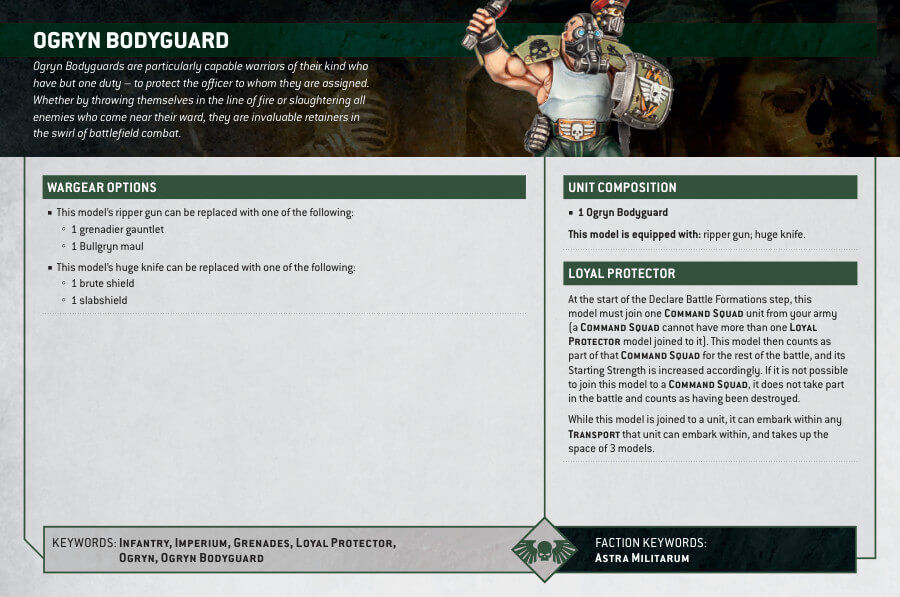
Ogryn Bodyguard
What’s in the Ogryns box
- x121 plastic components you can use to build three Ogryns, or it can be used to build Nork Deddog or an Ogryn Bodyguard, as well as two Ogryns or Bullgryns.
- x3 Citadel 40mm Round Bases
How to paint the Ogryns Set
- Step 1: Prime the Miniatures
Apply a thin coat of primer to the Ogryns. Primer helps the paint adhere better and provides a smooth surface for painting. For a classic look, use Chaos Black Primer. - Step 2: Basecoat the Skin
Using a medium-sized brush, apply a basecoat of a suitable flesh tone, such as Bugman’s Glow or Ratskin Flesh, to the Ogryns’ skin. Thin the paint slightly with water or a medium for smoother coverage. Apply the basecoat evenly, making sure not to miss any areas. - Step 3: Shade the Skin
Switch to a smaller brush and apply a shade, like Agrax Earthshade or Seraphim Sepia, to the recessed areas of the skin. This will add depth and definition to the muscles and crevices. Apply the shade sparingly and let it flow into the recesses naturally. - Step 4: Layer the Skin
Once the shade is dry, use a medium-sized brush to layer a lighter flesh tone, such as Cadian Fleshtone or Kislev Flesh, onto the raised areas of the skin. This will create highlights and add dimension to the muscles. Use a gentle touch and build up the color gradually. - Step 5: Detail the Skin
With a small brush, add details to the skin, such as scars or veins, using a slightly darker flesh tone like Rhinox Hide or Doombull Brown. Keep the brushstrokes thin and controlled to achieve a realistic effect. - Step 6: Paint the Clothing
Choose suitable colors for the Ogryns clothing based on your desired theme or faction. For example, you can use colors like Khorne Red, Caliban Green, or Fenrisian Grey. Apply thin coats of paint to the clothing, allowing the basecoat to show through in some areas for a weathered appearance. - Step 7: Highlight the Clothing
Using a smaller brush, apply a lighter tone of the clothing color to the raised areas and edges. This will create highlights and add depth to the fabric. For example, if the basecoat is Khorne Red, you can highlight with Wazdakka Red or Evil Sunz Scarlet. - Step 8: Paint the Accessories
Ogryns often have various accessories like belts, pouches, or weapons. Use suitable colors like Leadbelcher for metallic parts, and Balthasar Gold for decorative elements. Apply multiple thin coats and use a small brush for precise detailing. - Step 9: Add Finishing Touches
To complete the painting process, add finishing touches to the Ogryns. Paint any visible details such as eyes using a small brush and a bright color like Yriel Yellow or Flash Gitz Yellow. Add additional details like tattoos, squad markings, or weathering effects if desired. Use a fine detail brush and steady hands for these final touches.

