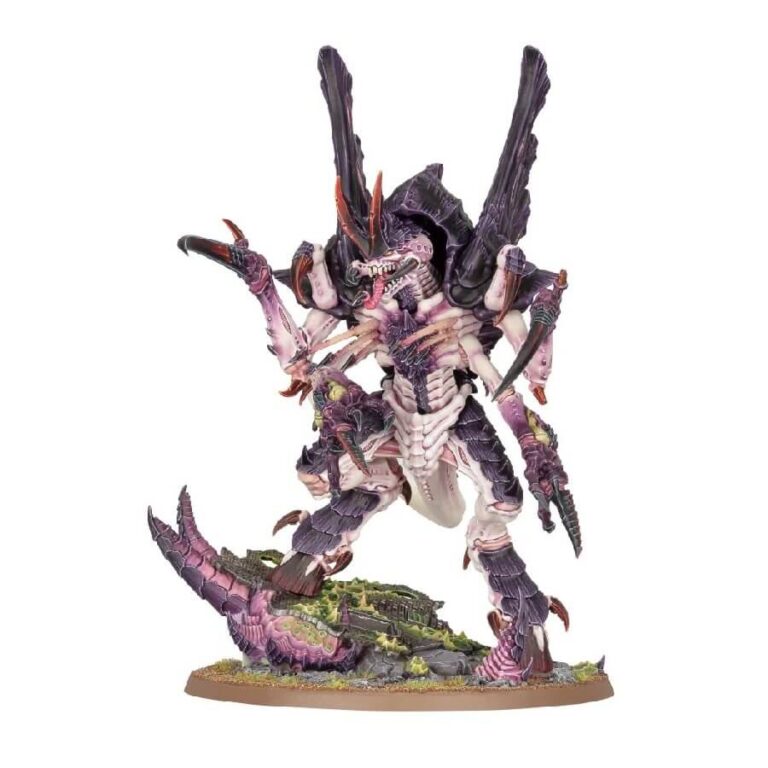
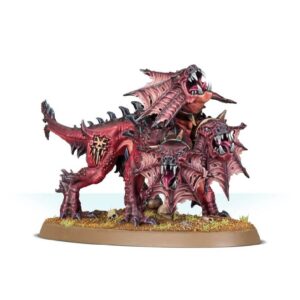
In the relentless quest for dominance, the Tyranid Hive Mind deploys its ultimate predators, and among them stands the formidable Norn Assimilator. Bred for a singular purpose, these colossal creatures are birthed by Norn Queens to pursue strategic targets of paramount importance. Their inexhaustible and unwavering determination makes them the living nightmares of their prey.
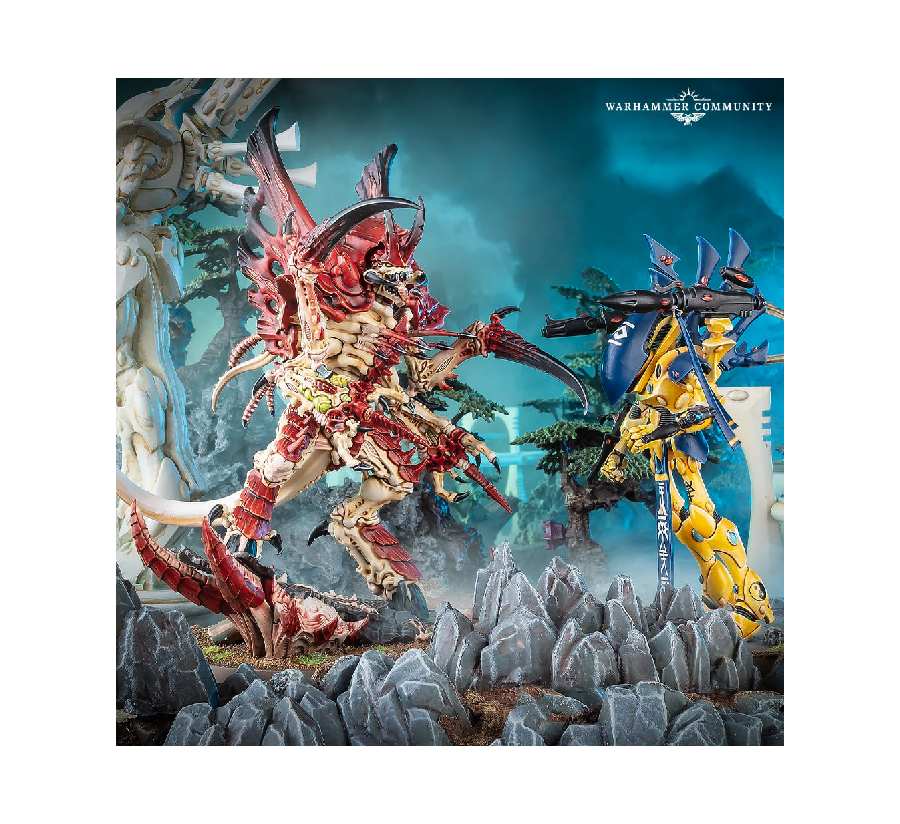
With this kit you have the opportunity to assemble your very own Norn Assimilator, a true behemoth of Tyranid might. Perched atop a menacing, alien-infested ruin, the Assimilator strikes fear into the hearts of its foes. Armed with massive scything talons and enormous claws brimming with venomous toxin sacs, this monstrosity is a sight to behold. Its armoured chest sports a lethal array of barbed toxinjector harpoons, ready to impale and dismantle fortifications, bodyguards, or war engines with ruthless efficiency.
The Norn Assimilator, towering above even a Hive Tyrant, makes for an awe-inspiring centrepiece model that will undoubtedly showcase your painting prowess. Every inch of its terrifying form is adorned with intricate and menacing detail, offering an ideal canvas to bring your artistic skills to life. Moreover, the kit offers versatility with two different lower torsos, allowing you to pose your Assimilator either charging ferociously across the battlefield or stooping menacingly toward its prey.
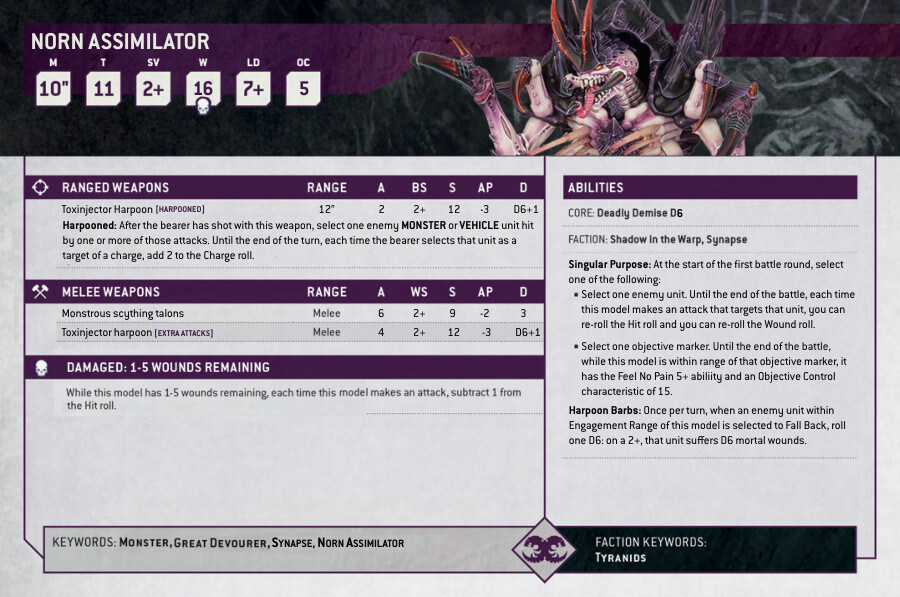
Norn Assimilator Datasheets
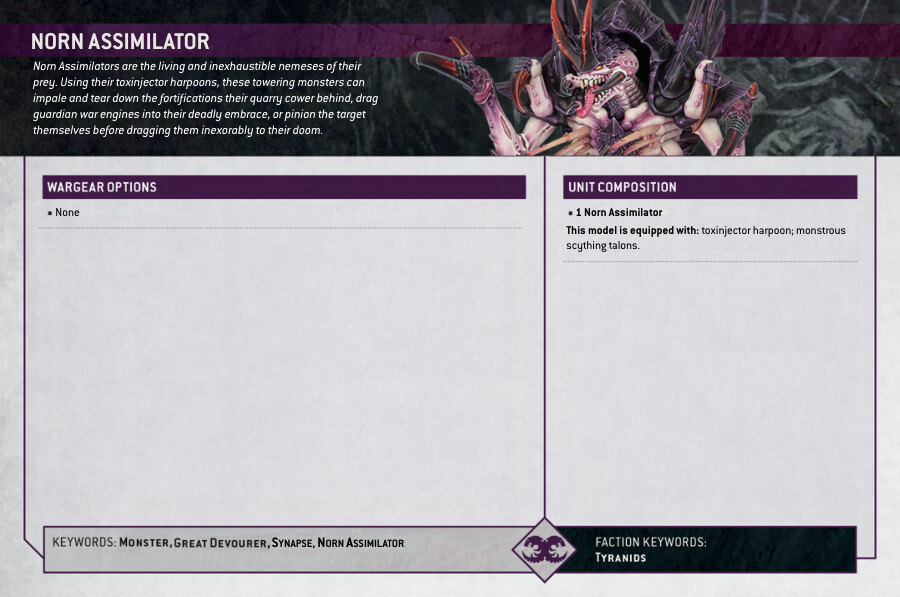
What’s in the Norn Assimilator box
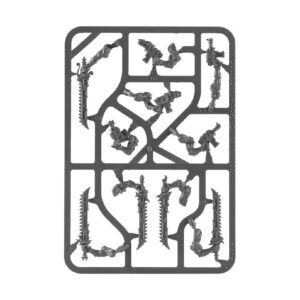
- x58 plastic components that make one Norn Assimilator. This miniature can alternatively be built as a Norn Emissary, a psychic monster tailored to overcome all resistance.
- x1 Citadel 100 mm round base.
How to paint the Norn Assimilator set
- Step 1: Applying a Solid Primer
To begin, apply a layer of black primer, such as Chaos Black, to the miniature. This step creates a strong foundation for your paint and ensures better color adherence. Allow the primer to dry completely before moving on. - Step 2: Red Chitinous Armor
Use a vibrant red color like Mephiston Red to paint the chitinous armor. Apply the paint evenly, being mindful of preserving the model’s fine textures. Avoid excessive brushwork to achieve a smooth finish. - Step 3: Depth through Shading
Apply a darker shade, such as Carroburg Crimson, to the recesses and crevices of the red armor. This shading technique adds depth and dimension to the armor, enhancing its visual impact. - Step 4: Adding Highlights
Gently highlight the edges and prominent areas of the armor using a lighter red tone like Evil Sunz Scarlet. These highlights accentuate the armor’s contours and create a striking contrast against the red chitin. - Step 5: Red Harpoon Fists
Treat the harpoon fists similarly to the armor. Utilize the same process: start with the Mephiston Red base, apply Carroburg Crimson shading, and finish with Evil Sunz Scarlet highlighting. This uniformity ties the color scheme together. - Step 6: Skin with a Yellow Tint
For a yellow-tinted skin, mix Pallid Wych Flesh with a touch of Averland Sunset. Apply this mixture to the skin areas, imparting a subtle yellow hue for a unique overall appearance. - Step 7: Organic Yellow Details
Enhance the skin with organic yellow details like stripes or patterns. Use Yriel Yellow to meticulously paint these details. This step adds complexity to the skin texture and emphasizes the Tyranid nature of the model. - Step 8: Shading for Skin Depth
Apply a diluted wash of Casandora Yellow to the skin’s recesses and folds. This shading technique deepens the skin’s texture, enhancing its realism and emphasizing natural contours. - Step 9: Skin Highlights
Gently highlight the most prominent points of the skin, such as cheekbones and knuckles, using pure Pallid Wych Flesh. This creates visual contrast, drawing attention to the skin’s features. - Step 10: Detailing Organic Yellow
Revisit the organic yellow details you painted earlier with a layer of Dorn Yellow. This enhances the vibrancy of these elements, making them even more eye-catching. - Step 11: Final Touches and Cleanup
Carefully inspect your work and make any necessary touch-ups. Utilize a fine brush to refine details and correct any unintended paint smudges or errors. - Step 12: Glossy Finish with Ardcoat
For a glossy finish that complements the organic yellow theme, consider applying Ardcoat gloss varnish. This protective layer not only preserves your paintwork but also enhances the richness of the colors. This varnish is also going to help us with the “organic yellow” look.
Norn Assimilator FAQs
How do you use the Norn Assimilator?
If the Norn Emissary is a psychic stealth predator, then the Assimilator is your “Godzilla”! You will send this fearless monster to charge fortifications and secure objectives.
How many points does the Norn Assimilator cost?
It costs 305 points. It’s a powerhouse that you’re going to send charging at troops, so it needs to be strong.

