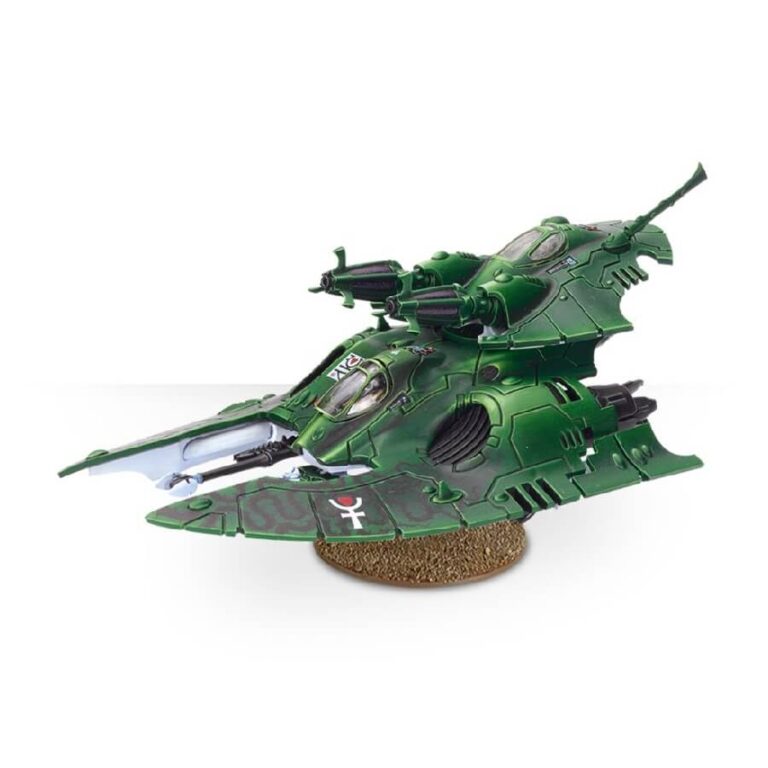
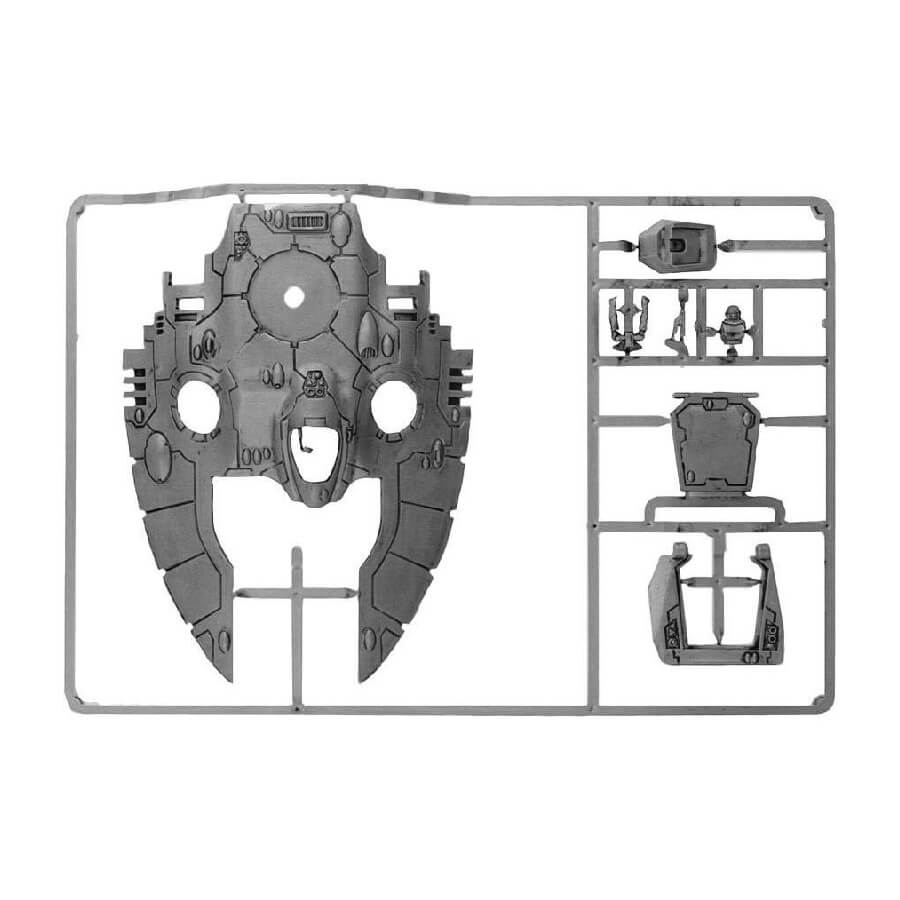
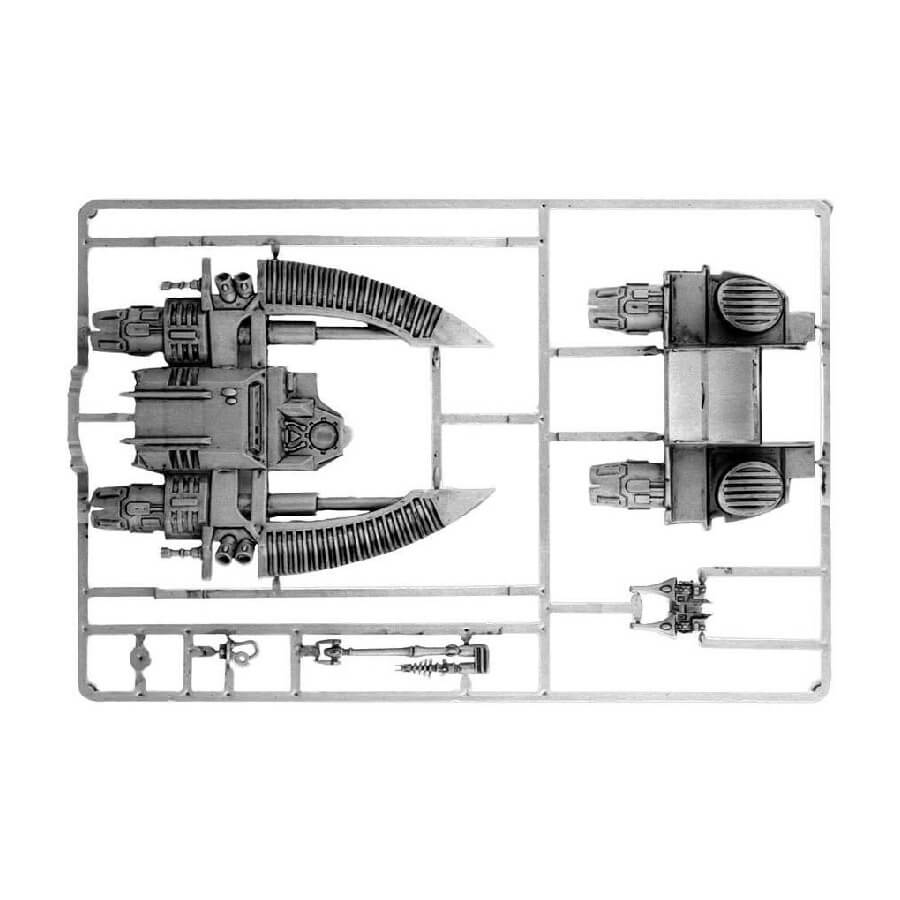
This elegant and impressive Aeldari tank serves as a captivating centerpiece in any collection. With its two cockpits, one mounted on a turret bearing claw-like shuriken catapults, and another on the main body, the Night Spinner exudes an imposing yet graceful aura. Its sleek panels, curved grills, gemstones, and powerful rear engines complete the stunning design of this remarkable vehicle.
What’s in the Night Spinner box
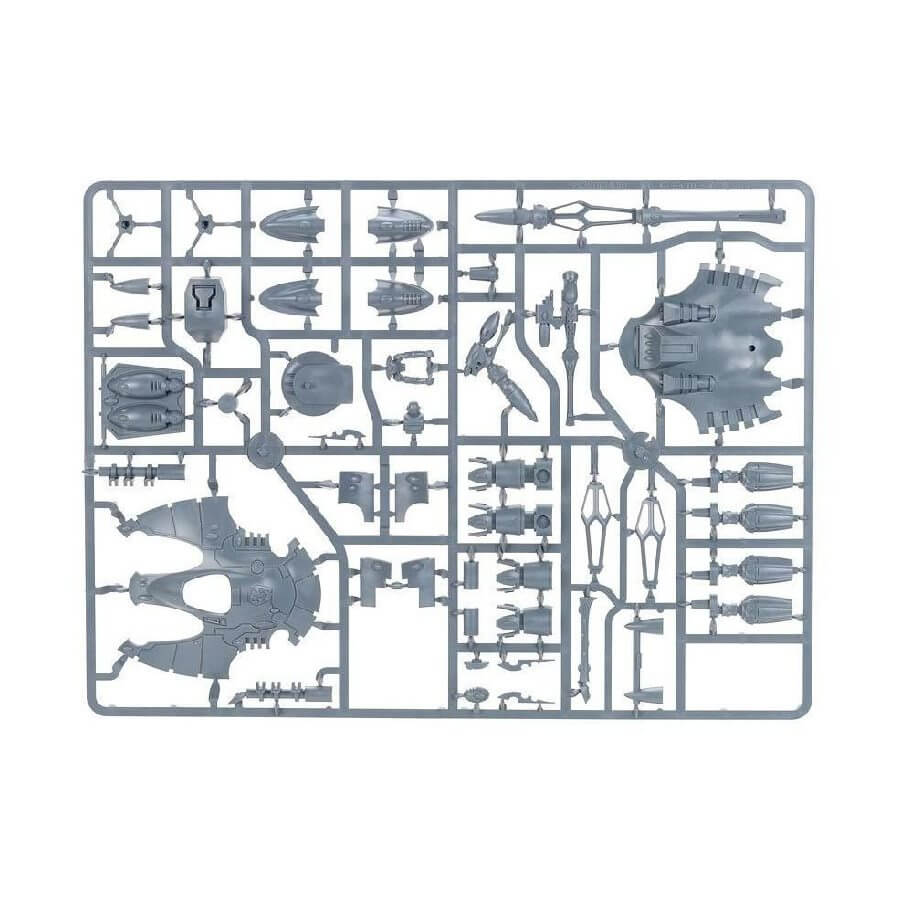
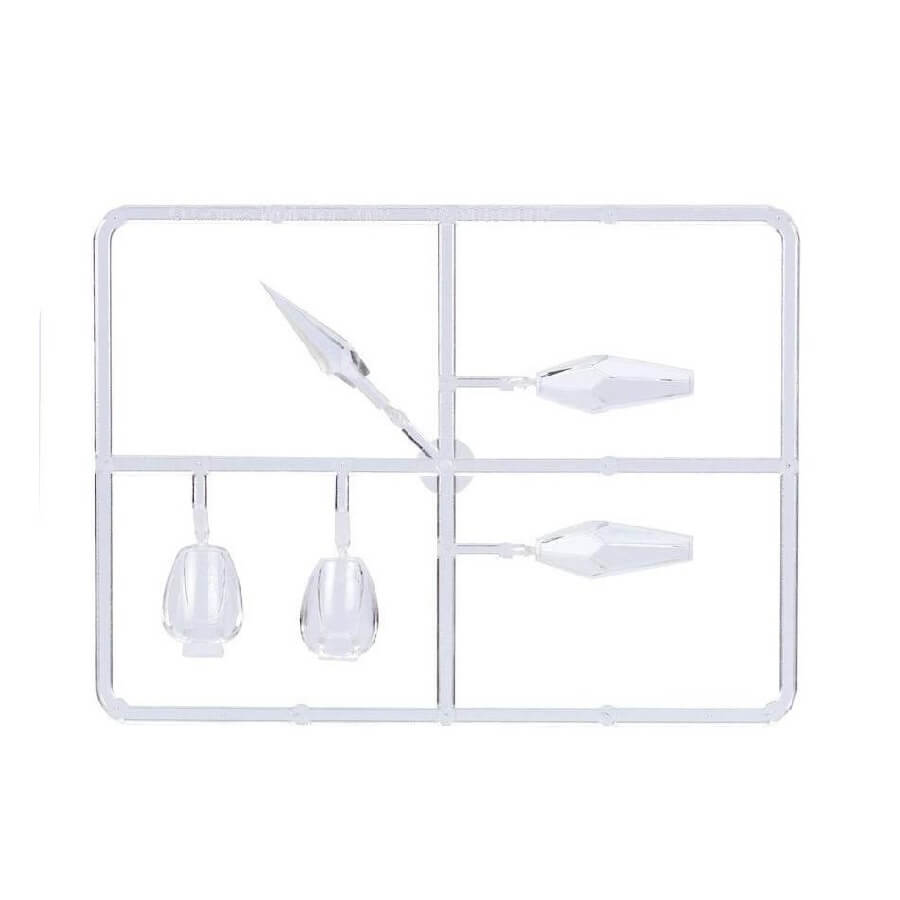
- x64 plastic components with which to make a Night Spinner or an Aeldari Fire Prism.
- x1 Citadel 60 mm flying base.
- x1 Aeldari Vehicle water-slide transfers.
How to paint the Night Spinner set
- Step 1: Basecoat the Night Spinner
Start by applying a basecoat of red paint to the Night Spinner’s hull. Choose a vibrant red color like Mephiston Red to cover the main body of the tank. Make sure to paint all the areas you want to be red, including the sleek panels and curved grills. - Step 2: Shade the Red Hull
To add depth and shadows to the red hull, apply a shade or wash like Carroburg Crimson over the basecoat. Focus on the recessed areas and corners to create a more realistic and textured appearance. - Step 3: Highlight the Red Hull
Once the shade has dried, use a lighter red color like Evil Sunz Scarlet to highlight the raised areas of the Night Spinner’s hull. Concentrate on the edges and surfaces that catch the most light. This will make the red color pop and add dimension to the model. - Step 4: Paint the Shuriken Catapults
Move on to the shuriken catapults, painting them with a metallic color like Leadbelcher to give them a shiny appearance. Ensure to cover the entire surface of the catapults with the metallic paint. - Step 5: Shade and Highlight the Catapults
Apply a shade or wash like Nuln Oil over the metallic catapults to enhance the shadows and add depth. Once the wash is dry, use a lighter metallic color like Ironbreaker to highlight the edges and raised areas of the catapults. This will make them look more realistic and metallic. - Step 6: Paint the Gemstones
Focus on painting the gemstones with bright colors like Lothern Blue or Moot Green. These gemstones add a touch of color and detail to the Night Spinner’s hull. - Step 7: Add Details to the Hull
Use black paint like Abaddon Black to add details like panel lines, symbols, or any other intricate designs on the hull. This will make the Night Spinner look more intricate and visually appealing. - Step 8: Final Touches and Highlights
Add any final details to the Night Spinner, such as highlighting the gemstones with a lighter color or adding additional shading to enhance the model’s depth. Take your time to ensure all the elements of the tank are neat and well-defined. - Step 9: Paint the Cockpits and Rear Engines
For the cockpits, you can choose a color like Fenrisian Grey or Ulthuan Grey to represent the canopy glass. For the rear engines, use metallic colors like Ironbreaker for a metallic appearance. - Step 10: Highlight the Cockpits and Engines
Apply a lighter shade of the chosen color to highlight the edges and raised areas of the cockpits and engines. This will add depth and make these areas more visually striking. - Step 11: Finalize the Model
Check for any missed details or areas that need touch-ups. Once you are satisfied with the painting, consider applying a layer of varnish like Ardcoat to protect the model and give it a glossy finish.
