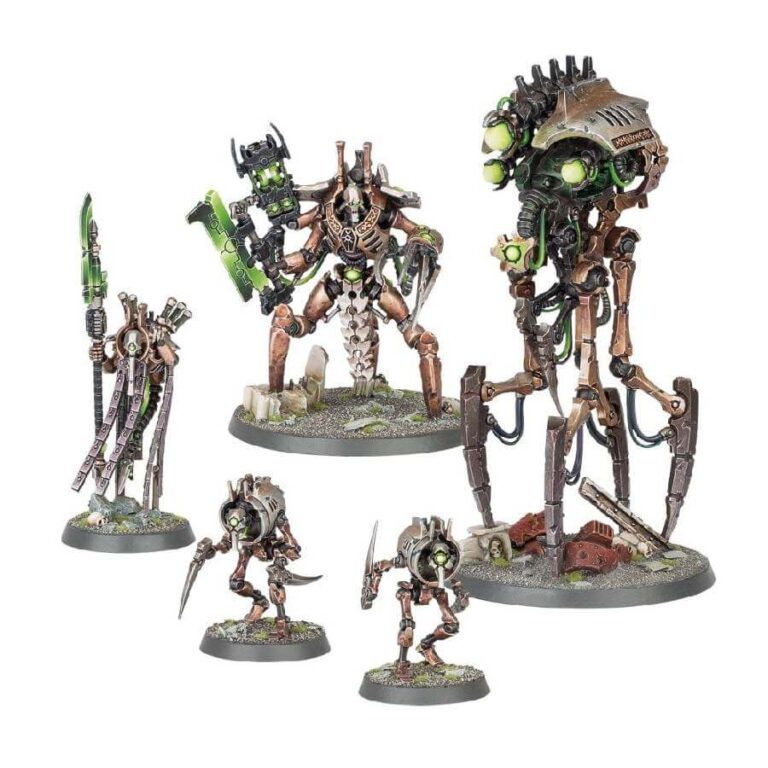
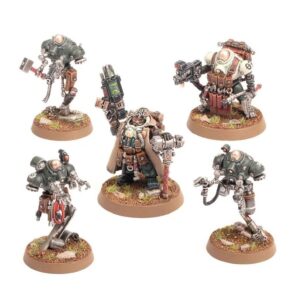
This set serves as a valuable addition to your Necrons collection, bolstering your forces with formidable reinforcements. Leading the charge is the indomitable Skorpekh Lord, a relentless force of destruction armed with devastating weaponry, poised to unleash ruin upon any who dare to oppose your ranks.
At the Skorpekh Lord’s side stands the Plasmancer, a master of harnessing raw energy to unleash scorching torrents of firepower upon the enemy. Guarding their Cryptek master with unwavering loyalty are the Cryptothralls, bound in servitude and ready to defend their leader at all costs.
But the Necrons are not without their own means of resilience. Should any of your mechanical warriors fall victim to the attacks of audacious foes, fear not. The towering Canoptek Reanimator strides onto the battlefield, equipped with the ability to mend and revive your damaged forces, ensuring they stand ready to continue their relentless march under the banner of the Silent King.
What’s in the Necrons Royal Court box
- x38 plastic components that build 5 Necrons models:
- x1 Skorpekh Lord: A formidable HQ choice for Necron armies, that boasts a menacing arsenal that includes the enmitic annihilator, flensing claw, and hyperphase harvester.
- x1 Canoptek Reanimator: An elites choice, wields a pair of deadly atomiser beams alongside its reanimator’s claws. This formidable unit is capable of both offense and repair, making it a versatile addition to your Necron forces.
- x1 Plasmancer: Another HQ option available in this kit, equipped with a plasmic lance.
- x2 Cryptothralls: Elite Warriors, your infantry, equipped with one scouring eye and scythed limbs.
- x3 Citadel 32mm round bases (Plasmancer, Cryptothralls)
- x2 60mm round bases (Skorpekh Lord, Canoptek Reanimator).
How to paint the Necrons Royal Court set
- Step 1: Prime Your Models
Ensure your models are clean and dry, then use a grey or white primer to prepare them for painting. Hold the spray can about 6-8 inches away and apply the primer in short, even bursts. Let it dry completely. - Step 2: Base Coat the Armor
Begin with the main body of your Necron models, covering their limbs, torso, and other armored parts with a base coat of Leadbelcher. Thin the paint slightly with water for smoother application. Start with a thin layer and allow some of the primer to show through to create depth. - Step 3: Details
Paint the unique details of your Royal Court members using metallic paints. For instance, use Balthasar Gold for intricate details like headdresses or staffs, and Brass Scorpion for additional brass and gold accents on the models. - Step 4: Accents
Use brighter metallic colors, such as Ironbreaker or Runelord Brass, to highlight raised areas on the armor, weapons, and other metallic parts. This adds depth and makes the models visually striking. - Step 5: Glow Effects
For the glowing elements, such as energy weapons, eyes, and symbols, use a color like Tesseract Glow. Apply it sparingly to create a vibrant, eerie glow. - Step 6: Shading with Nuln Oil
To enhance depth and contrast, selectively apply Nuln Oil to the recessed areas, emphasizing shadows and details. Be mindful not to overapply. - Step 7: Highlighting
With Runefang Steel, carefully paint the edges and raised areas of the armor and weapons. This simulates light catching on the surfaces, adding a captivating shine. - Step 8: Basing
Paint the bases with texture paints of your choice to match your preferred theme. These can be any shade, such as Agrellan Badland for a desolate look or Armageddon Dunes for a sand-like texture. Add grass, rocks, or other elements for added detail. - Step 9: Varnish
Finish your models by applying a protective varnish, such as Munitorum Varnish. This not only shields your work but also gives a professional, satin-matte finish, enhancing the overall appearance.

