
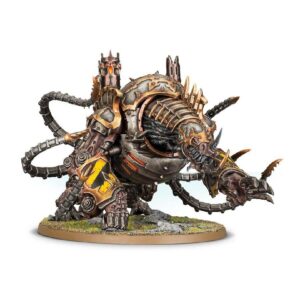
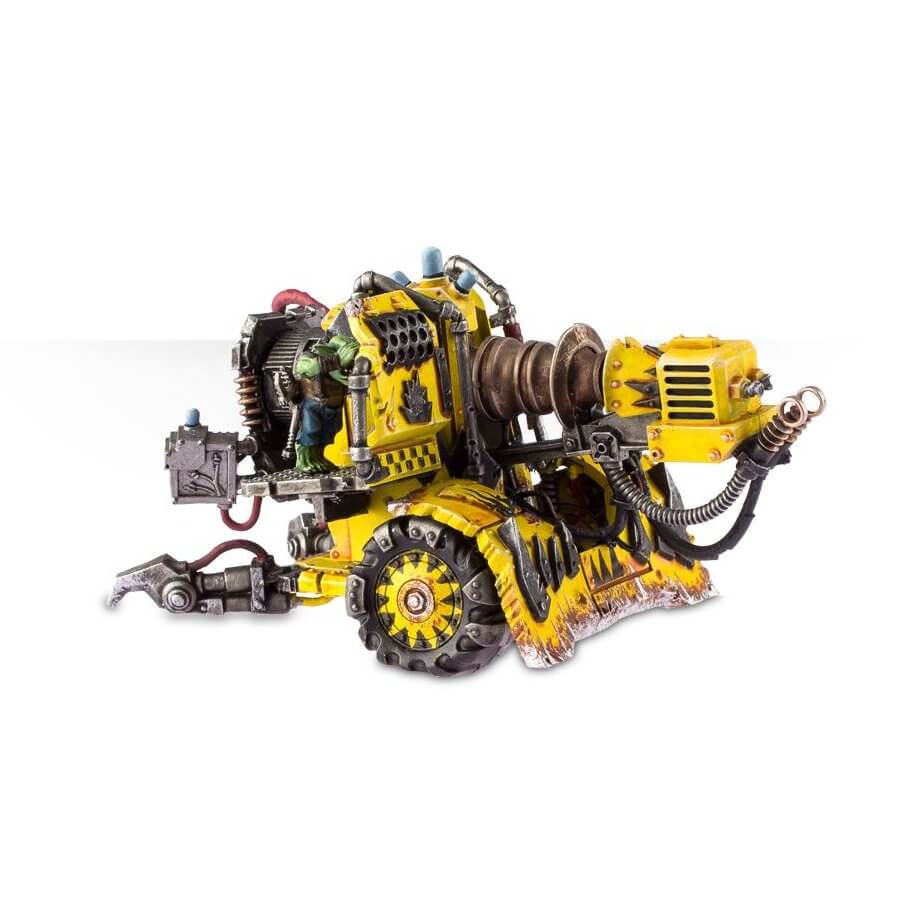
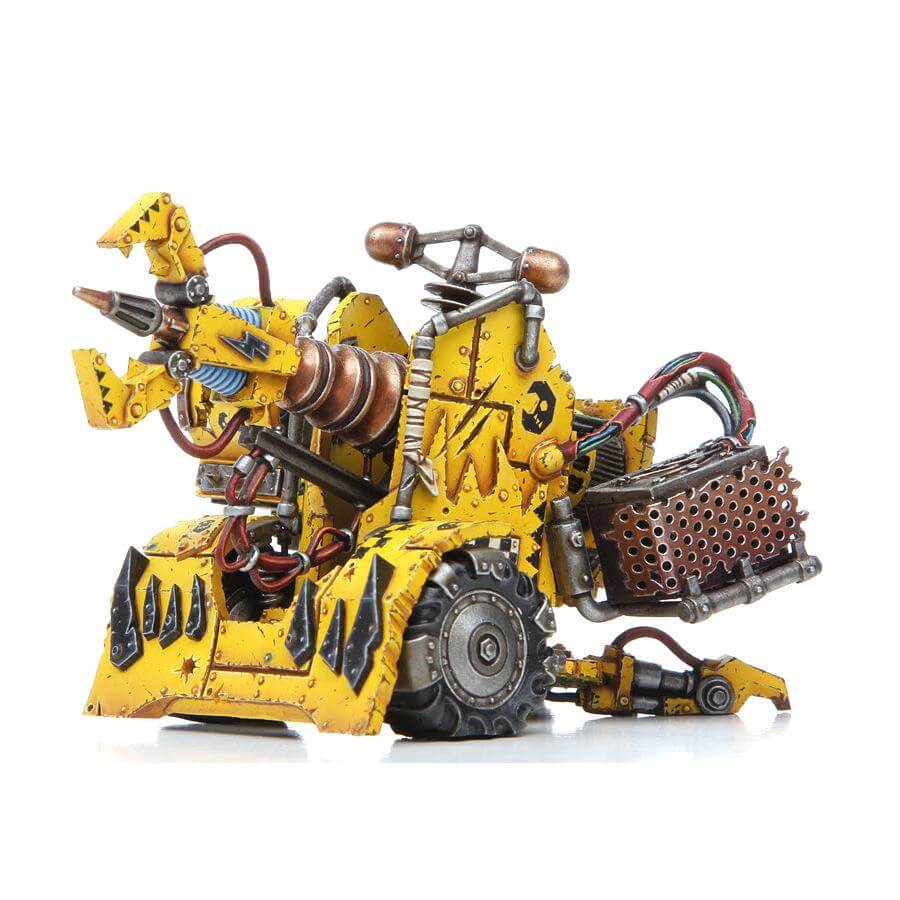
The Kustom Mega Kannon is a fearsome weapon that embodies the destructive prowess of Ork engineering. With its massive size and devastating firepower, it can obliterate enemy targets with terrifying precision, leaving nothing but wreckage in its wake. It is a testament to the Ork’s love for big, loud, and devastatingly effective weapons.
Manned by resilient grots, Mek Gunz armed with a Kustom Mega-kannon have spelled doom for countless adversaries (including a fair share of grots themselves!). With the ability to bore through a Space Marine from a considerable distance, its destructive force is unmatched, although it does come at a cost of a few singed grots along the way.
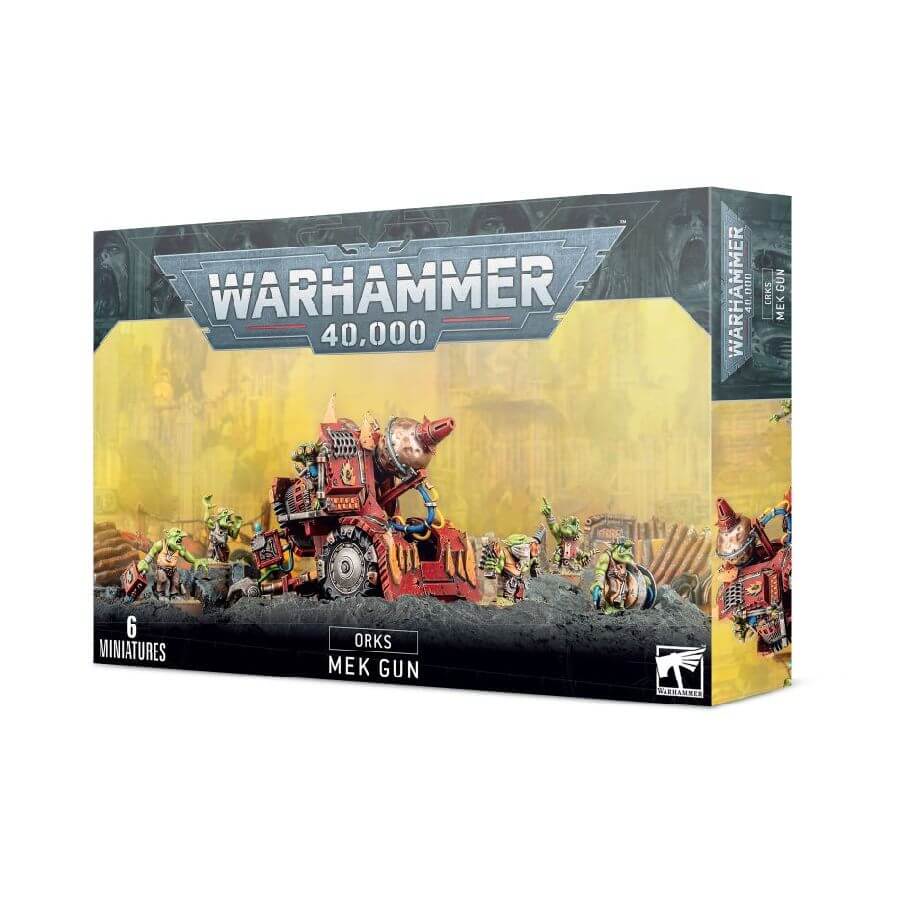
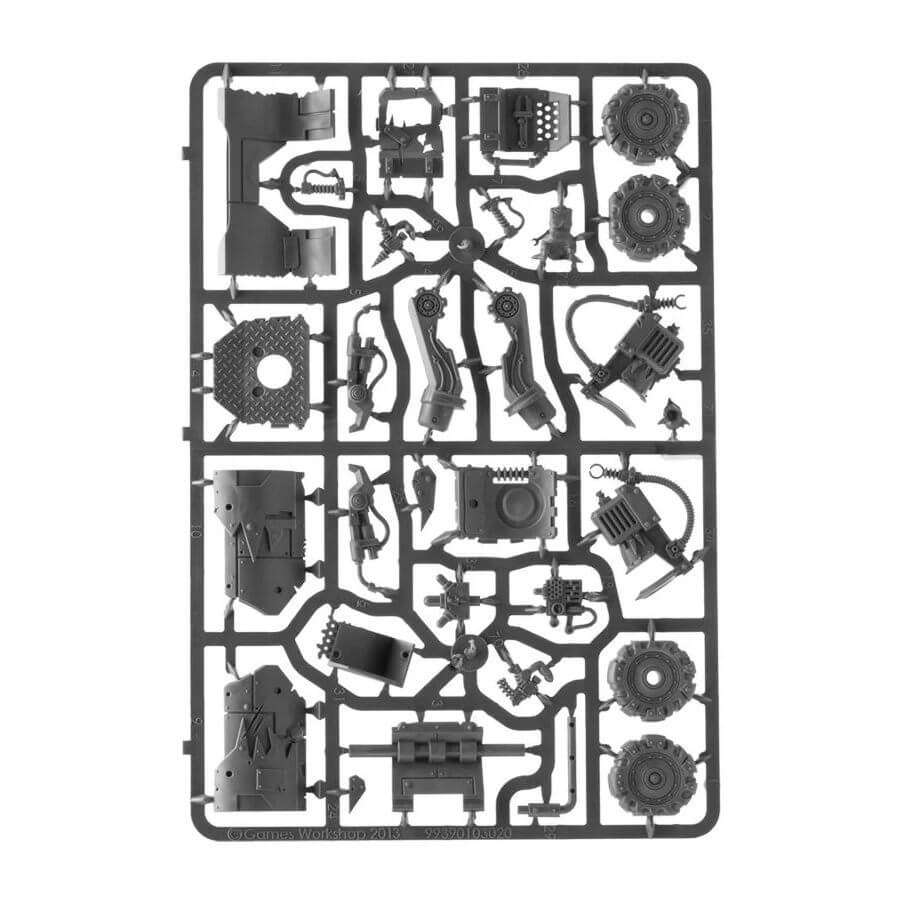
What’s in the Mek Gunz: Kustom Mega-kannon box
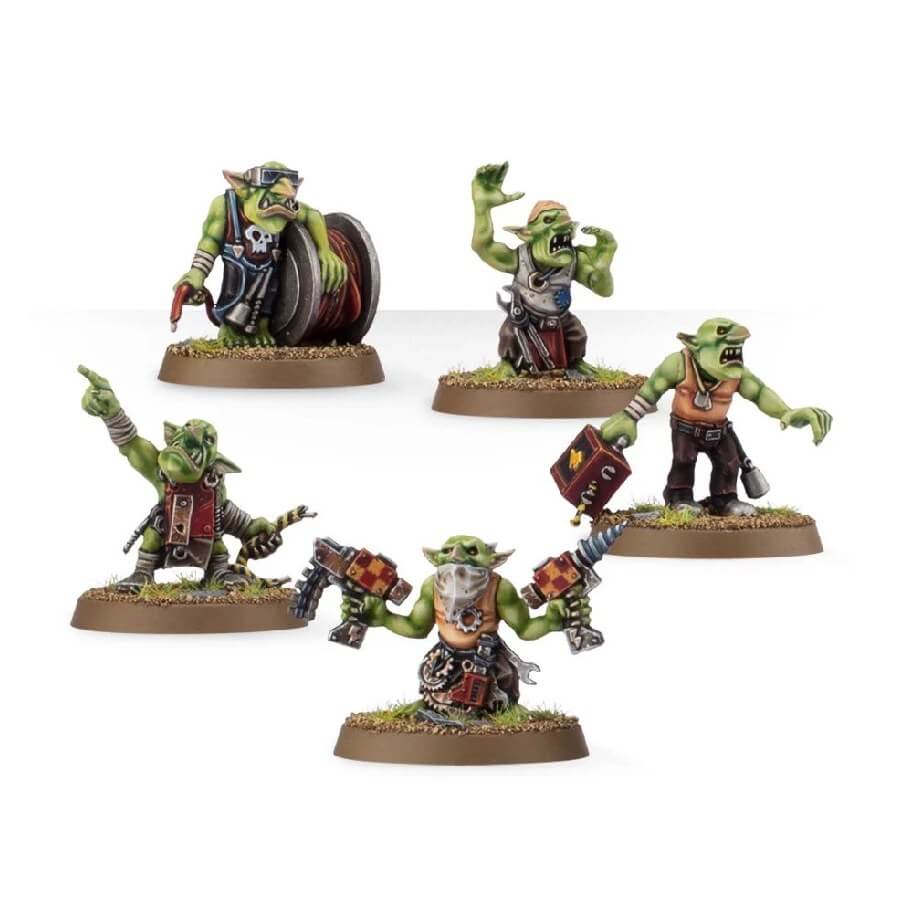
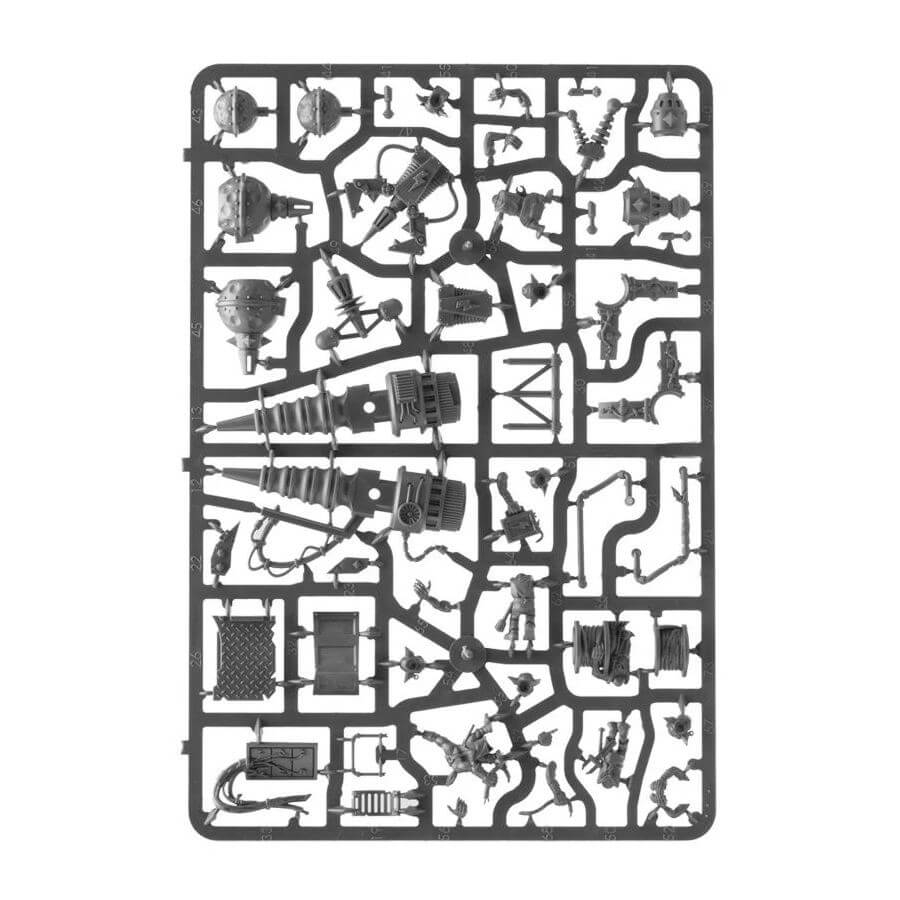
- x79 plastic components that make one of four possible Mek Gunz and 6 Gretchins. It can be assembled as a bubblechukka, a smasha gun, a traktor kannon or a kustom mega-kannon.
- x5 Citadel 25mm Round Bases for the Gretchins.
How to paint the Mek Gunz: Kustom Mega-kannon set
- Step 1: Priming
Before we start, make sure your Mek Gunz are clean and free of any mold lines or imperfections. Now, grab a can of Chaos Black spray primer and give the entire model a thin, even coat. This will create a smooth surface for the paint to adhere to. - Step 2: Base Colors
Let’s lay down the foundation of colors for our Mek Gunz. Grab your brush and apply Leadbelcher to all the metallic parts like the gun barrels, rivets, and mechanical gizmos. For the wooden sections, like the gun carriage or platform, use Rhinox Hide. And don’t forget the Ork skin! Give it that classic green look with Waaagh! Flesh. - Step 3: Layering
To add depth and detail, we’ll now apply some layering techniques to specific areas. Take a lighter metallic shade, Runelord Brass, and carefully highlight the edges and raised parts of the metallic components. For the wooden sections, grab Gorthor Brown and bring out those wood grain details. Lastly, mix Straken Green with a touch of Warboss Green to create a highlight color, which you’ll apply to the raised areas of the Ork skin. - Step 4: Wash
Washes are magical little helpers that bring out the details and create shadows. Let’s dive into it! With Nuln Oil wash and apply a thin, even coat over the metallic areas. This will darken the recesses, adding depth and a gritty look. For the wooden parts, use Agrax Earthshade wash to bring out richness and depth. And don’t forget our greenskins! Apply Biel-Tan Green wash to the Ork skin, focusing on the crevices and recesses. - Step 5: Detailing
It’s time to make these Mek Gunz truly stand out! Take a fine brush and dip it into Stormhost Silver. Use this to pick out small details like rivets, screws, or wires on the metallic parts. To give the wooden sections some character, use Dryad Bark to add wood grain patterns or create scratches and weathering effects. Mix Warboss Green with a little white to create a brighter highlight color, which you’ll apply sparingly to the raised areas. - Step 6: Basing
Now that our Mek Gunz are looking fantastic, let’s complete the scene by creating a base that matches your chosen theme. Apply Stirland Mud texture paint to the base, creating an uneven surface to mimic the ground. Once it’s dry, lightly dry brush Ushabti Bone or a suitable bone color on the raised areas for a worn or dusty effect. Finally, add some extra flair by incorporating static grass, rocks, or other scenic elements using a suitable adhesive like PVA glue.