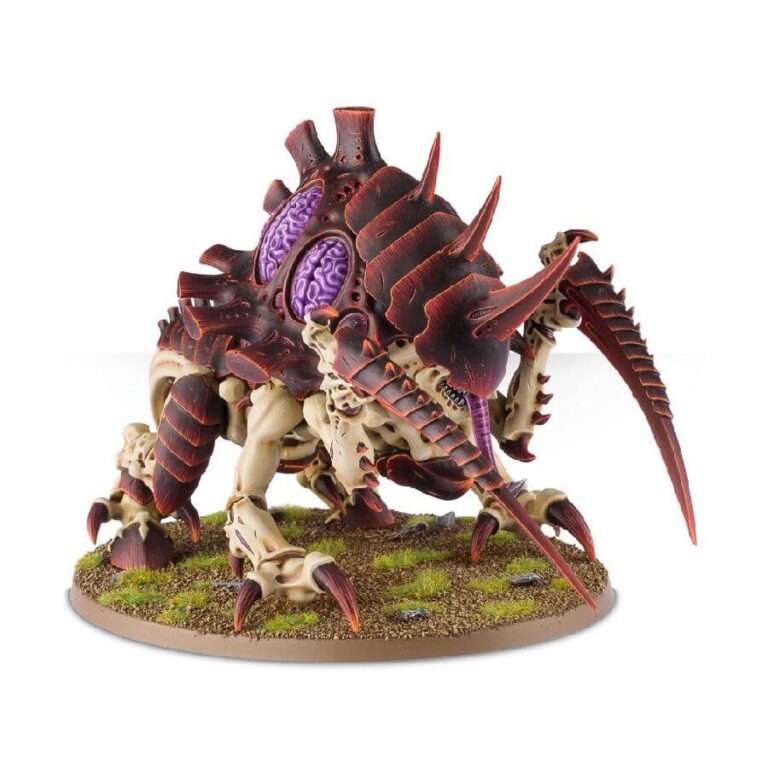
In the unforgiving realm of Warhammer 40,000, few creatures rival the Maleceptor in both its terrifying psychic prowess and its fearsome physical prowess. This living vessel channels the collective intelligence and sinister will of the Tyranid Hive Mind, making it a truly formidable opponent on the battlefield.
The Maleceptor’s eyeless cranium may seem unnerving, but it serves as a conduit for devastating power. Through this mysterious void, raw warp energy is channeled into deadly spears, capable of disintegrating both armored vehicles and heavily fortified structures, reducing them to nothing more than dust.
But the horrors do not end there. The Maleceptor is also a psychic force to be reckoned with. Its haunting keening screams reverberate through the minds of its enemies, shattering their mental fortitude and leaving them vulnerable to the impending onslaught. Only the strongest of wills can hope to resist such an onslaught, and even they may find their strength waning as the battle rages on.
And if the Maleceptor closes in for the kill, beware its powerful talons. These lethal appendages can rend through steel and bone with ease, leaving nothing but devastation in their wake. The sight of this living nightmare in the midst of combat is enough to strike fear into the hearts of even the bravest warriors.
Maleceptor Datasheets
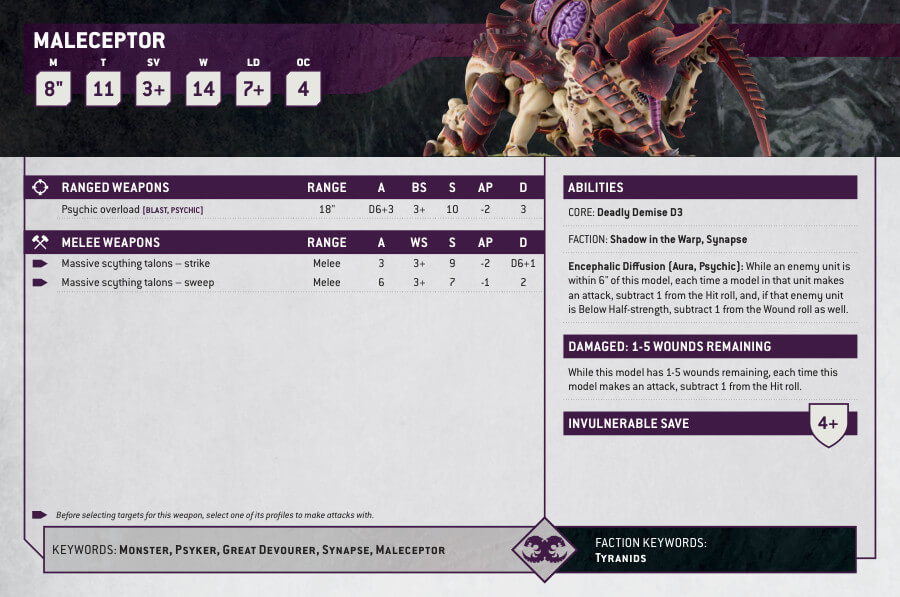
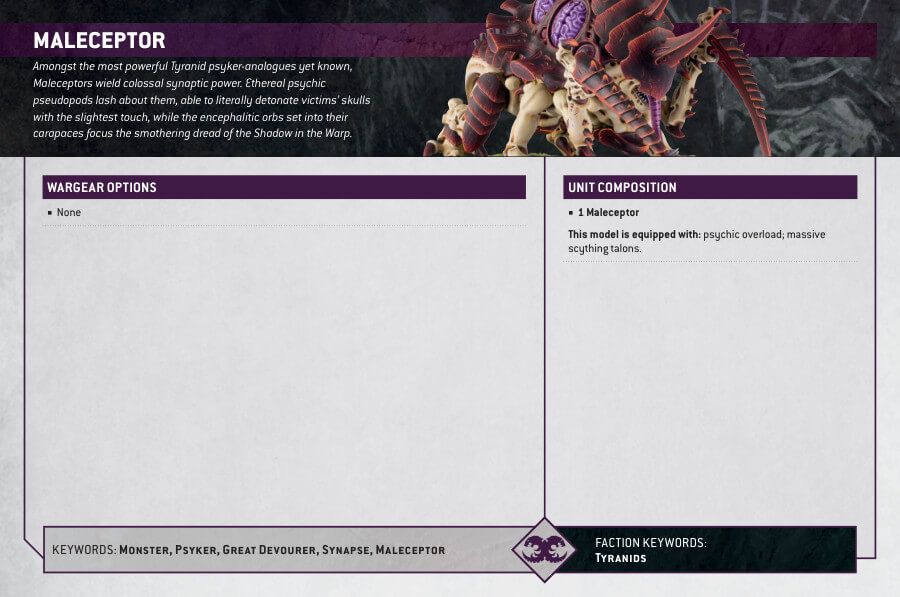
What’s in the Maleceptor box
- x55 plastic components that make one Maleceptor equipped with a pair of scything talons, which can be posed crouching or rearing up on its hind limbs.
This kit can alternatively be built as a Toxicrene. - x1 Citadel 120mm Oval Base.
How to paint the Maleceptor set
- Step 1: Carapace – Base Coat
Using a medium-sized brush, paint the Maleceptor’s carapace with Abaddon Black. Apply a smooth and even coat, ensuring full coverage of the exoskeleton. - Step 2: Carapace – Shade
For shading, use a mix of Kantor Blue and Abaddon Black to create a dark blue-black tone. Apply this shade to the recessed areas of the carapace to add depth and definition. - Step 3: Carapace – Layer
Using Thunderhawk Blue, apply a layer to the raised areas of the carapace, leaving the dark shade in the recesses. This layering will bring out the details and create a gradient effect. - Step 4: Carapace – Highlight
For highlighting, use a mix of Administratum Grey and Thunderhawk Blue to create a lighter blue tone. Apply this highlight to the edges and most prominent sections of the carapace to add brightness and contrast. - Step 5: Skin – Base Coat
Switch to a clean brush and apply Rakarth Flesh to the exposed skin areas of the Maleceptor. Take your time and ensure a solid and consistent coverage. - Step 6: Skin – Shade
For shading, use a mix of Reikland Fleshshade and Druchii Violet to create a purplish-brown shade. Apply this shade to the recessed areas of the skin to add depth and accentuate the muscles. - Step 7: Skin – Layer
Using Pallid Wych Flesh, apply a layer to the raised areas of the skin, leaving the shaded areas untouched. This layering will bring out the highlights and make the skin look more vibrant. - Step 8: Internal Organs – Base Coat
Now, focus on the Maleceptor’s internal organs. Apply Screamer Pink to these areas, making sure to cover them thoroughly. - Step 9: Internal Organs – Shade
For shading, use a mix of Carroburg Crimson and Abaddon Black to create a dark red shade. Apply this shade to the recessed areas of the internal organs to add depth and definition. - Step 10: Internal Organs – Layer
Using Pink Horror, apply a layer to the raised areas of the internal organs, leaving the shaded areas intact. This layering will create a vivid contrast and make the organs stand out. - Step 11: Final Touches
Once you have completed the layering and shading for all the relevant parts, take a step back and assess your work. If you notice any areas that need touch-ups or additional details, now is the time to address them. - Step 12: Varnish for Protection (Optional)
For added protection, use Citadel’s Munitorum Varnish. It shields the paint job from wear and tear, maintaining the model’s menacing appearance with a matte finish. Highly recommended for preserving your Maleceptor’s look on the battlefield. Happy painting!

