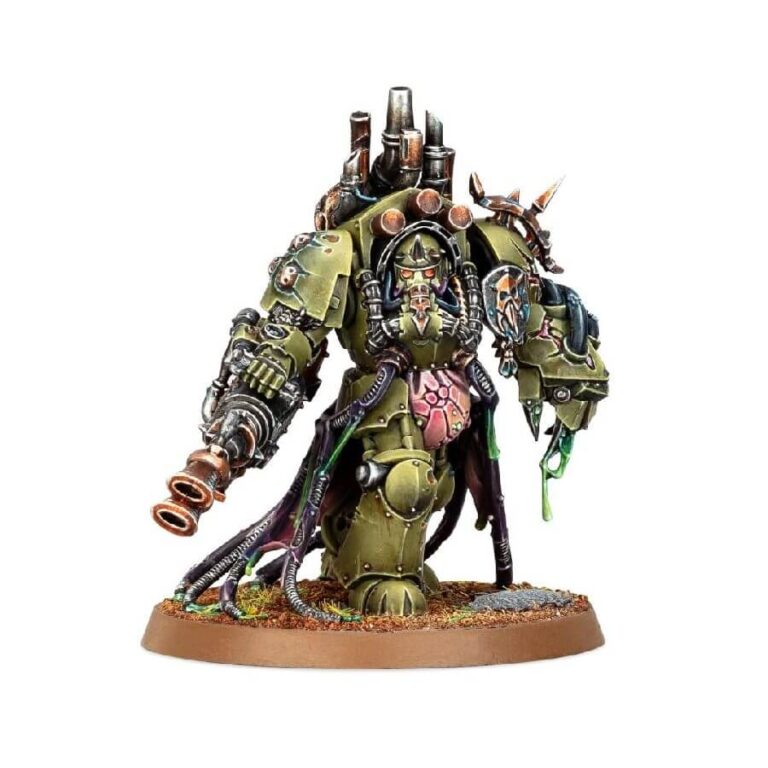
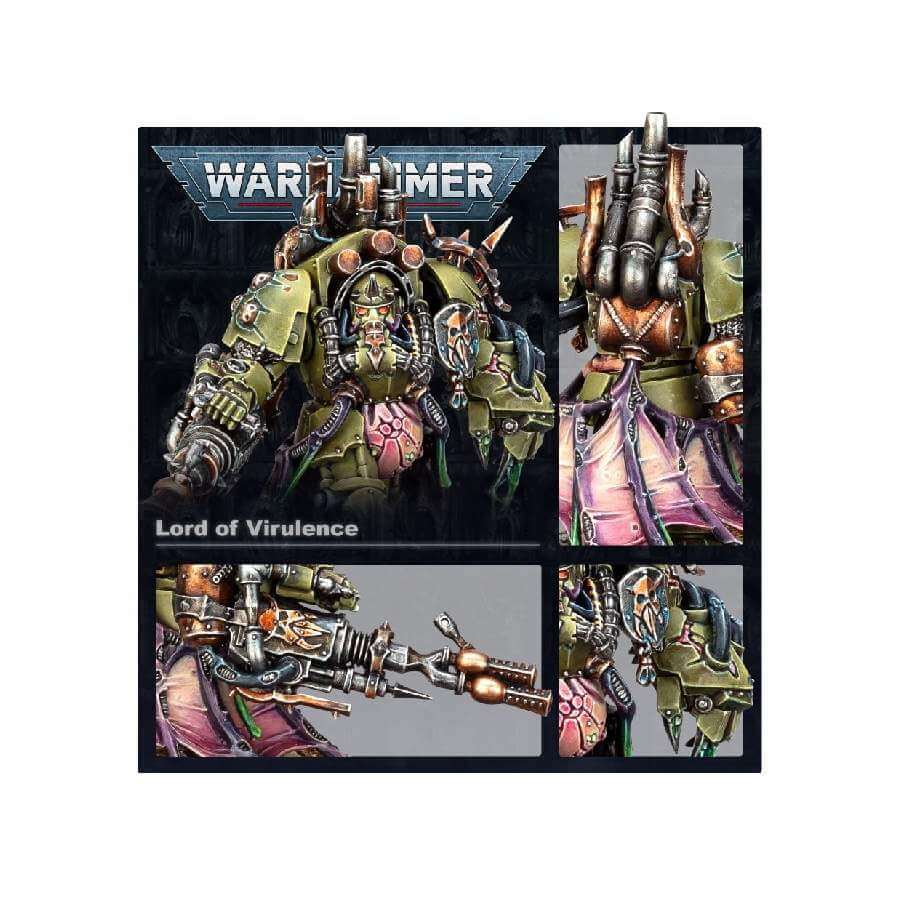
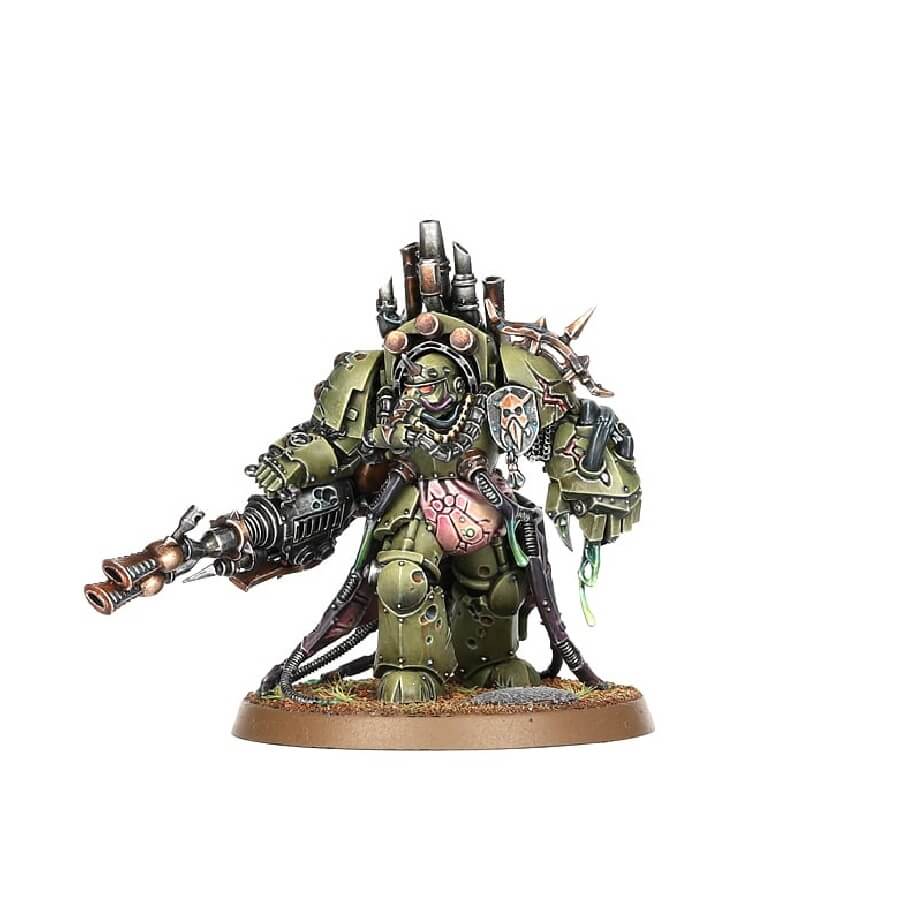
Take the helm of your Death Guard army with the awe-inspiring Lord of Virulence. Cloaked in the mutilated armor of a Terminator, this commanding figure proudly displays the symbols and signs of Grandfather Nurgle’s abundant blessings. With his twin plague spewer and plague claw in hand, he stands prepared to unleash a virulent wave of diseases upon the galaxy. Comprising a multitude of textures, the Lord of Virulence not only presents an enthralling painting project but also serves as the vanguard for your forthcoming Death Guard invasion.
What’s in the Lord of Virulence box
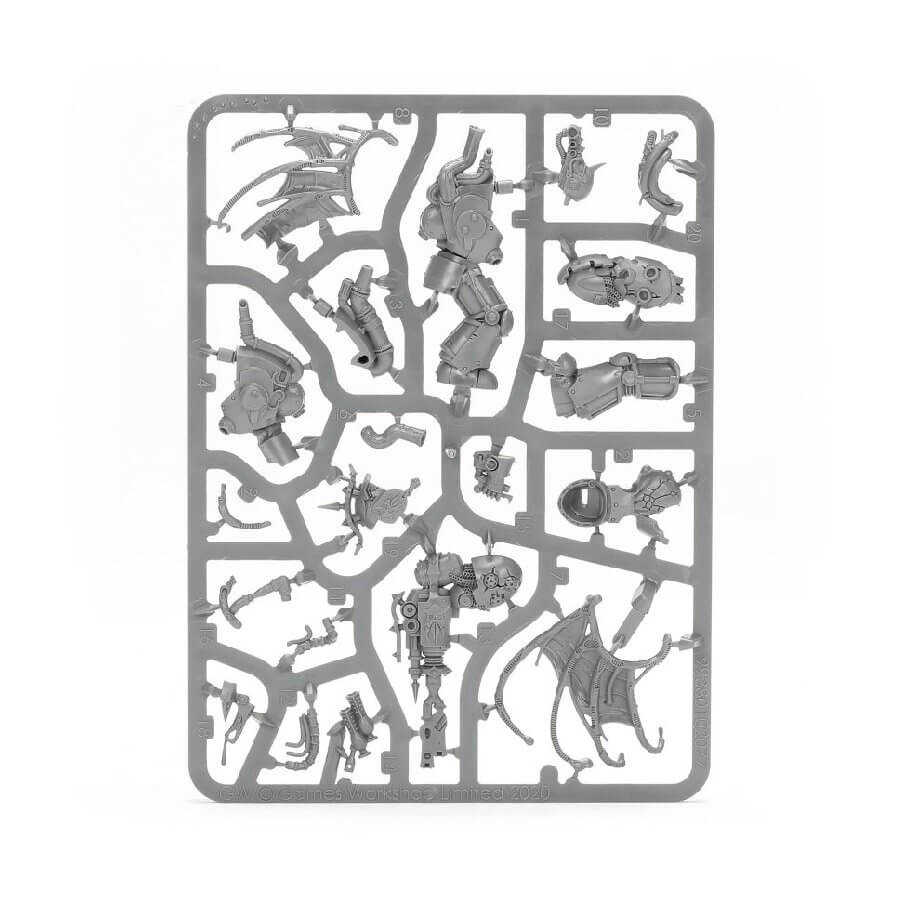
- x20 piece plastic kit that makes one Lord of Virulence. This captivating figure embodies the twisted allure of Nurgle’s realm, providing a striking centerpiece for your army and a symbol of your unwavering dedication to the Lord of Decay.
- x1 50mm Citadel round base
How to paint the Lord of Virulence set
- Step 1: Prime the model
Apply a thin, even coat of Chaos Black Spray (or any primer of your choice) to the Lord of Virulence. This helps the paint adhere better and provides a good base for further layers. - Step 2: Basecoat the armor
Using a medium-sized brush, apply a basecoat of dark green, such as Death Guard Green, to the armor of the Lord of Virulence. Ensure even coverage and let the paint dry completely. - Step 3: Highlight the armor
Using a smaller brush, carefully apply a layer of lighter green, like Nurgling Green, to the raised areas of the armor. This technique, called highlighting, adds depth and definition to the model. - Step 4: Paint the details
Switch to a fine detail brush to paint the smaller features. Use a dark color, like Brass Scorpion, for the intricate details such as the face, weapon, and accessories. Paint carefully to avoid any mistakes. - Step 5: Apply washes
To enhance the depth and shading, apply a wash, like Nuln Oil, to the entire model. This will settle into the recesses, emphasizing the details and providing a more realistic appearance. - Step 6: Add final highlights
Using a small brush, carefully apply a final highlight of lighter green, such as Moot Green, to the edges and raised areas that were previously highlighted. This adds a finishing touch and brings out the sharpness of the model. - Step 7: Base and finishing touches
Paint the base with a layer of texture paint or apply sand and rocks using PVA glue for a realistic look. Once dry, you can paint the base to match your preferred style. Astrogranite is a good choice for this, and you can use it in future projects too.