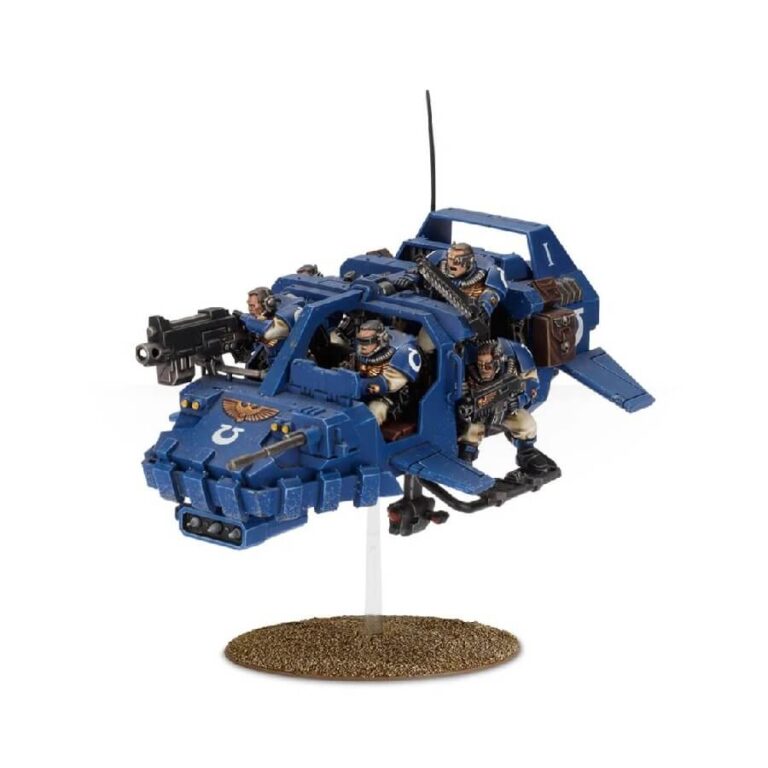
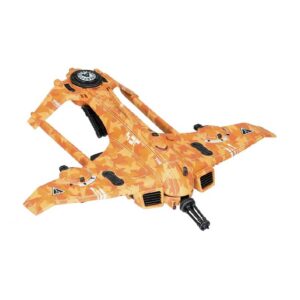
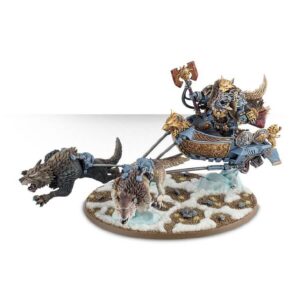
The Land Speeder is a remarkable vehicle that uses advanced repulsion plate technology to glide effortlessly over a planet’s gravitational field, allowing it to perform agile low-altitude maneuvers. Among the various types of Land Speeder, the Land Speeder Storm is a particularly versatile model that can be adapted to suit a variety of tactical situations. Whether serving as a mobile firebase, an assault transport, or a stealth insertion craft, the Land Speeder Storm is an essential tool for any Space Marine commander. With its impressive speed and maneuverability, the Land Speeder Storm offers unparalleled flexibility on the battlefield, allowing Space Marine units to quickly respond to changing combat objectives and gain the upper hand against their foes.
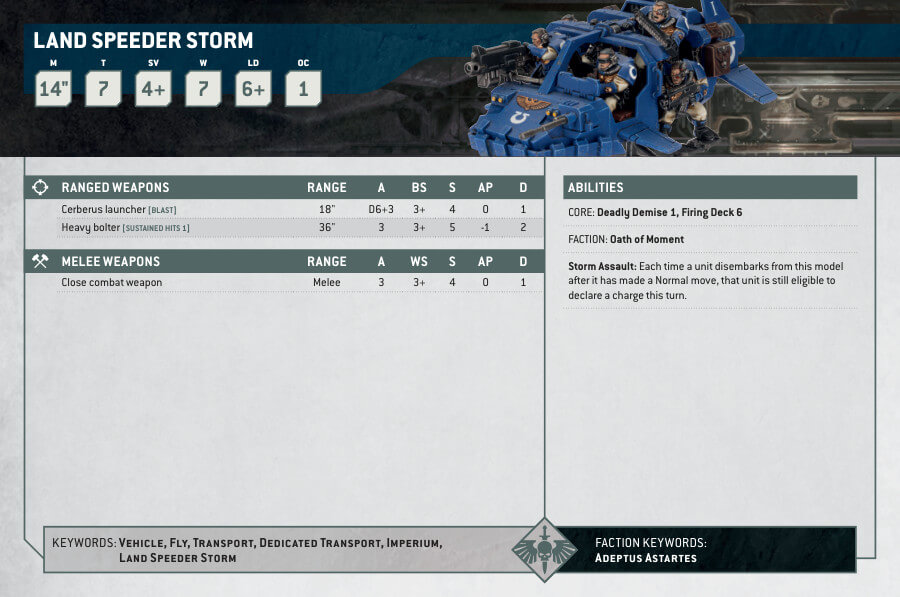
Land Speeder Storm Datasheets
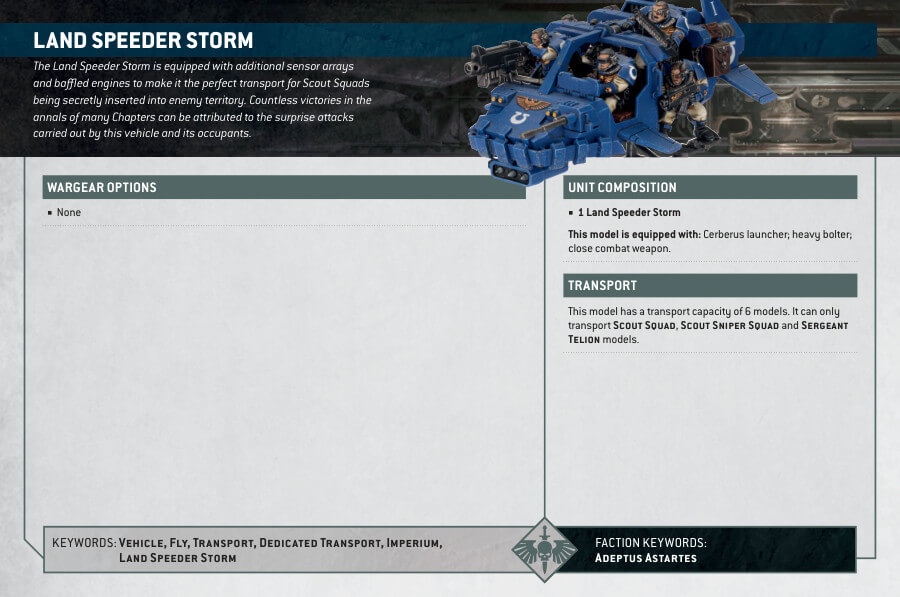
What’s in the Land Speeder Storm box
- x99 pieces, this set offers a wide range of customization options, allowing you to build The Land Speeder Storm. The set also contains a Cerberus launcher, a heavy bolter and a range of head, weapon and arm options for the Scout crew. Also included are a host of accessories including: pouches, grenades, scopes, packs and knives.
- x6 Space Marine Scouts, each with a variety of head, weapon, and arm options to choose from.
- x1 large flying base.
How to paint the Land Speeder Storm set
- Step 1: Priming
Before you start painting, it’s important to prime your model. Priming helps the paint adhere better. Use Chaos Black Spray evenly over your model, ensuring full coverage. Let it dry completely. - Step 2: Base Coat
Start with the base coat. For an Ultramarines Land Speeder Storm, use Macragge Blue paint. Apply a layer of this paint evenly over the entire model. Use thin, even strokes to avoid clumps and streaks. - Step 3: Shade
Shading adds depth and dimension to your model. To shade, use Nuln Oil paint, thinned with a bit of water. Apply this mixture to the recessed areas of your model, like the panel lines and crevices. This will create shadows and make the details stand out. - Step 4: Highlights
Highlights make your model pop. Take a lighter shade of blue like Calgar Blue and apply it to the raised areas of the model. For example, edges, corners, and prominent features. This simulates light hitting those areas. - Step 5: Details
Now, it’s time to paint the small details. For black details, use Abaddon Black. For the skin of the crewman, use Cadian Fleshtone. For gold details, like faction emblems, use Retributor Armor. Use a fine brush and steady hand for this step. - Step 6: Weathering
To give your model a battle-worn look, use Ryza Rust and Typhus Corrosion. Apply Ryza Rust sparingly to simulate rusted metal, and then use Typhus Corrosion to create a gritty, corroded texture. - Step 7: Basing (optional)
For basing, consider using technical paints to paint the base. You can use textured paints like Stirland Mud or Martian Ironcrust to create a realistic terrain effect that complements your model. - Step 8: Varnish
If you want to protect your hard work, apply Munitorum Varnish. This will safeguard your paint job and keep it looking great for a long time.

