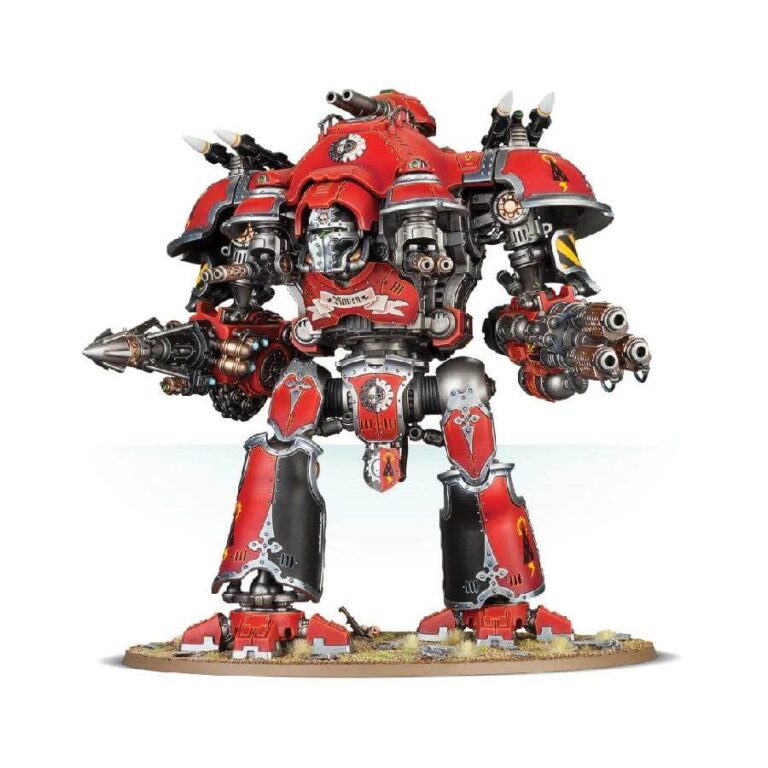
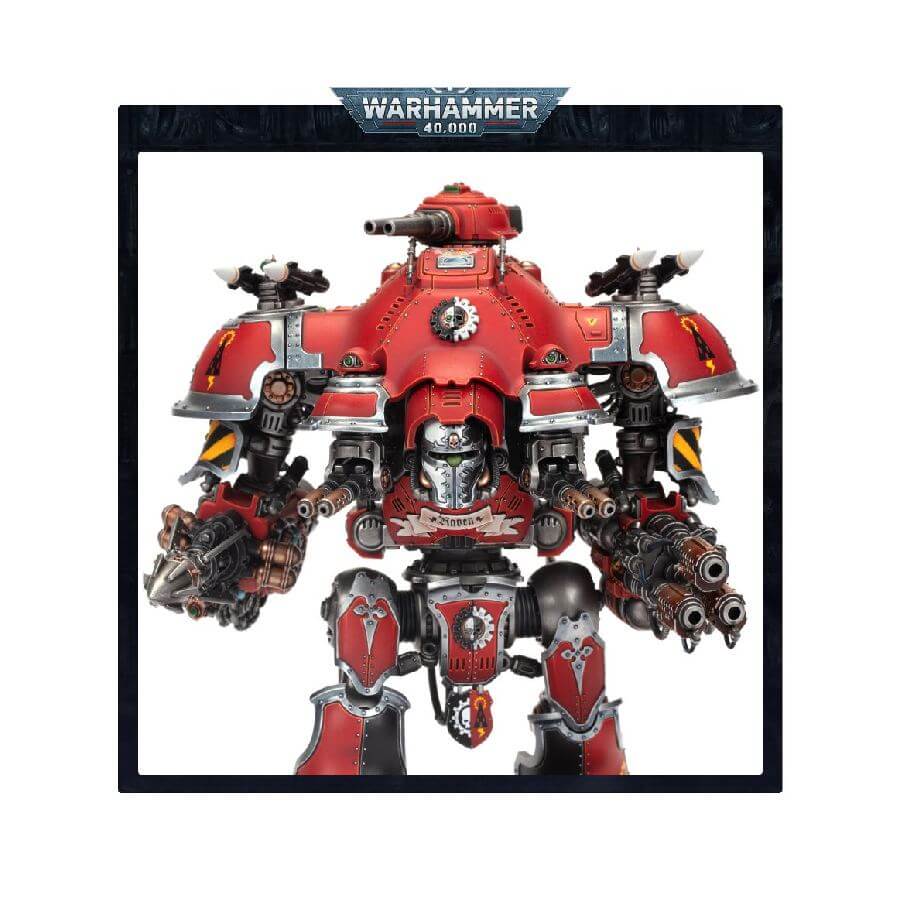
The Dominus-class Knights stand proudly as one of the most formidable war machines that any Knight house can boast. These colossal walking fortresses command attention as they stride unwaveringly into battle, equipped with weaponry capable of decimating entire armies, rendering enemy gunfire futile against their impenetrable ion shields. Among these awe-inspiring giants, the Knight Valiant emerges as a true champion, leveraging overwhelming firepower to obliterate adversaries at close range.
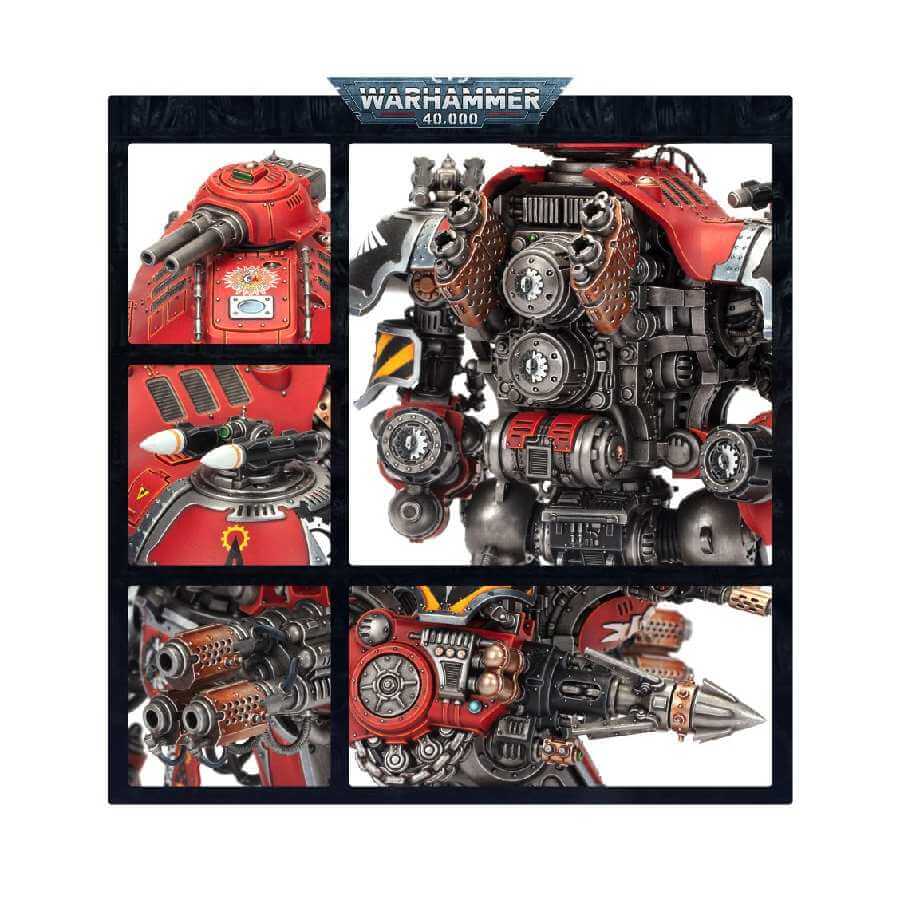
At the heart of the Knight Valiant’s arsenal lies the devastating conflagration cannon, a weapon that unleashes an unrelenting storm of scorching flames. Its power is unmatched, engulfing the battlefield in an inescapable inferno that reduces incoming hordes to mere ashes. No opposing battle lines can withstand the fiery onslaught as the Knight Valiant charges forward, leaving a trail of destruction in its wake.
But the destructive capabilities of the Knight Valiant don’t end there. Armed with the thundercoil harpoon, it possesses an instrument of unparalleled strength against tanks and monstrous foes. With this formidable weapon in its grasp, the Knight Valiant strikes with impunity, piercing through armored vehicles and even dispatching formidable beasts with ease.
In the ever-evolving world of warfare, the Dominus-class Knights, and particularly the awe-inspiring Knight Valiant, continue to prove their worth on the battlefield. As they tower over their adversaries, their unyielding presence inspires both allies and enemies alike. With their ability to unleash overwhelming firepower, these walking fortresses leave an indelible mark in the annals of war, ensuring victory for those who are fortunate enough to have them in their ranks.
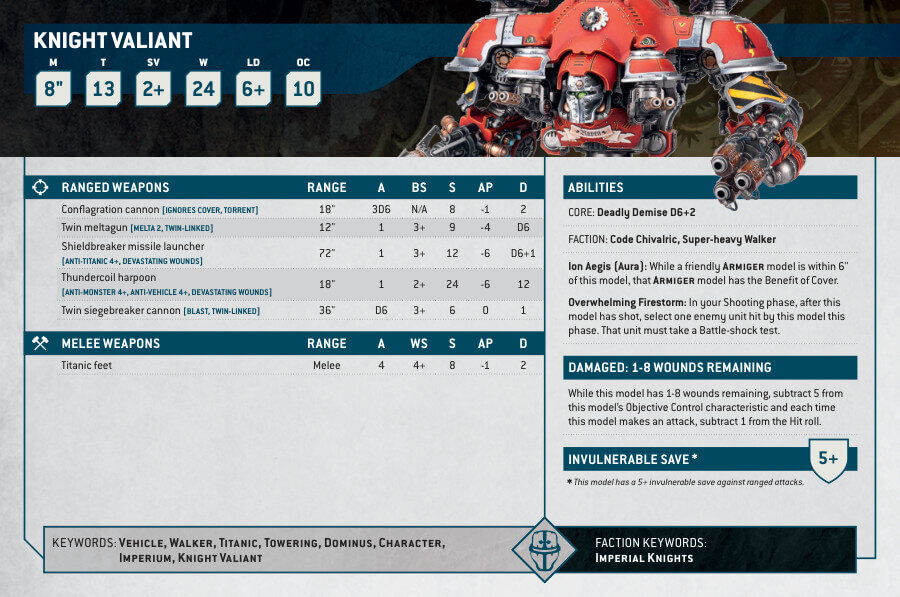
Knight Valiant Datasheets

What’s in the Knight Valiant box
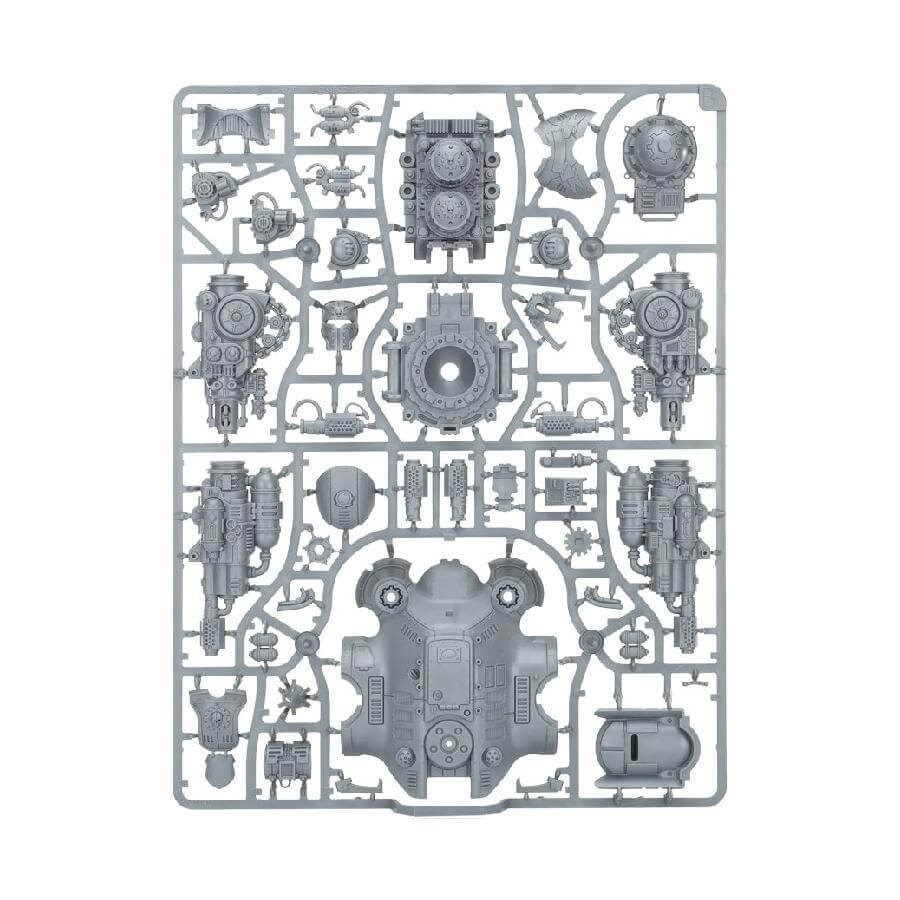
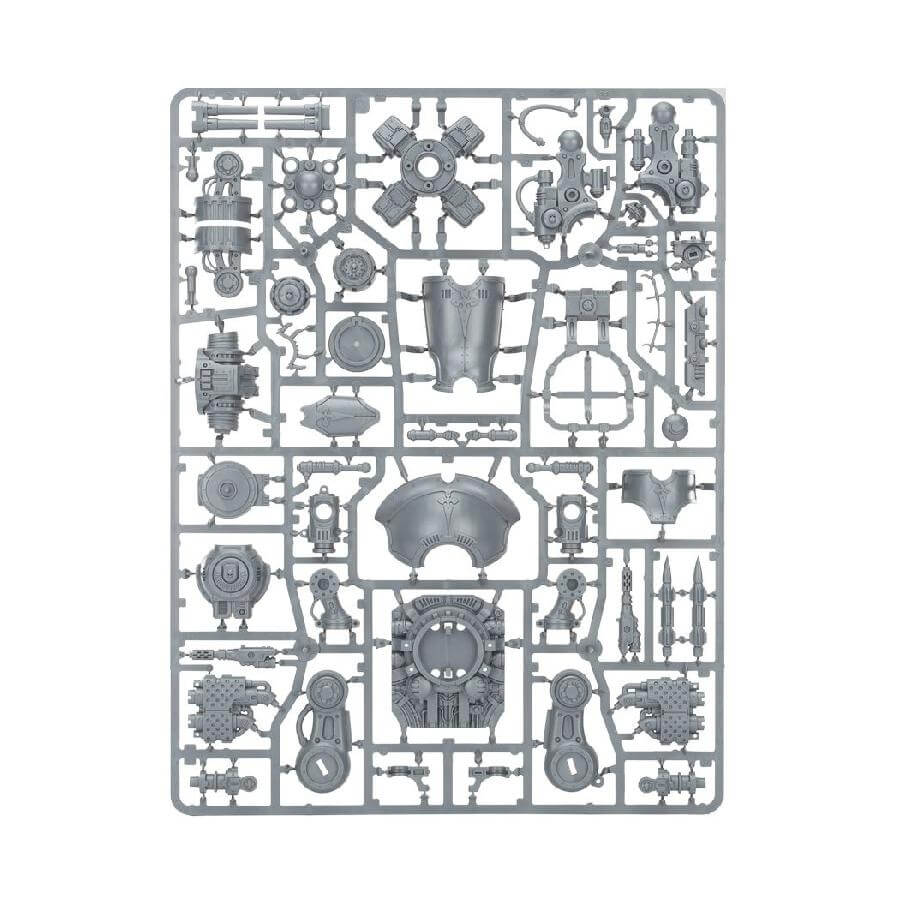
- x172 plastic components kit that can be used to assemble a Knight Castellan, Knight Valiant, or Knight Tyrant for Chaos Knights.
- x1 Citadel 170 x 109mm Oval Base
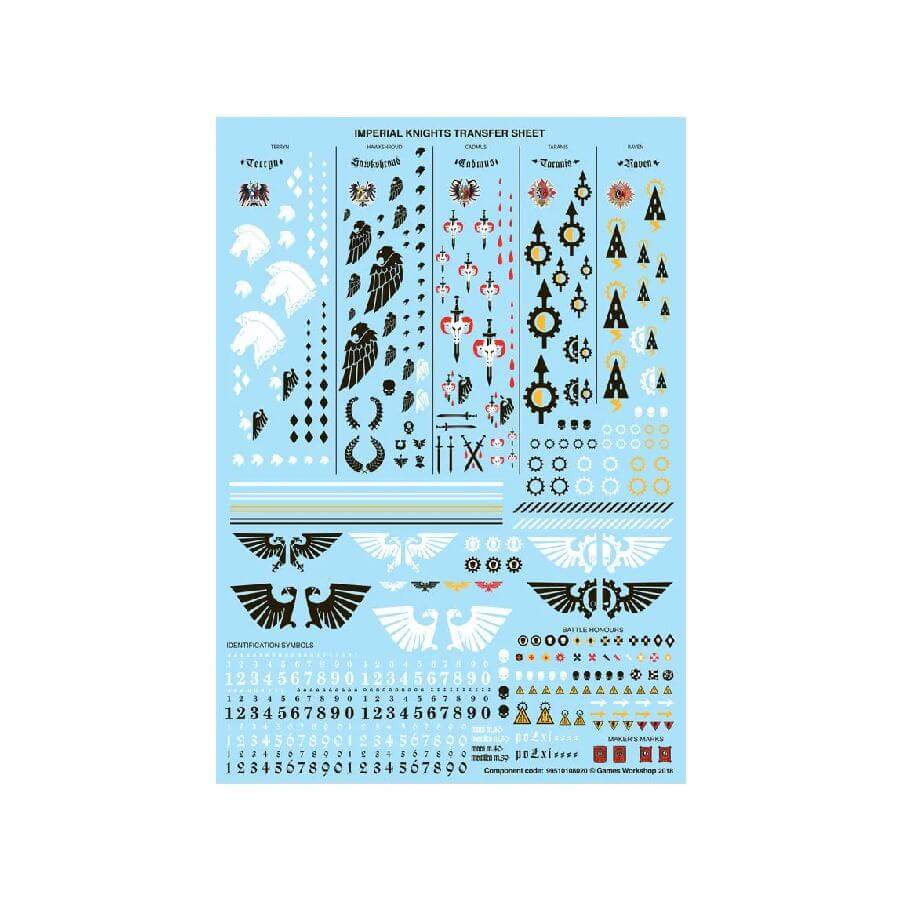
- x1 Dominus transfer sheet featuring heraldry for Imperial Knights is included
How to paint the Knight Valiant Set
- Step 1: Priming
Begin your painting journey by priming your Knight Valiant with a coat of Leadbelcher spray primer. This essential step provides a solid metallic foundation for your paint to adhere to. Make sure to prime the entire model evenly, allowing it to dry completely before moving on. - Step 2: Base Coat
Start by applying a smooth and even base coat of Mephiston Red to all the armor plates. This initial layer establishes the fundamental color for your Knight’s armor. Be thorough in your application and let it dry completely. - Step 3: Shading
Now, it’s time to create depth and dimension. Use Agrax Earthshade to shade the armor plates. Focus on the recesses and areas where shadows naturally occur. The shade adds richness to the red hue. Allow it to settle for added depth before moving on. - Step 4: Highlight the edges
Next, highlight the edges of the armor to make them pop. Choose a lighter shade of your base color and carefully apply it along the raised edges using a smaller brush. This technique called “edge highlighting” adds definition and a three-dimensional look to your model. For example, you can use Evil Sunz Scarlet for the red armor plates. - Step 5: Additional Layer
Take it a step further by adding a final layer of Wild Rider Red. Concentrate on the most raised areas. This extra layer creates a gradual transition from dark to light, adding dynamism to the armor. - Step 6: Shading Metallic Components
With the Leadbelcher base already in place, infuse a weathered look into the metallic components, by using Nuln Oil for shading. Apply it generously, allowing it to settle into the crevices and recesses. This shading step adds depth and realism to the metal parts. Let the shade dry thoroughly. - Step 7: Layering Metallic components
To layer the metallic components, use Ironbreaker. Focus on the edges and raised areas. This step creates a polished, reflective finish, bringing the metal to life. - Step 8: Detail the weapon and embellishments
For smaller details on your Knight Valiant, utilize these colors:
Averland Sunset and Abaddon Black, to create a danger zone pattern on the shoulder pads or to paint other small details.
Warplock Bronze for bronze elements, like the gun barrels or other mechanical components.
White Scar for precise details, such as symbols and emblems.
Take your time to ensure precision and clarity. - Step 9: Base the model
To complete the look of your Knight Valiant, create a base for it to stand on. Use textures, such as Astrogranite or Stirland Mud, to add dimension and realism. Then, paint the base to match your desired theme, whether it’s a sandy desert or a grassy field. Add some tufts or static grass for extra detail. - Step 10: Varnish and protect
To protect your hard work, apply a varnish to the painted model. Varnish not only provides a protective layer but also adds a consistent finish. Use a spray varnish in either matte or gloss, depending on your preference. Apply it evenly, following the instructions on the varnish can.