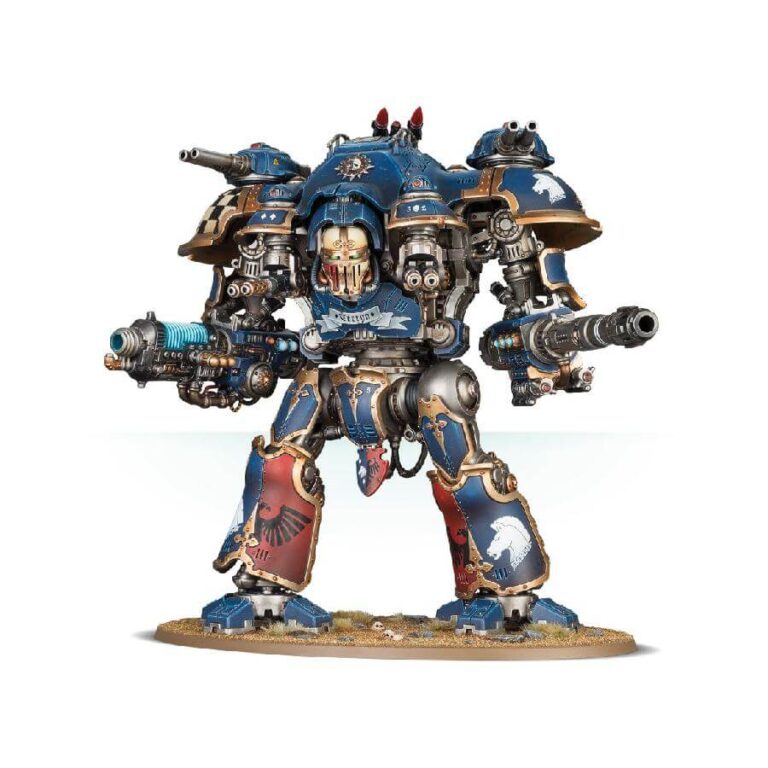
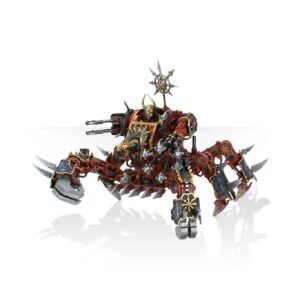
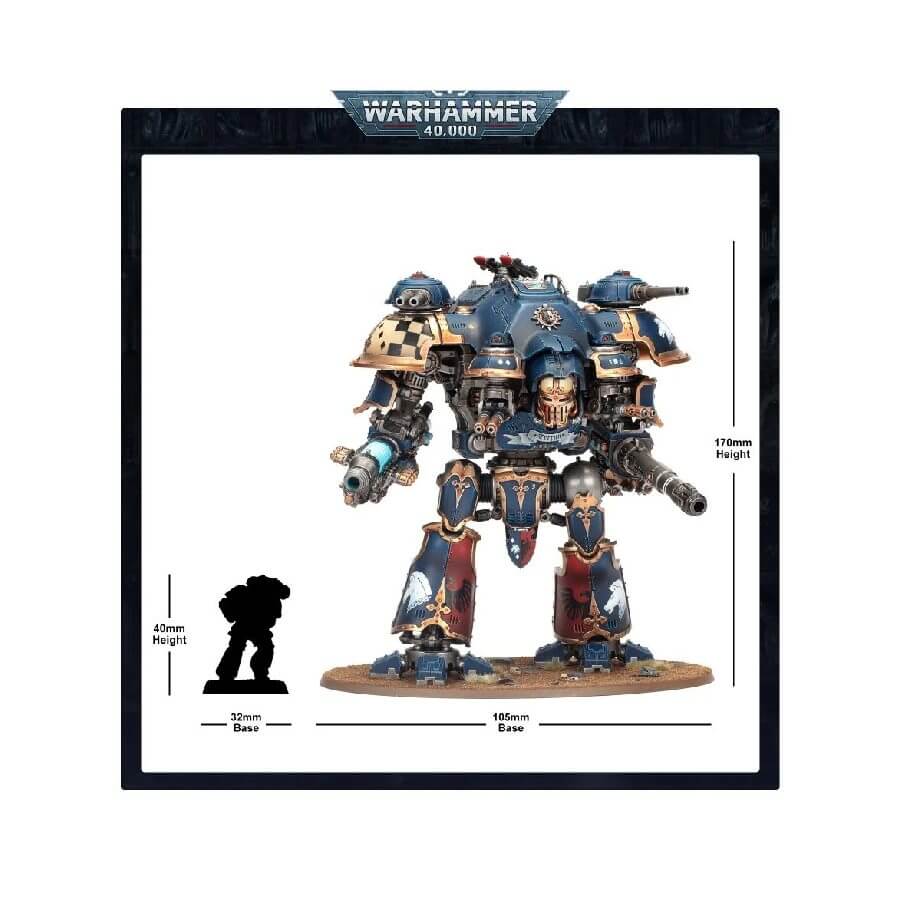
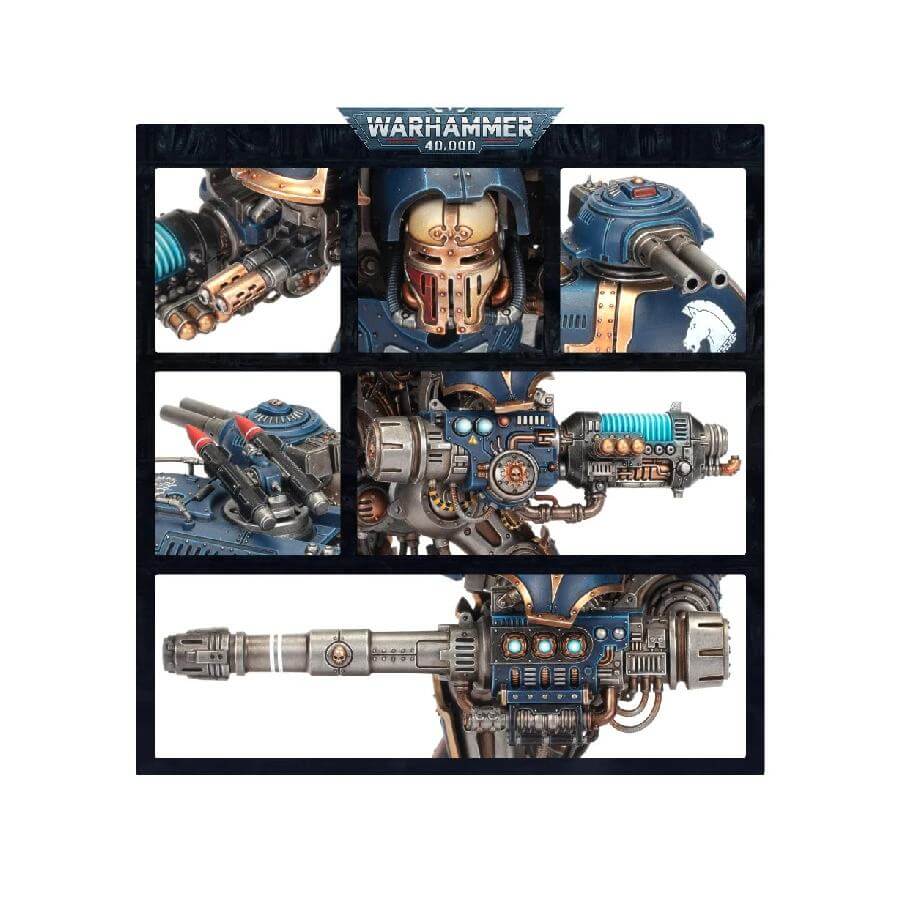
The Dominus-class Knights are massive machines armed with long-range weaponry, making them a formidable force on the battlefield. The Knight Castellan, available as a multipart plastic kit, is a mobile artillery battery capable of unleashing a frightening array of weapon systems, including the powerful plasma decimator and volcano lance. It also features a variety of carapace-mounted meltaguns, shieldbreaker cannons, and missiles, making it a versatile addition to your Imperial Knights army or Imperium forces. With a range of poses, face plates, and armour pieces, this kit offers plenty of customization options, allowing you to create a unique and impressive centrepiece for your collection.
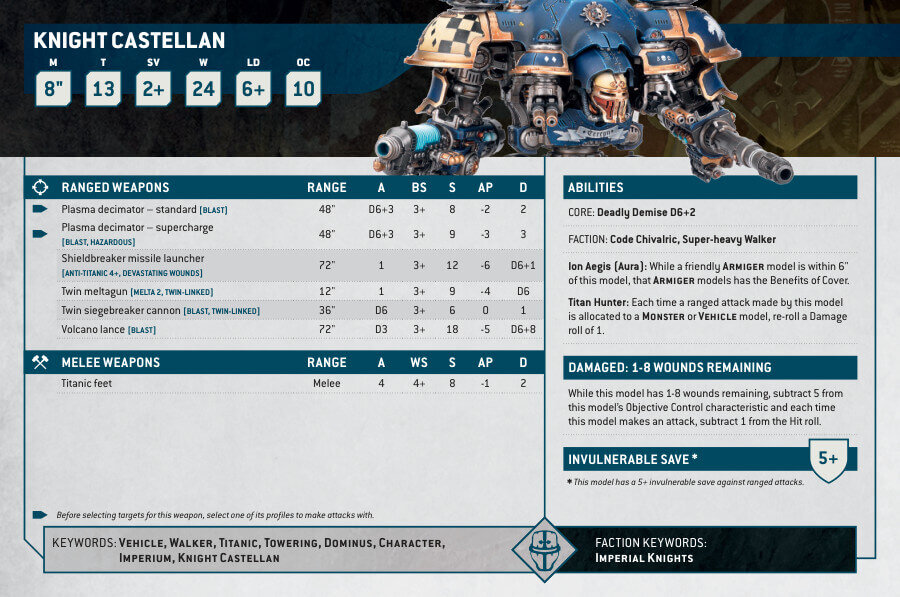
Knight Castellan Datasheets
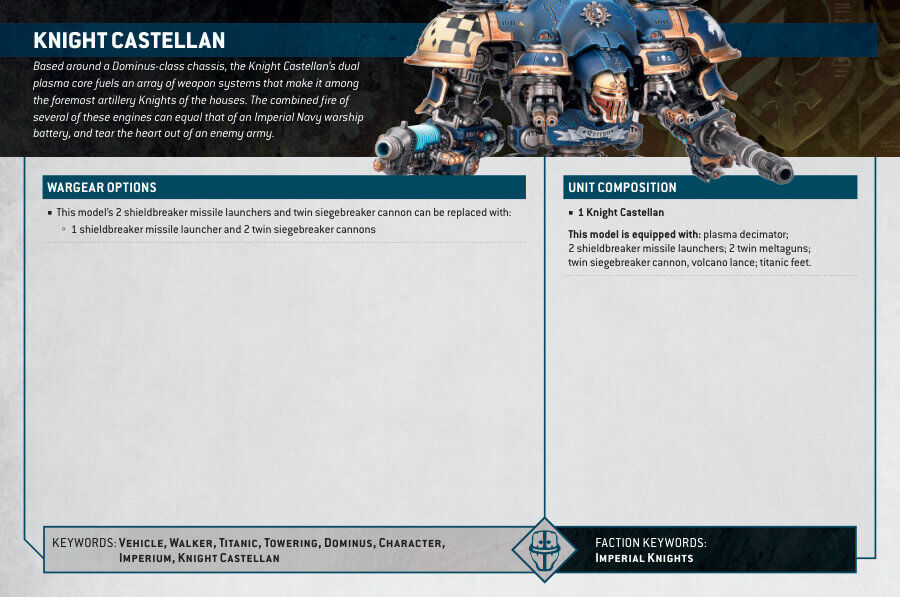
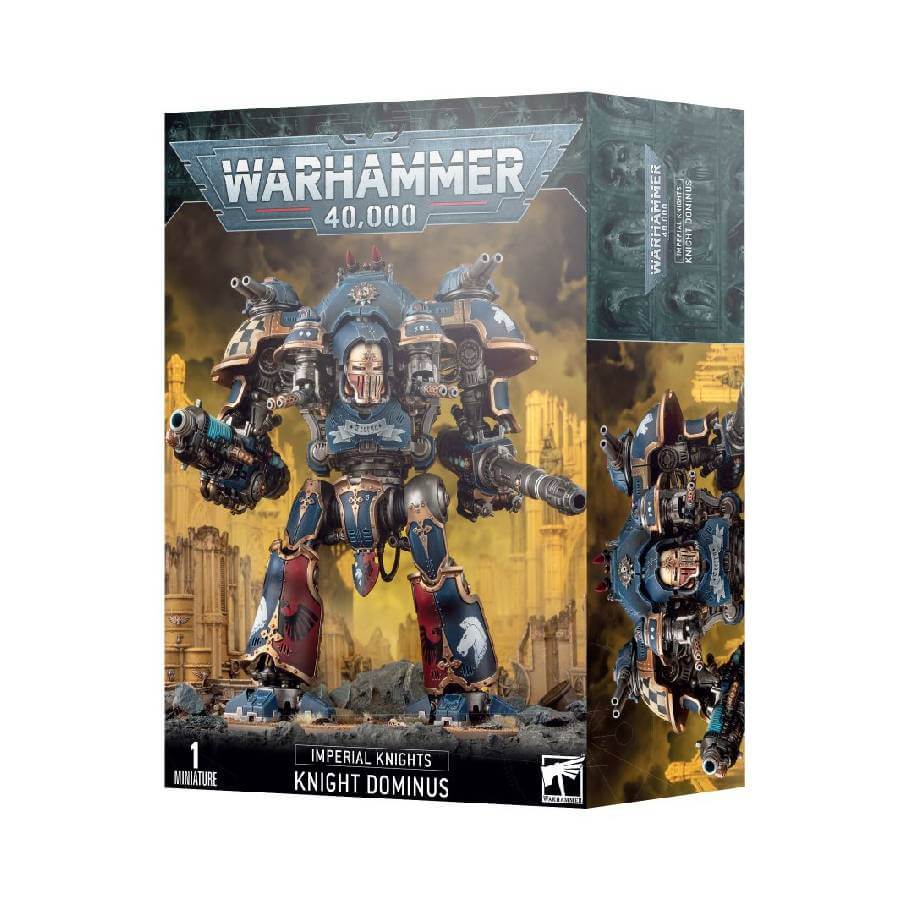
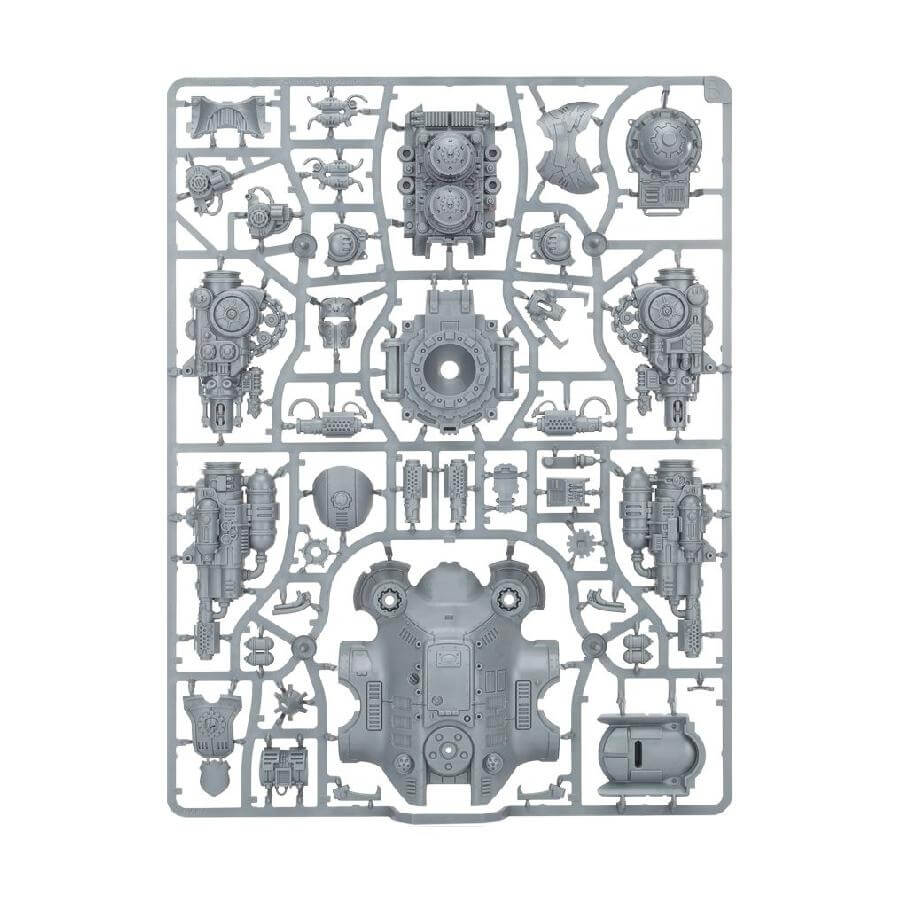
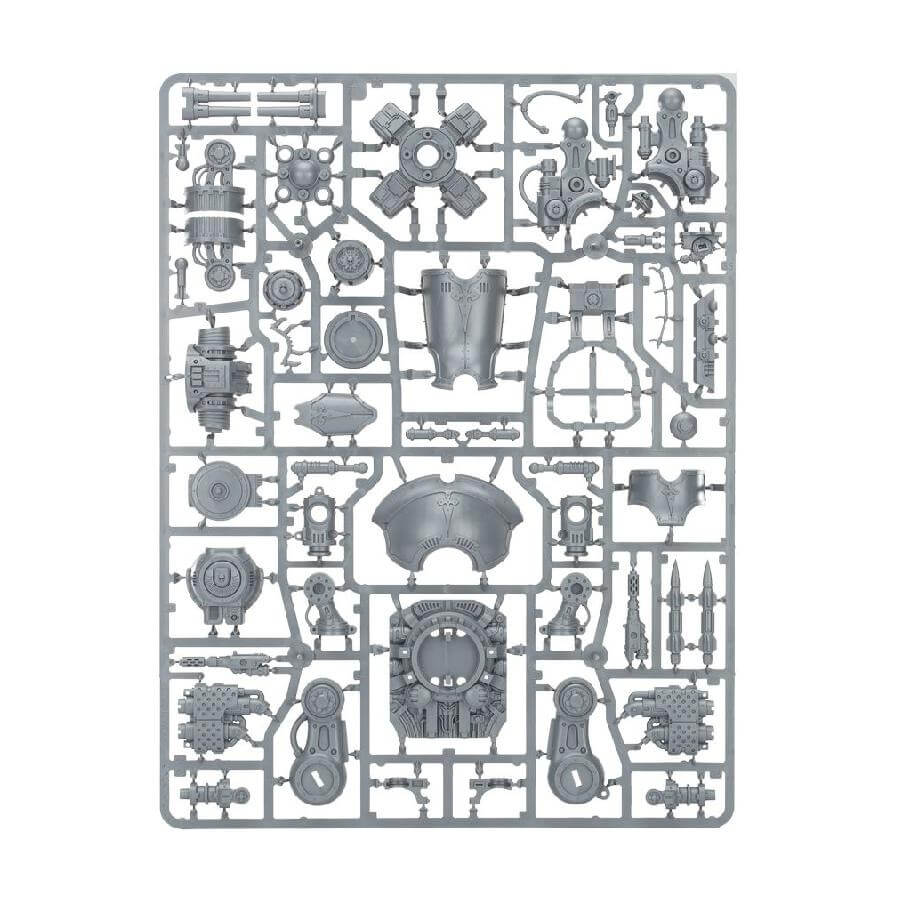
What’s in the Knight Castellan box
- x172 plastic components kit that can be used to assemble a Knight Castellan, Knight Valiant, or Knight Tyrant for Chaos Knights.
- x1 Citadel 170 x 109mm Oval Base
- x1 Dominus transfer sheet featuring heraldry for Imperial Knights is included
How to paint the Knight Castellan Set
- Step 1: Priming
For the priming step, you’ll want to ensure that your Knight Castellan has a solid foundation. Use Leadbelcher spray primer, which will provide a metallic base for your paint to adhere to. Make sure to prime the entire model thoroughly, covering all surfaces evenly. Allow the primer to dry completely before proceeding to the next step. - Step 2: Armor Plates (Creating a Base Coat)
Now, move on to painting the armor plates with Caledor Sky, ensuring that you achieve an even and consistent coverage. This vibrant blue will serve as the base color for your Knight’s armor. - Step 3: Adding Depth to Armor (Shading and Layering)
To add depth and definition to the armor, apply a shade like Drakenhof Nightshade. Focus on the recesses and areas where shadows naturally occur. Once the shade is dry, layer the armor with Hoeth Blue. Apply this layer to the raised areas and edges to create highlights and depth. For an even brighter effect, add another layer of Hoeth Blue to enhance the highlights further. - Step 4: Metallic Parts (Shading and Layering)
Shade the metallic parts with Nuln Oil to achieve a weathered appearance. Allow the shade to settle into the crevices and recesses. Once dry, layer the metallic parts with Stormhost Silver, focusing on the raised areas for a shiny, polished look. Since you used Leadbelcher spray as a base, there’s no need for an additional base coat. - Step 5: Trims and Gold Details (Creating a Base Coat, Shading, and Layering)
For the trims and gold details, apply Retributor Armour as a base coat. Ensure that the application is even and thorough. Shade the gold areas with Reikland Fleshshade to add depth and warmth. Layer the shaded gold with Auric Armour Gold for added brilliance. To achieve a more striking appearance, apply a final layer of Liberator Gold to highlight the raised details. - Step 6: Red Accents (Creating a Base Coat, Shading, and Layering)
Paint specific armor plates and the tips of rockets with Mephiston Red, providing a bold contrast to the blue armor. Shade the red areas with Agrax Earthshade to add depth and realism. Layer the shaded red with Evil Sunz Scarlet, focusing on the raised sections. For a vibrant finish, add a final layer of Wild Rider Red, creating a dynamic transition from dark to light. - Step 7: Energy Source (Creating a Base Coat, Shading, and Layering)
Paint the Plasma Decimator energy source with Thousand Sons Blue, giving it a unique appearance. Shade the blue energy source with Nuln Oil to add depth and contrast. Layer the shaded blue with Fenrisian Grey, focusing on the raised areas for highlights. - Step 8: Other Small Details
Pay careful attention to the small details on the Knight. Symbols, emblems, and other intricate elements should be painted with White Scar, ensuring precision and clarity. - Step 9: Weathering (Optional)
To achieve a weathered look, consider adding weathering effects like Typhus Corrosion or Ryza Rust sparingly to simulate wear and tear. This adds realism to your Knight’s appearance. - Step 10: Base and Varnishing
For the base, create your chosen style, whether it’s a scenic base or a simple texture paint. Examples of texture paints you can use include Martian Ironearth for a rugged terrain or Stirland Mud for a muddy, earthy appearance. Add rocks or other terrain elements as desired.
Finally, to protect your beautifully painted Knight Castellan and give it a professional finish, apply a layer of Munitorum varnish. This step ensures the longevity and durability of your paintwork while preserving the details and textures on the base.