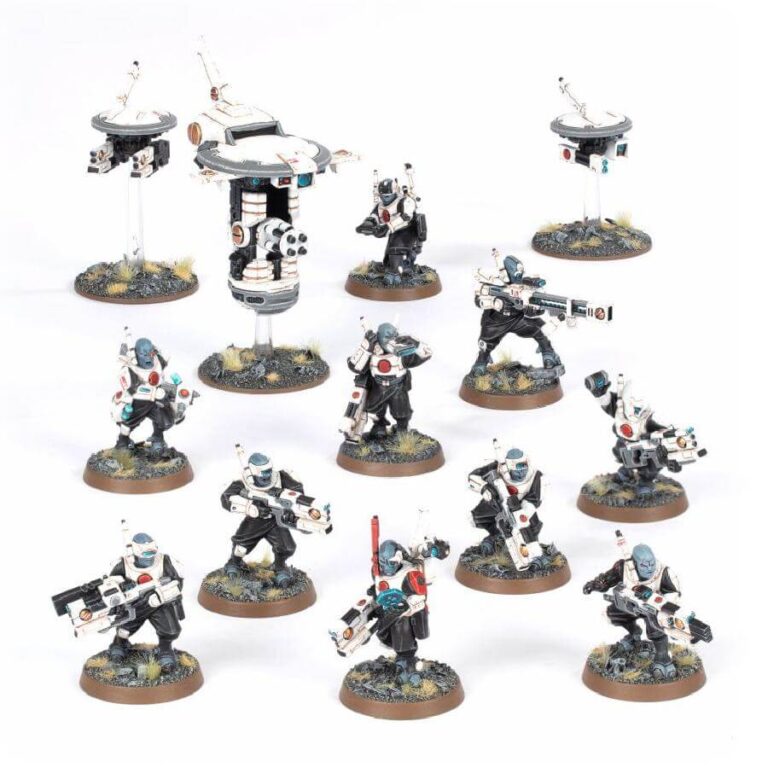
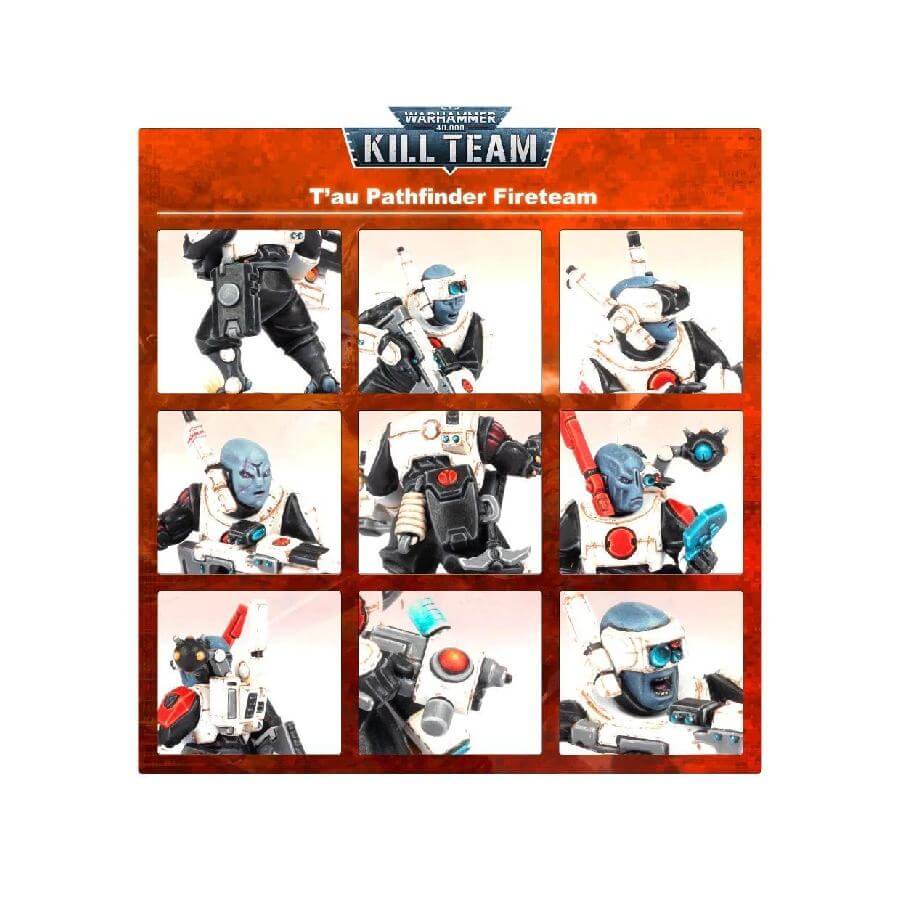
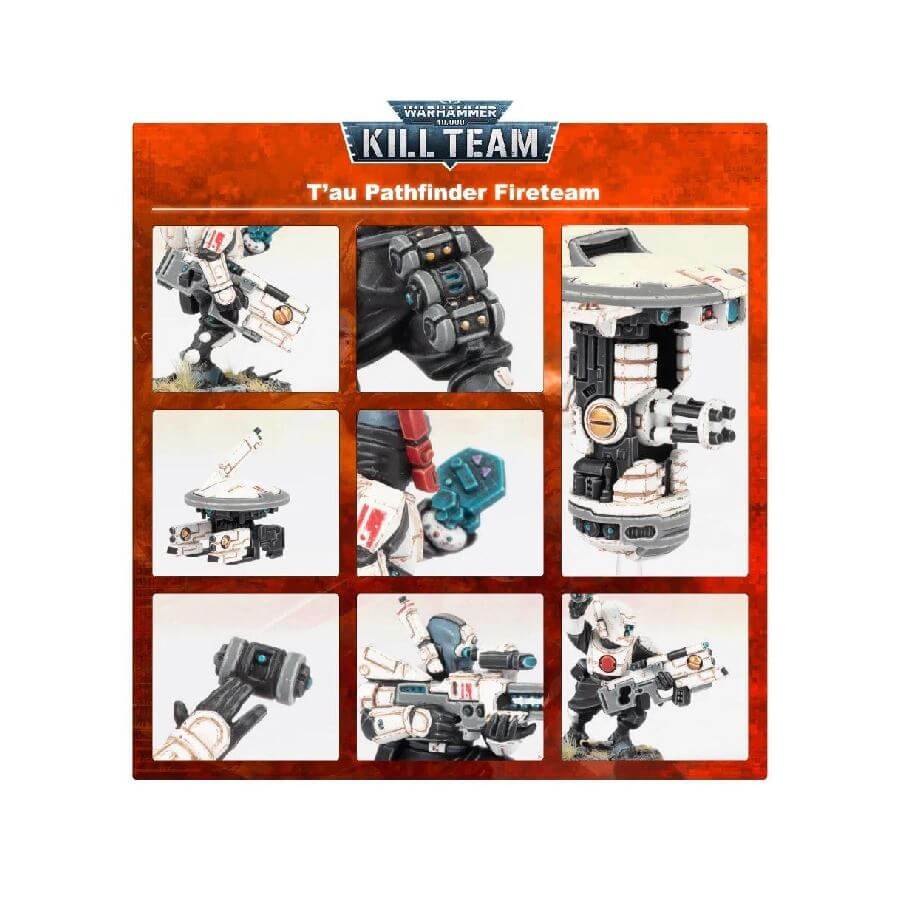
Unleash havoc behind enemy lines with the T’au Empire Pathfinder Teams. Armed with potent rail rifles, their formidable firepower is heightened when coupled with their versatile drones, which can either enhance pulse fire or unleash gravitic waves to repel foes. In larger battles, their strategic prowess shines through as they mark priority targets with massed markerlights, priming them for obliteration by heavier T’au units.
With this versatile kit, you can construct 10 Pathfinders and 3 Drones, providing you with various options. Whether assembling a dedicated Pathfinder unit for your Warhammer 40,000 games or crafting a specialist team for Kill Team battles, the possibilities are expansive. From Drone Controllers to Assault Grenadiers, Marksmen to Medical Technicians, you have the freedom to create a diverse array of units to suit your tactical preferences and strategies.
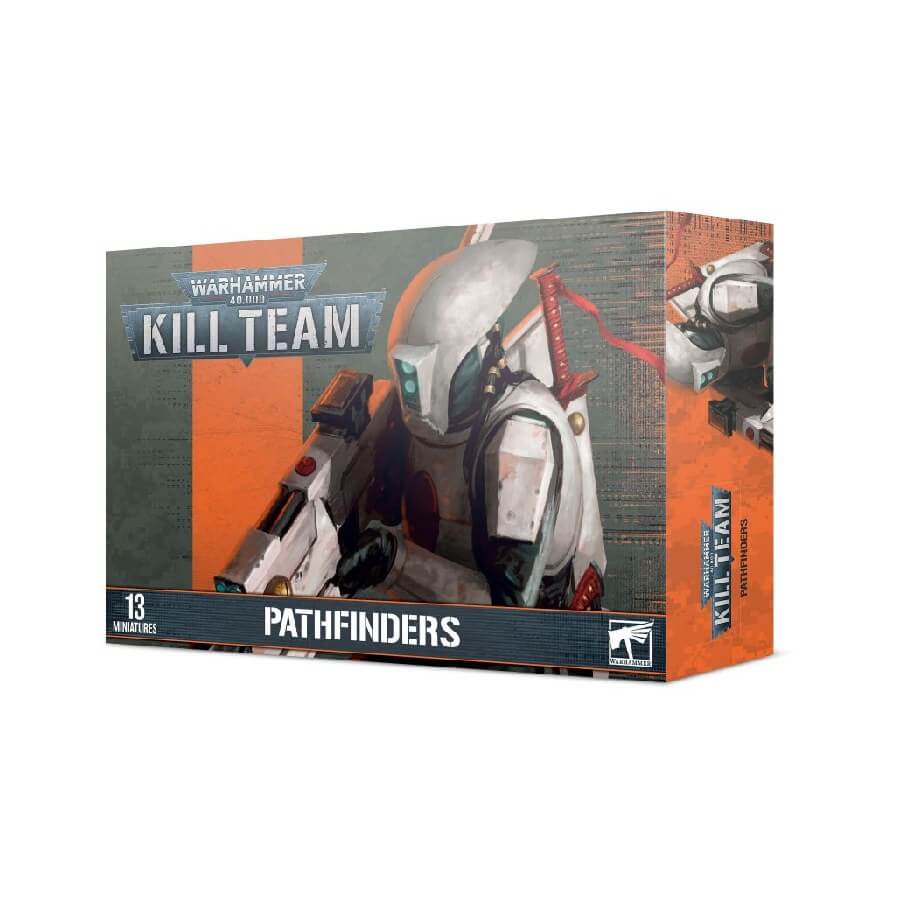
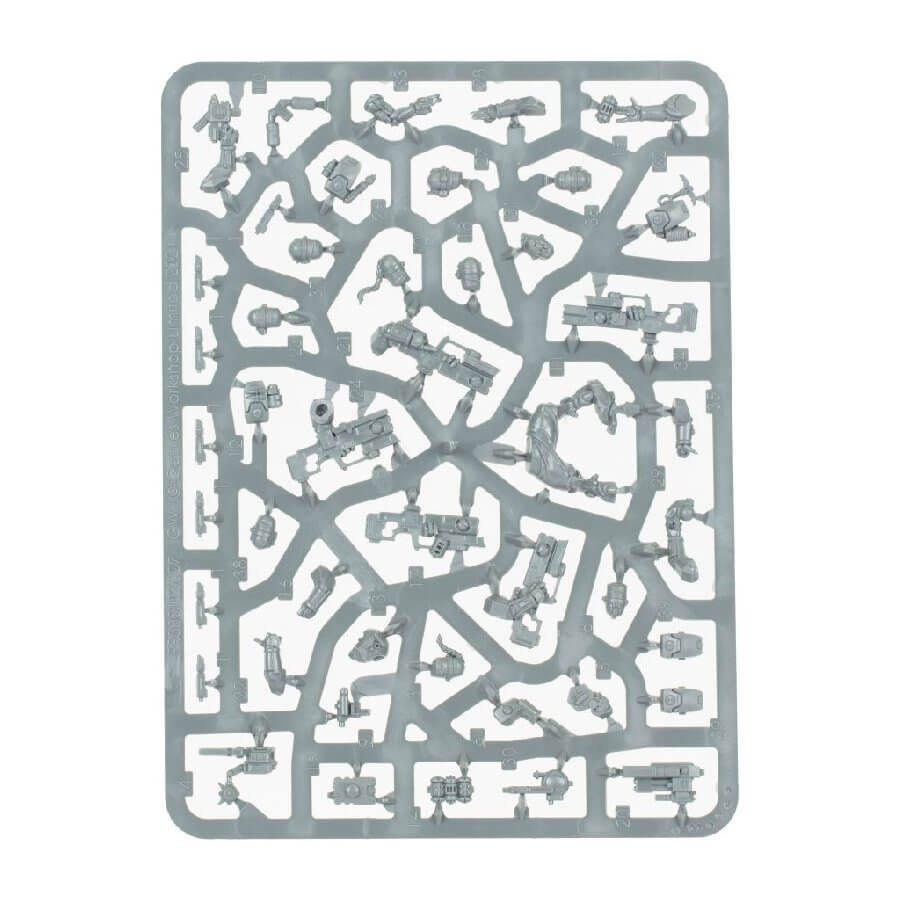
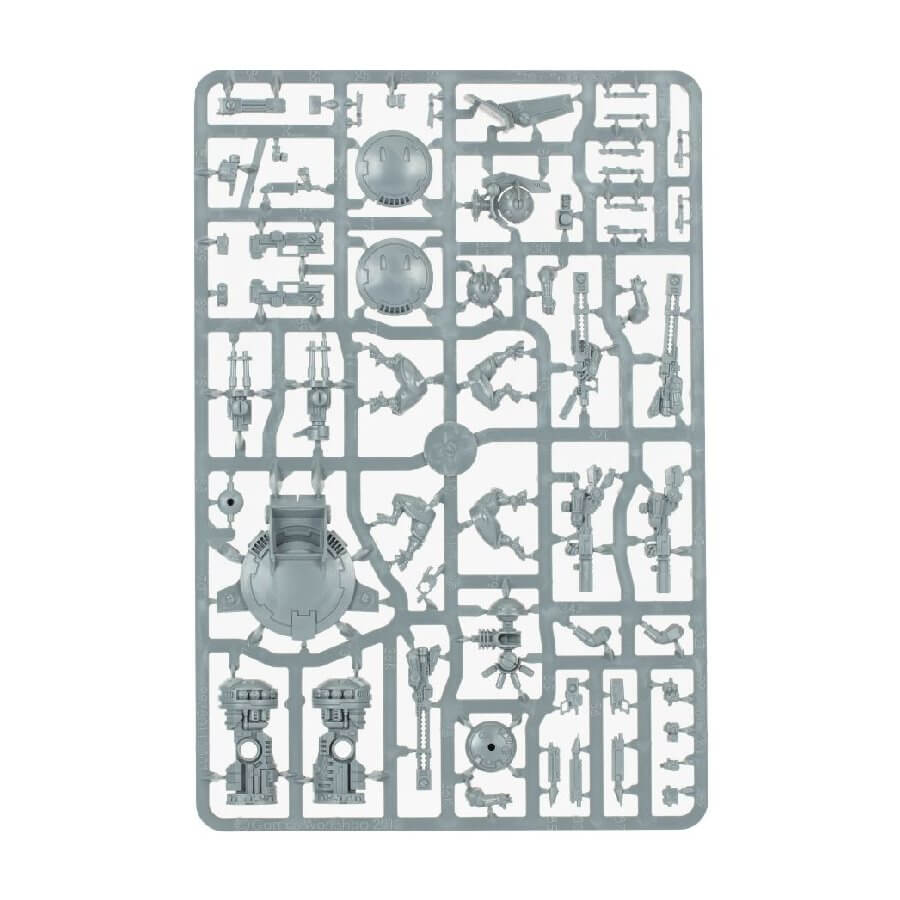
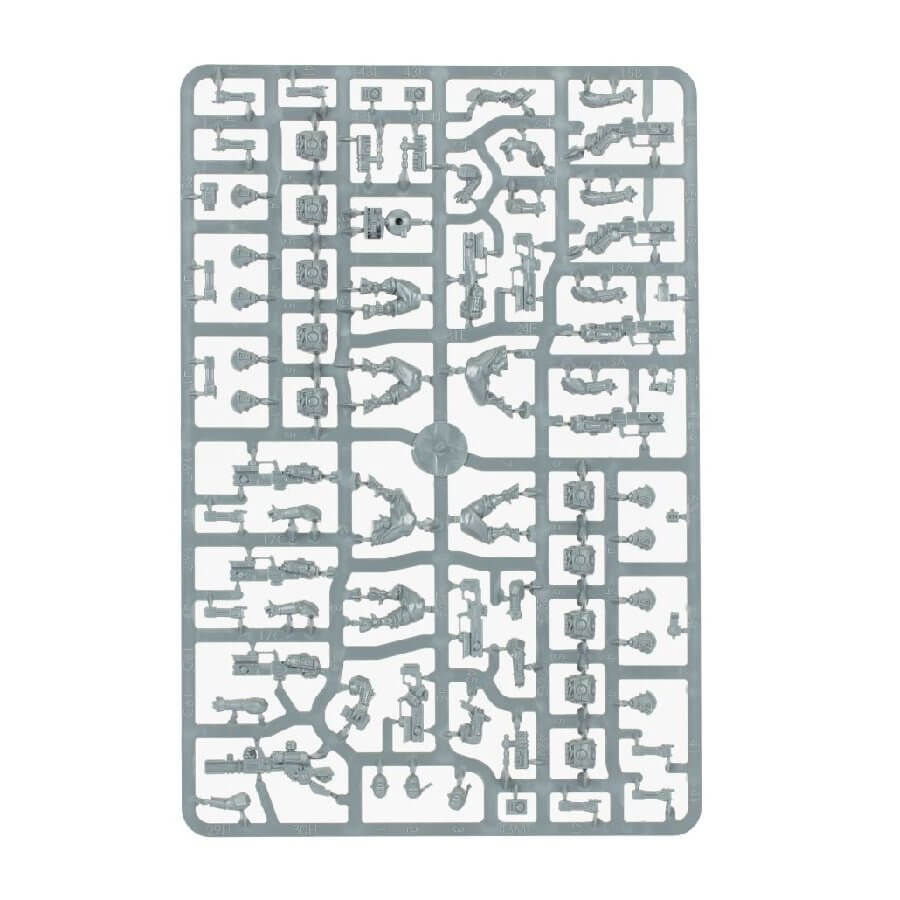
What’s in the Kill Team: Pathfinders box
- x183 plastic components that make 10 Pathfinders and 3 Drones.
- x10 Citadel 25mm Round Bases.
- x3 32 mm Flying Bases.
- x1 Long Flying Stem.
- x1 Small Flying Stem.
- x1 T’au Empire Infantry Transfer Sheet.
- x1 upgrade frame includes loads of additional options, like bare heads and cosmetic upgrades.
How to paint the Kill Team: Pathfinders set
- Step 1: Prime Your Models
To kickstart your painting journey, apply a layer of Chaos Black primer to your Kill Team: Pathfinders set. This crucial step provides an optimal surface for your paints to adhere to, ensuring a seamless and lasting finish. - Step 2: Armor and Weapons Base Coat
Begin painting by coating the armor, weapons, and drones with White Scar (leave the clothing you just primed black alone). This initial layer establishes a clean and crisp canvas for the models, setting the stage for the subsequent detailing. - Step 3: Exposed Skin
Turn your attention to the exposed skin areas, applying The Fang with precision. This choice of color provides a consistent and lifelike complexion, adding realism to your miniatures. - Step 4: Details
Enhance the character of your models by meticulously addressing the finer details. Utilize Mephiston Red for striking red elements, Macragge Blue for intricate blue accents for the cameras, and Retributor Armour for lavish gold details on the weapons. - Step 5: Shade the Armor
Elevate your models’ visual depth by expertly applying Nuln Oil shading to the armor. This technique accentuates the contours and recesses, lending a three-dimensional quality to the white armor. - Step 6: Layer the Armor
Transition from shade to light by layering Ulthuan Grey on the edges and raised portions of the armor. This meticulous step creates highlights that capture the play of light on the models’ surfaces, adding further dimension. - Step 7: Weathering (Optional)
For an added touch of authenticity and battle-worn realism, consider introducing a weathering element. Apply Ryza Rust in carefully selected areas to simulate the effects of wear and tear, infusing your models with a sense of narrative history. - Step 8: Paint the Bases
Attend to the bases of the models, enhancing their presentation. Utilize textures like Astrogranite Debris to create a tactile and immersive environment that complements your painted miniatures. - Step 9: Varnish
Conclude your painting endeavor with a layer of protective varnish. Choose from Ardcoat for a lustrous and reflective finish, Munitorum Varnish for a subdued yet safeguarding appearance, or Stormshield for a matte protective layer. This final touch not only preserves your painstaking work but also adds a professional touch to your miniatures.