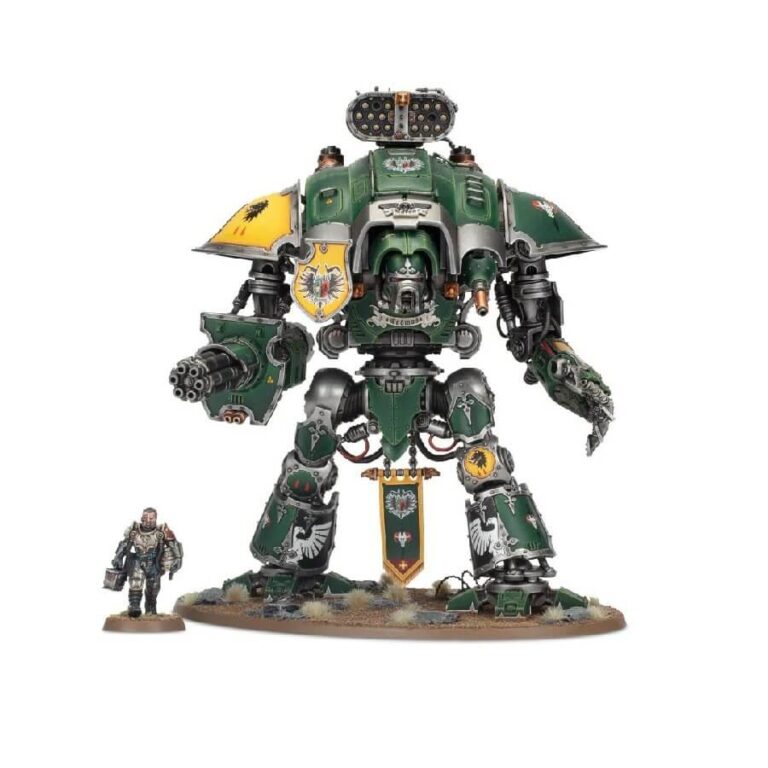
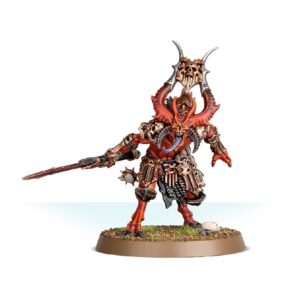
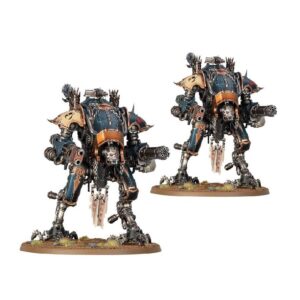
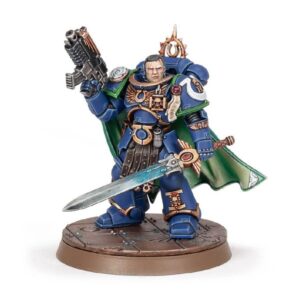
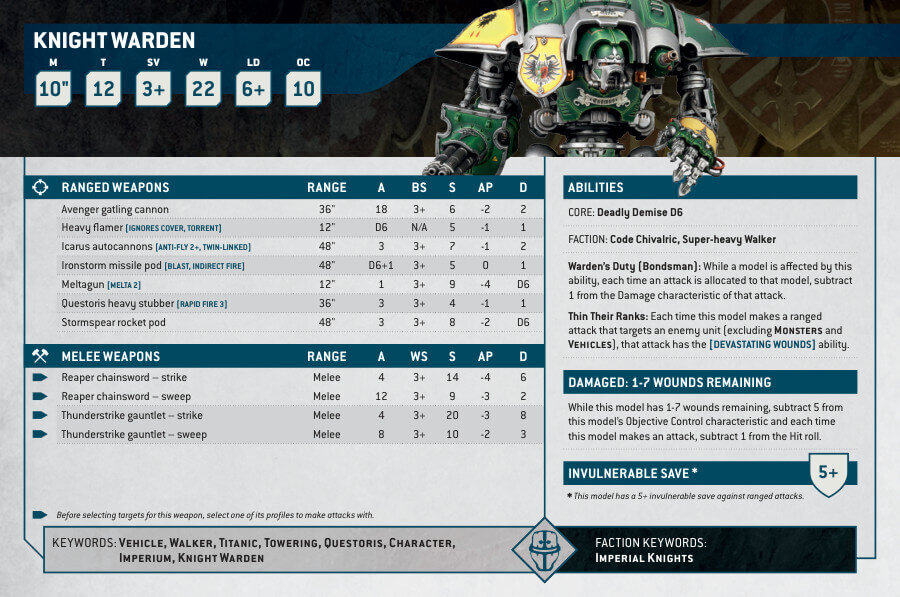
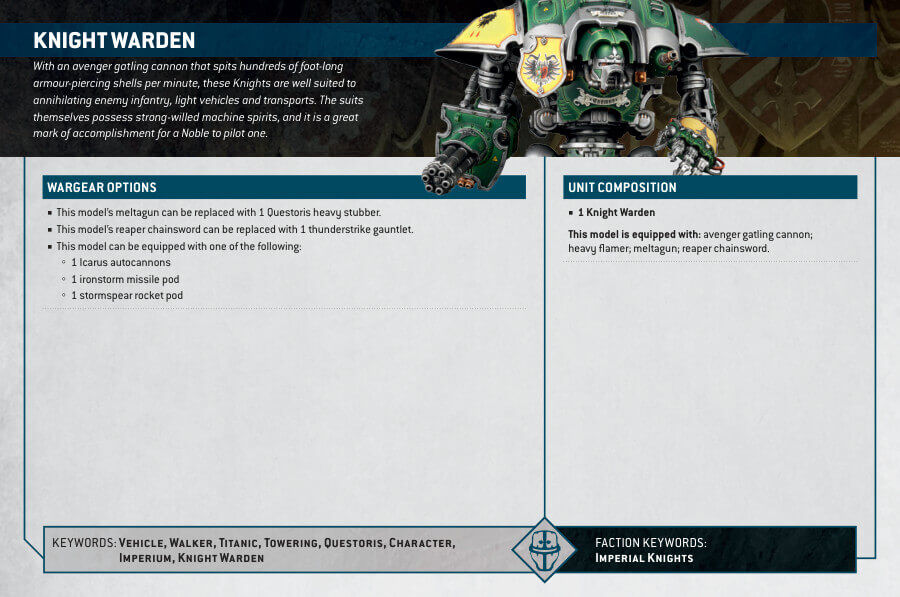
The Knight Warden is a versatile and powerful unit that can annihilate enemy infantry and light vehicles with its avenger gatling cannon and heavy flamer. Piloting this super-heavy walker is a great accomplishment for a Noble, and it can also encourage allied Armiger-class squires to hold objectives. This multi-part plastic kit builds one Knight Warden that can also be assembled as a variety of other Questoris-class Imperial Knights or a Knight Despoiler for Chaos Knights, with remaining weapons and accessories as spares. With highly customizable and detailed components, this kit is a fantastic painting project to create a unique engine of war.
Imperial Knight Warden Datasheets
What’s in the Imperial Knight Warden box
- x250 plastic components that make The Knight Warden kit, which allow for a great degree of customisation when assembling the model.
- x1 Citadel 170mm Oval Base, providing a sturdy foundation for the model.
- x1 Citadel 25mm Round Base for the pilot
- x1 transfer sheet is included, featuring a variety of heraldry designs for Imperial Knights. These can be used to add extra details and personalisation to the model.
How to paint the Imperial Knight Warden Set
- Step 1: Prime the Miniature
Apply a thin coat of primer to the Imperial Knight Warden. Primer helps the paint adhere better and provides a smooth surface for painting. We’ll use Chaos Black Primer once again but you can also try Leadbelcher since the armor contains alot of grey elements. If you plan on painting the details red or blue, White Scar would will work better for this. - Step 2: Basecoat the Armor
Using a medium-sized brush, apply a basecoat of Mechanicus Standard Grey to the armor panels. Thin the paint slightly with water or a medium to achieve smoother coverage. Apply the basecoat evenly, ensuring that the details of the miniature remain visible. - Step 3: Apply Wash to the Armor
Switch to a small brush and apply Nuln Oil wash over the basecoated armor. The wash will settle into the recesses, adding depth and definition to the details. Allow the wash to dry completely before moving on to the next step. - Step 4: Highlight the Armor
Using a lighter gray color like Dawnstone, carefully paint the raised areas and edges of the armor panels. This step will create highlights and enhance the three-dimensional look of the miniature. - Step 5: Paint the Metallic Parts
For the metallic parts, such as the armor trim and weapons, start by applying a basecoat of Leadbelcher. Use a small brush to ensure accuracy. Apply multiple thin coats for smooth coverage. - Step 6: Apply Wash to the Metallic Parts
Apply a wash of Nuln Oil to the metallic parts to deepen the shadows and add a weathered look. The wash will settle into the crevices, enhancing the metallic texture. - Step 7: Highlight the Metallic Parts
Using a lighter metallic color like Ironbreaker, carefully paint the edges and raised areas of the metallic parts. This step will create highlights and give the appearance of worn metal. - Step 8: Detail the Knight
Use appropriate colors to paint the additional details of the Imperial Knight Warden. For example, use Skarsnik Green for the green parts of the armor, and Phalanx Yellow for small details like rivets and the Imperium insignias. Take your time and use a small brush to achieve precision. - Step 9: Paint the Base
Paint the base in a suitable color to complement your Imperial Knight Warden. You can use colors like Zandri Dust for a desert-themed base or Stirland Battlemire for a muddy terrain effect. Apply washes or drybrushing techniques to add depth and texture to the base. - Step 10: Add Finishing Touches
To complete the painting process, add finishing touches to the Imperial Knight Warden. This may include applying decals, adding weathering effects, or additional details like battle damage or scratches. Use a fine detail brush and steady hands for these final touches.

