
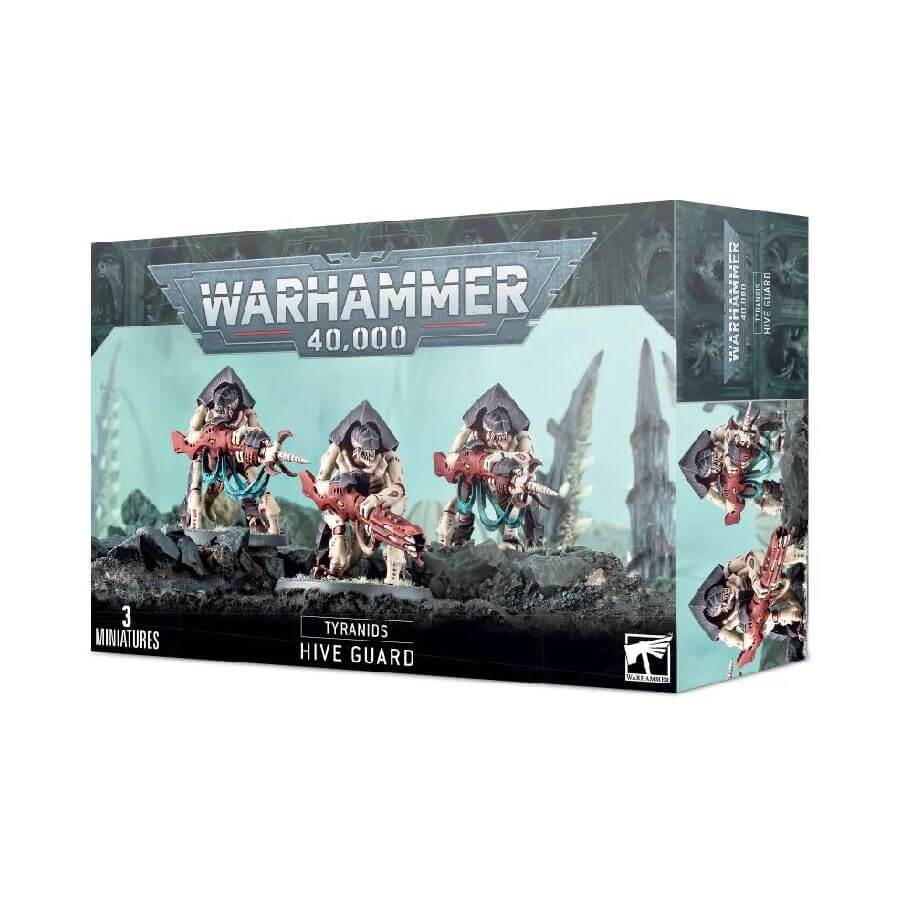
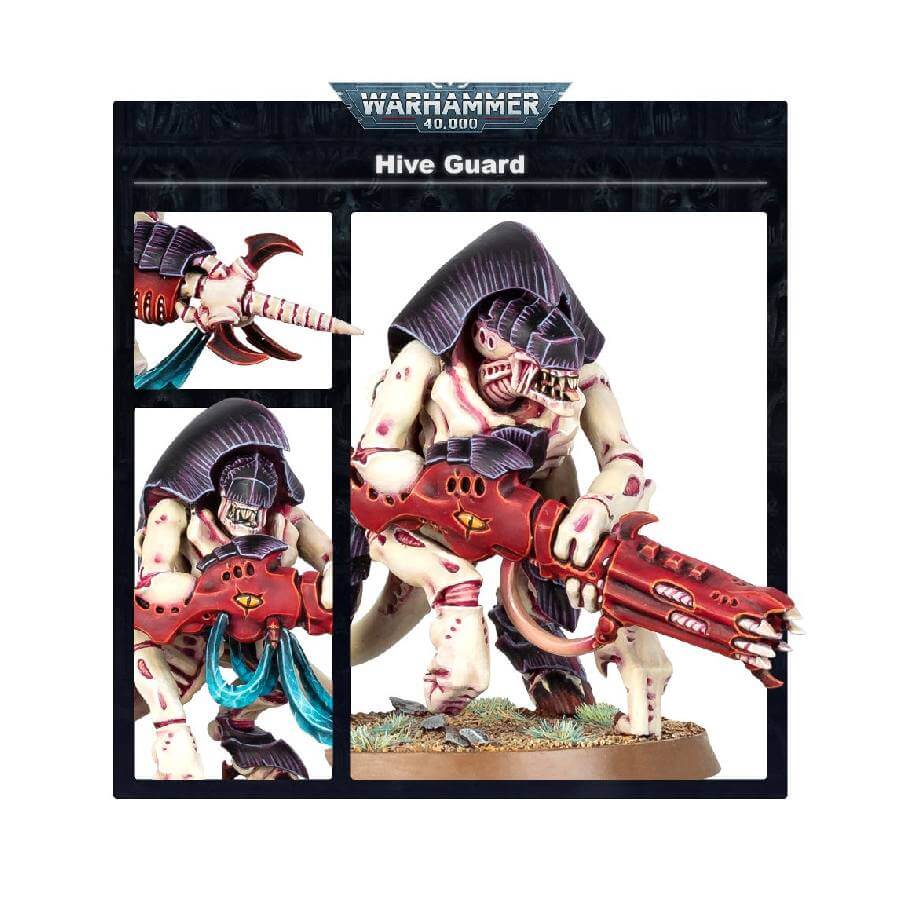
Introducing the awe-inspiring Hive Guard: formidable, heavily armored gun-beasts, entwined with extraordinarily potent symbiotic bio-weapons. These extraordinary creatures serve as the vigilant protectors of the Tyranid Hive Ships and capillary towers, steadfastly watching over the worlds selected as their prey. When trespassers dare to approach, the Hive Guard unleash their deadly weaponry with lethal precision.
These remarkable guardians boast two distinct armament choices: the mighty Impaler Cannon and the formidable Shockcannon. The sheer power of these weapons is enough to arm the entire unit, ensuring a versatile and formidable defensive force.
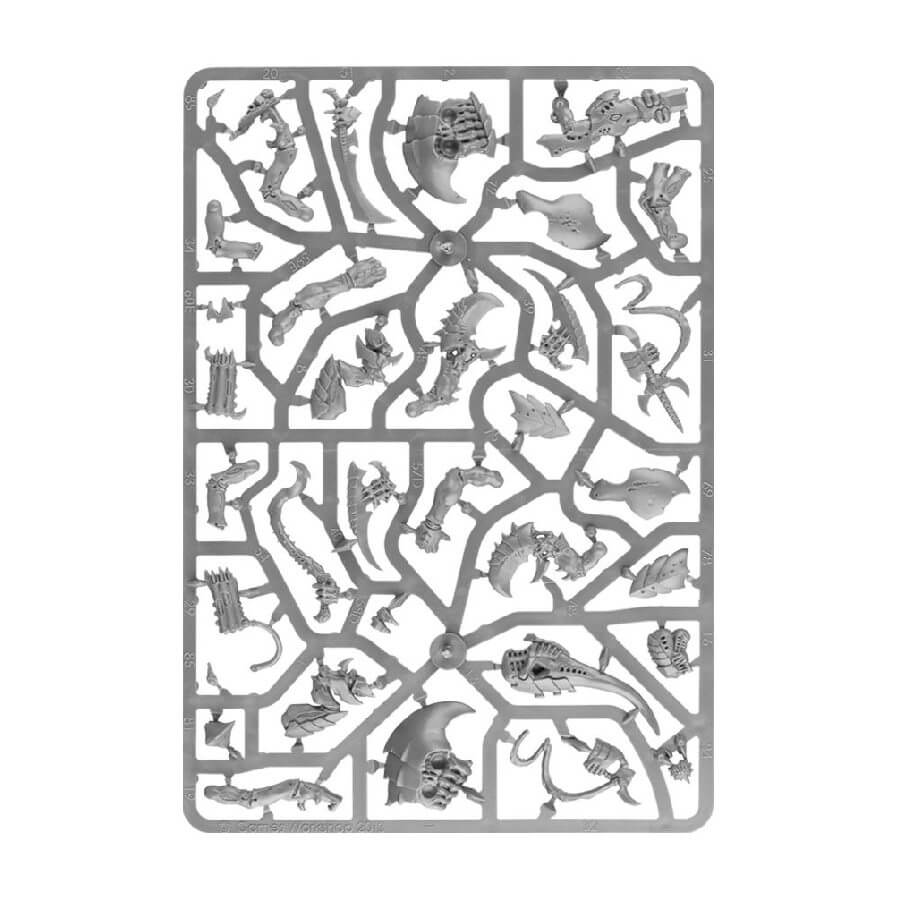
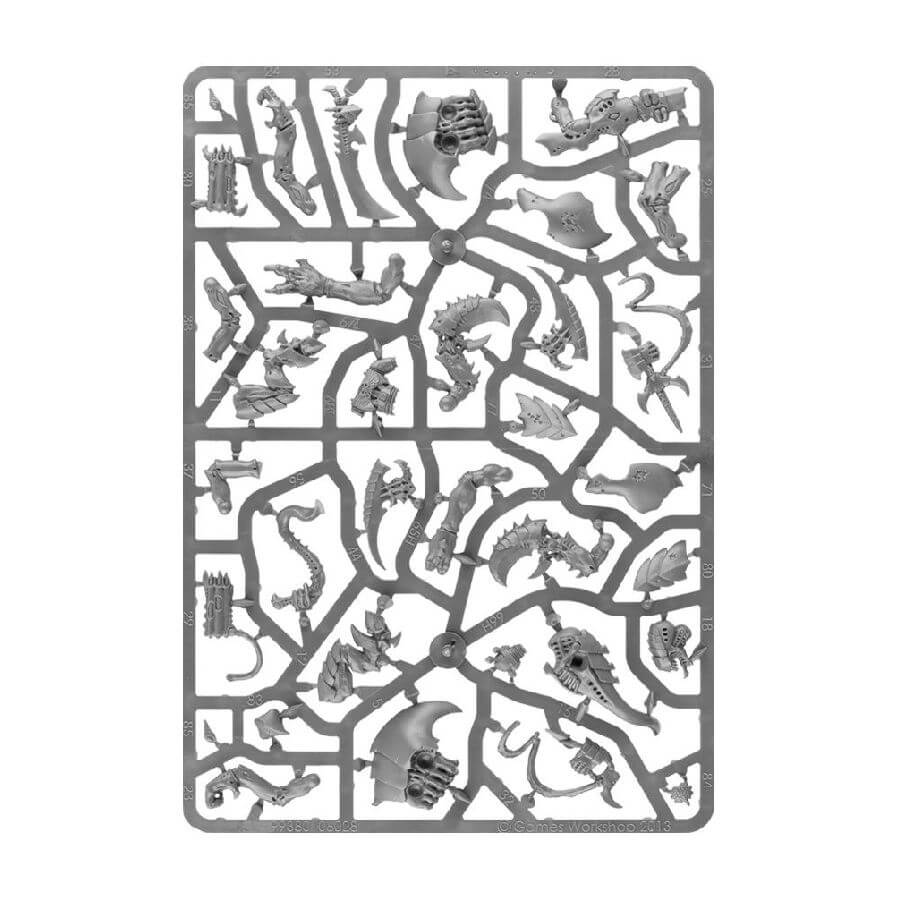
What’s in the Hive Guard box
- x102 plastic components with which to make either 3 Hive Guard or 3 Tyrant Guard.
- x3 Citadel 50mm Round Bases.
How to paint the Hive Guard set
- Step 1: Prepare Your Miniatures
Before we dive into the exciting world of painting Hive Guard, ensure your miniatures are clean and free from any mold lines or imperfections. A quick scrub with warm, soapy water will do the trick. - Step 2: Prime the Miniatures
Apply a smooth and even coat of primer to your Hive Guard models. A grey or black primer works well for these creatures, providing a solid base for the subsequent paint layers. - Step 3: Base Coat the Carapace
Using a medium-sized brush, apply Naggaroth Night paint to cover the carapace of the Hive Guard models. Focus on ensuring a consistent and solid coverage. - Step 4: Base Coat the Skin
With a new, clean brush, now apply Rakarth Flesh paint to the exposed skin areas of the Hive Guard. Be patient and steady-handed to avoid spills and overlaps. - Step 5: Base Coat the Guns
Using a fine brush, carefully coat the guns of the Hive Guard with Khorne Red paint. Take your time, as precision is key for this step. - Step 6: Layering the Carapace
To add depth and dimension to the carapace, apply a layer of Xereus Purple paint to the raised areas. This subtle touch will enhance the menacing appearance of the Hive Guard. - Step 7: Layering the Skin
Add a layer of Pallid Wych Flesh to the skin areas of the Hive Guard. Concentrate on the prominent contours and facial features to create a more lifelike appearance. - Step 8: Layering the Guns
With a steady hand, use Evil Sunz Scarlet to highlight the edges and prominent sections of the guns. This will give the weapons a vibrant and menacing aura. - Step 9: Highlights for the Carapace
Take a fine-tipped brush and gently apply a highlight of Genestealer Purple to the carapace’s edges and raised portions. This will make the Hive Guard look even more imposing and fearsome. - Step 10: Highlights for the Skin
For a final touch, use White Scar to create subtle highlights on the Hive Guard’s skin. Focus on the most protruding areas, like knuckles and brow ridges, to add depth and realism. - Step 11: Finishing Touches
Now that your Hive Guard are fully painted, stand back and admire your handwork! If you wish to add any additional details, such as eyes, insignias, or weathering effects, now is the time to do so. - Step 12: Varnish for Protection (Optional)
For extra protection and to ensure your hard work lasts, consider applying a matte or glossy varnish to your finished Hive Guard models. This step is optional but can be beneficial, especially if you plan to use them frequently in games.
