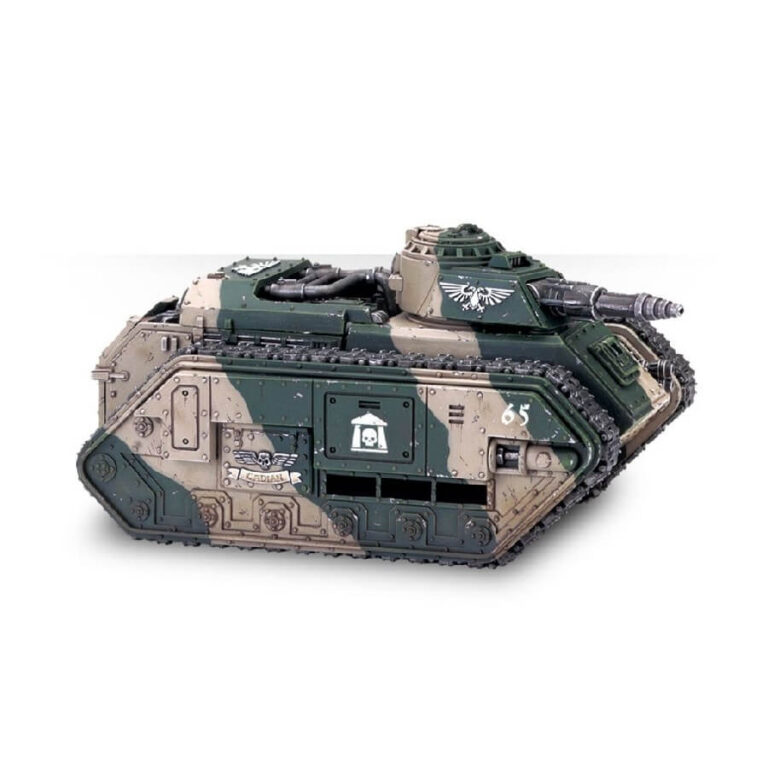
The Hellhound is a versatile and intimidating Astra Militarum tank designed for close combat warfare. With its different variants, it can flush out enemies, melt through armor, or create clouds of noxious gas to choke alien hordes. This plastic kit builds one Hellhound, featuring a powerful turret-mounted weapon of your choice, including an inferno cannon, chem cannon, or melta cannon, along with a secondary weapon of your choosing, such as a heavy bolter, heavy flamer, or multi-melta. The tank can also be built with a spotter or closed turret hatch. The kit is perfect for those who enjoy a daring and reckless playstyle, with the tank’s reputation for destruction appealing to those looking for a thrilling and exciting experience on the battlefield.
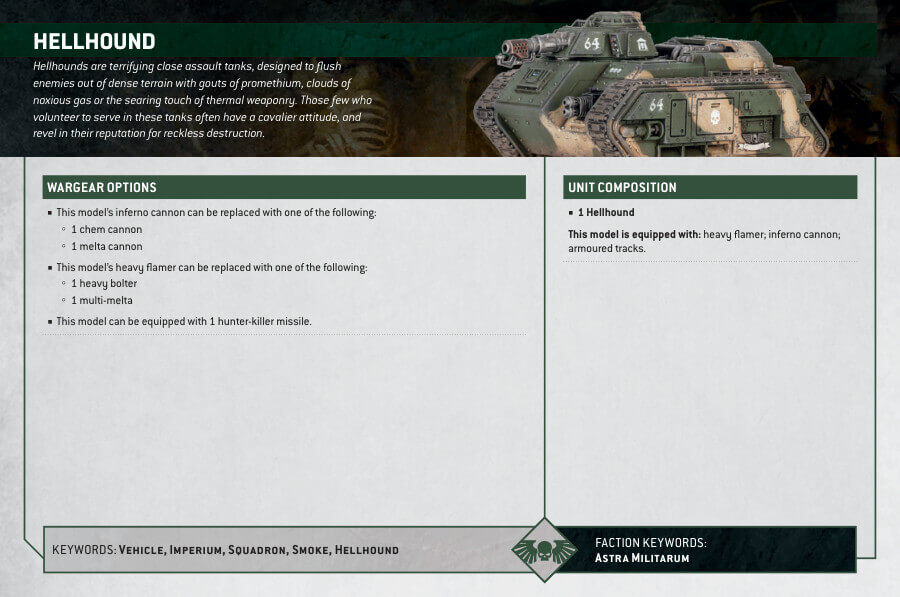
Hellhound Datasheets
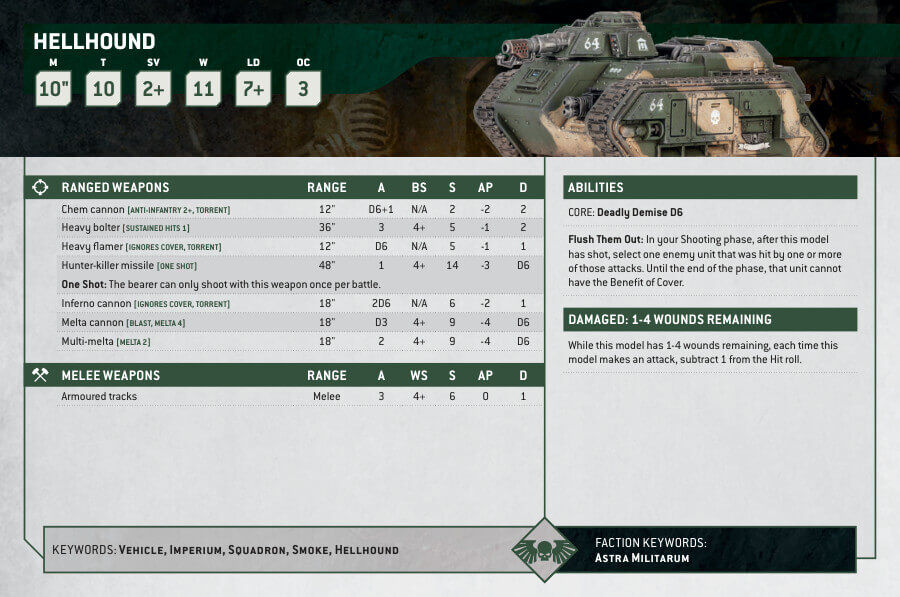
What’s in the Hellhound box
- x176 plastic components that make 1 Hellhound tank.
- x1 Astra Militarum Vehicle Transfer Sheet, featuring tactical markings, numerals, and other regimental heraldry.
How to paint the Hellhound Set
- Step 1: Priming
Begin your journey by priming your Hellhound with a coat of Chaos Black spray. This provides a solid base for your paint to adhere to. - Step 2: Camouflage Armor (Creating a Base Coat)
Imagine your Hellhound blending into its surroundings. Start by applying Castellan Green and Zandri Dust to the armor(create a camouflage model). This will serve as the first layer of your camouflage pattern.
Building the Camouflage: With a sense of purpose, layer Straken Green over the Castellan Green. This begins to shape the camouflage effect, adding depth to the armor.
Enhancing the Camouflage: Now, layer Ushabti Bone over the Zandri Dust. This layer completes the camouflage pattern, creating a sense of dimension and contrast. - Step 3: Adding Depth
For depth and realism, shade the armor with Agrax Earthshade. Think of this shade as the shadows in your artwork, accentuating the details. - Step 4: Metallic Elements
Paint the tracks and turret barrel with Leadbelcher to establish a sturdy metallic base.
Highlighting the Shine: Layer these metallic parts with Ironbreaker, giving the metal a shiny, polished look. - Step 5: Attention to Details
Consider the emblems and intricate details. Use White Scar to make these emblems stand out boldly against the camouflage background. This is a bit counter intuitive, but it looks good. You can also use Mephiston Red. - Step 6: Weathering (Optional)
For those who want to add a battle-worn touch, you can apply Typhus Corrosion or Ryza Rust sparingly. This step is optional and adds weathering, for a battle-worn appearance. - Step 7: Protecting your model
To preserve your masterpiece and give it a professional finish, apply Munitorum Varnish. Imagine this as the final protective layer that keeps your artwork safe and looking its best.

