
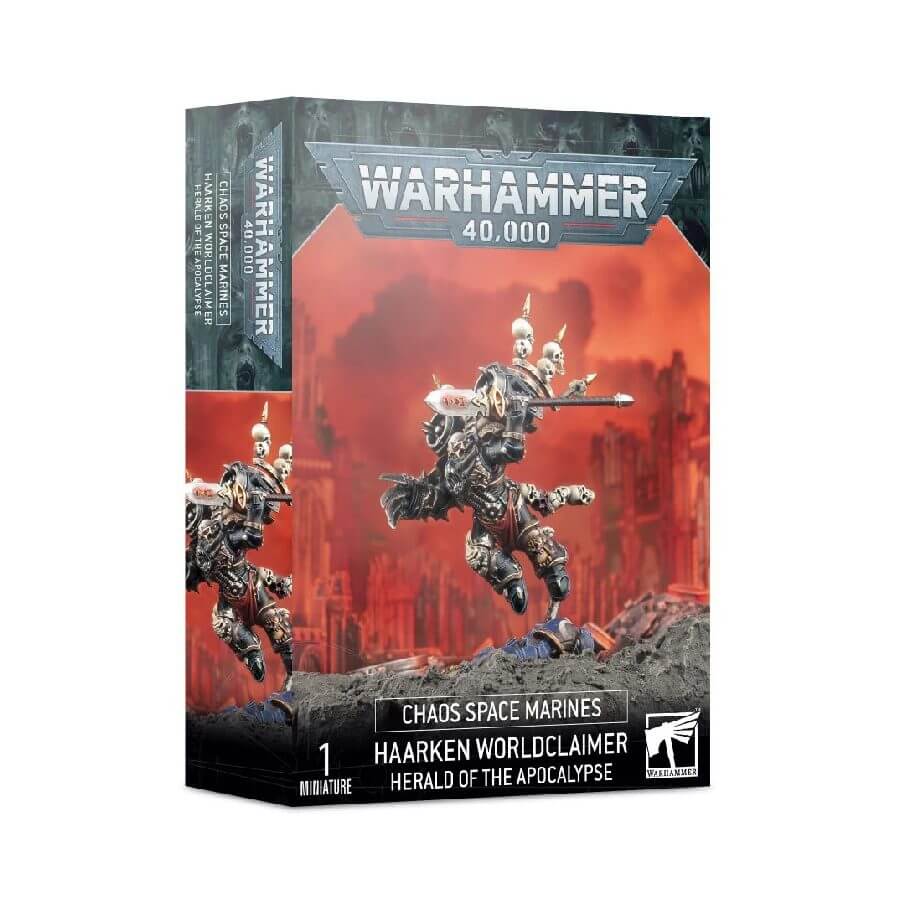
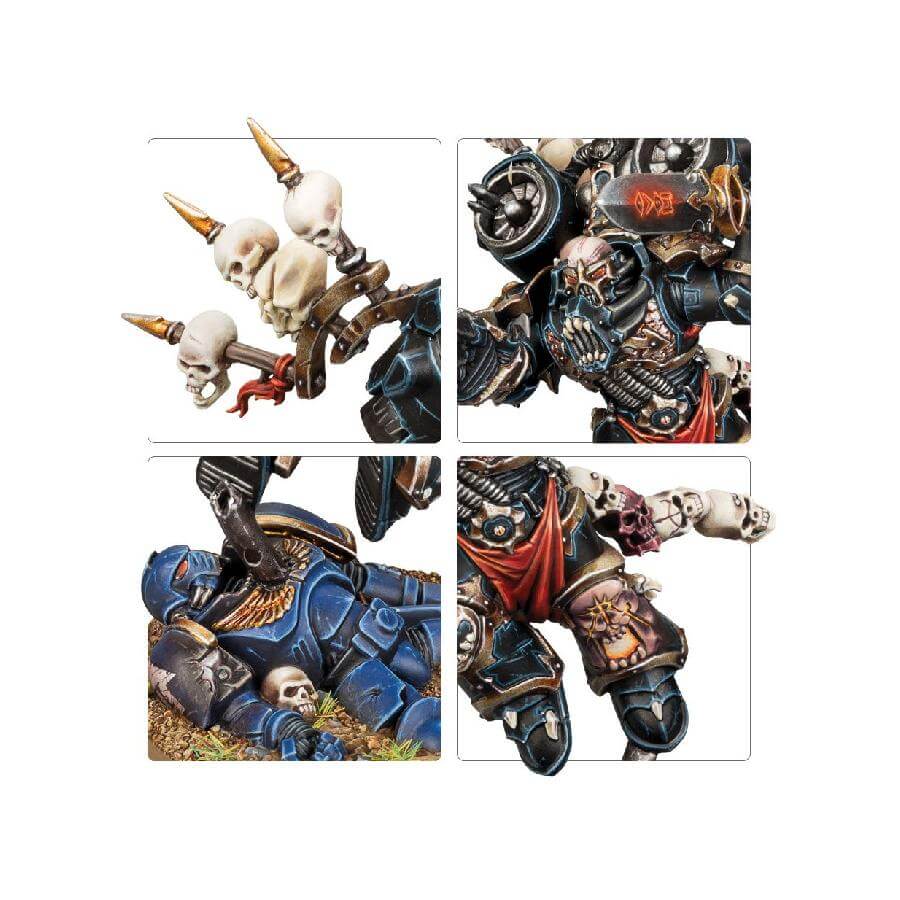
Haarken Worldclaimer is not merely a figurative harbinger of doom, but a tangible embodiment of darkness. His presence foreshadows the imminent arrival of the Warmaster himself, Abaddon. This exquisitely crafted miniature showcases the intricate details of this character, offering a fresh and captivating addition to any Chaos Space Marines army.
What’s in the Haarken Worldclaimer, Herald of the Apocalypse box
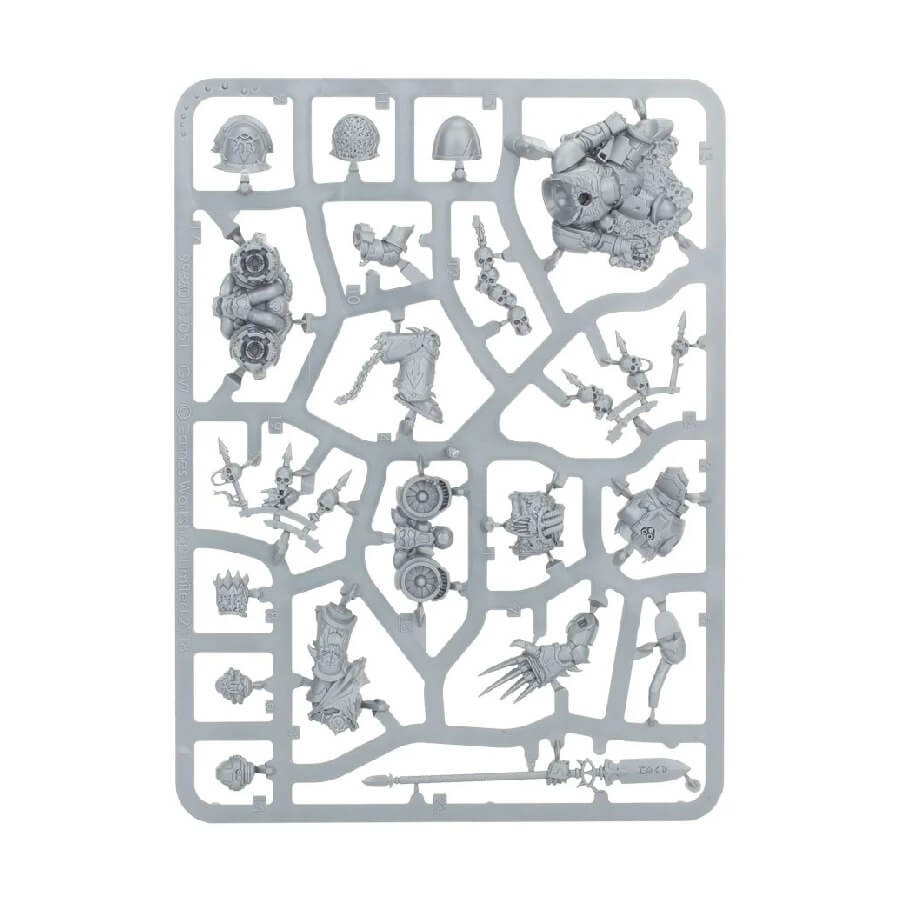
- x20 plastic pieces that make the miniature
- x1 40mm round base
How to paint the Haarken Worldclaimer, Herald of the Apocalypse set
- Step 1: Priming
Start by priming Haarken Worldclaimer with Chaos Black Spray. This will provide a solid base for the subsequent layers of paint. - Step 2: Basecoat
Apply a basecoat of Abaddon Black to Haarken’s armor, ensuring a smooth and even coverage. Use a medium-sized brush and thin the paint slightly with water for better control. - Step 3: Metallics
Use Leadbelcher to paint the metallic parts of Haarken’s armor, such as his chains, weapons, and armor trim. Apply the paint carefully, keeping within the lines and covering the desired areas. - Step 4: Gold Accents
Add richness to Haarken’s appearance by painting his gold accents with Retributor Armour. These areas include the trim on his armor, decorative elements, and any ornamental details. - Step 5: Skin
For Haarken’s skin, use Rakarth Flesh to establish the base color. Apply this paint to his exposed flesh, such as the head, ensuring even coverage. - Step 6: Wash
Apply a wash of Agrax Earthshade over the entire model. This will add depth and shadows to the crevices, enhancing the details. Be careful not to let the wash pool in one area; instead, spread it evenly. - Step 7: Red Details
Using Mephiston Red, paint any red details on Haarken, such as the front cape, his helmet’s plume, or any other designated areas. Take your time and aim for smooth, even coverage. - Step 8: Eyes
Using a small brush, carefully paint Haarken’s eyes/lenses also with Mephiston Red or any color of your choice (some good options in case you can’t decide: Yriel Yellow, Leviadon Blue, White Scar) . If you find this challenging, you can use a small dotting tool or toothpick to achieve precise and symmetrical results. - Step 9: Final Touches
Add any additional details to Haarken, such as the gems on his armor or the skulls on his base. Use appropriate colors like Stegadon Scale Green for the gems and Ushabti Bone for the skulls. - Step 10: Varnish
Once you’re satisfied with your painting, apply a layer of varnish to protect the model and give it a professional finish. Matte varnish works well for this figurine.