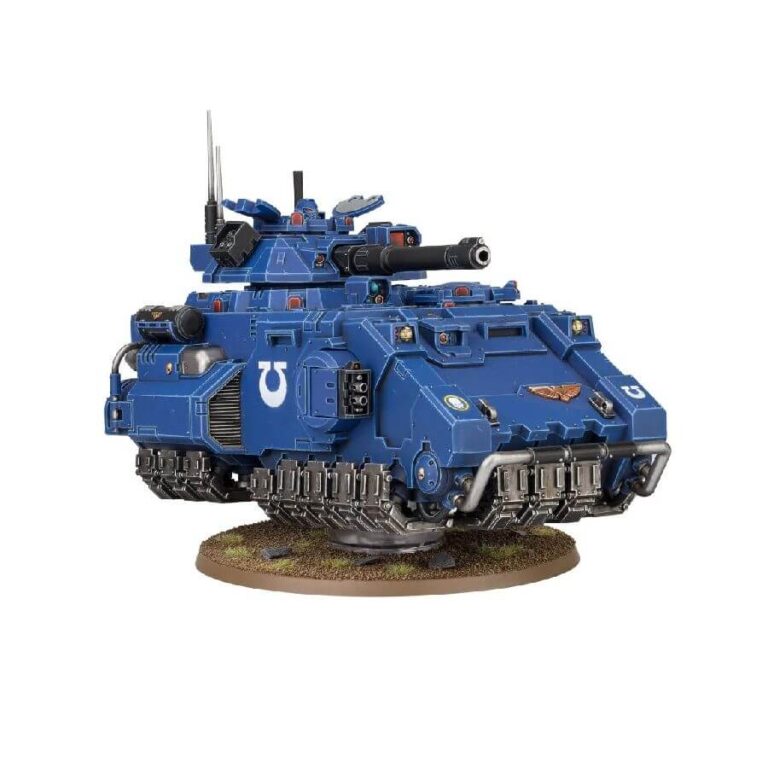
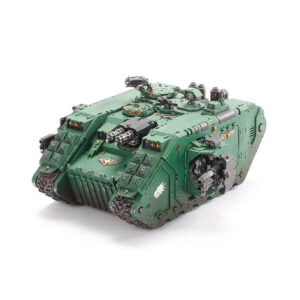
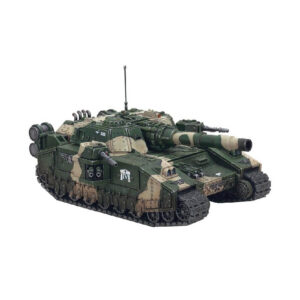
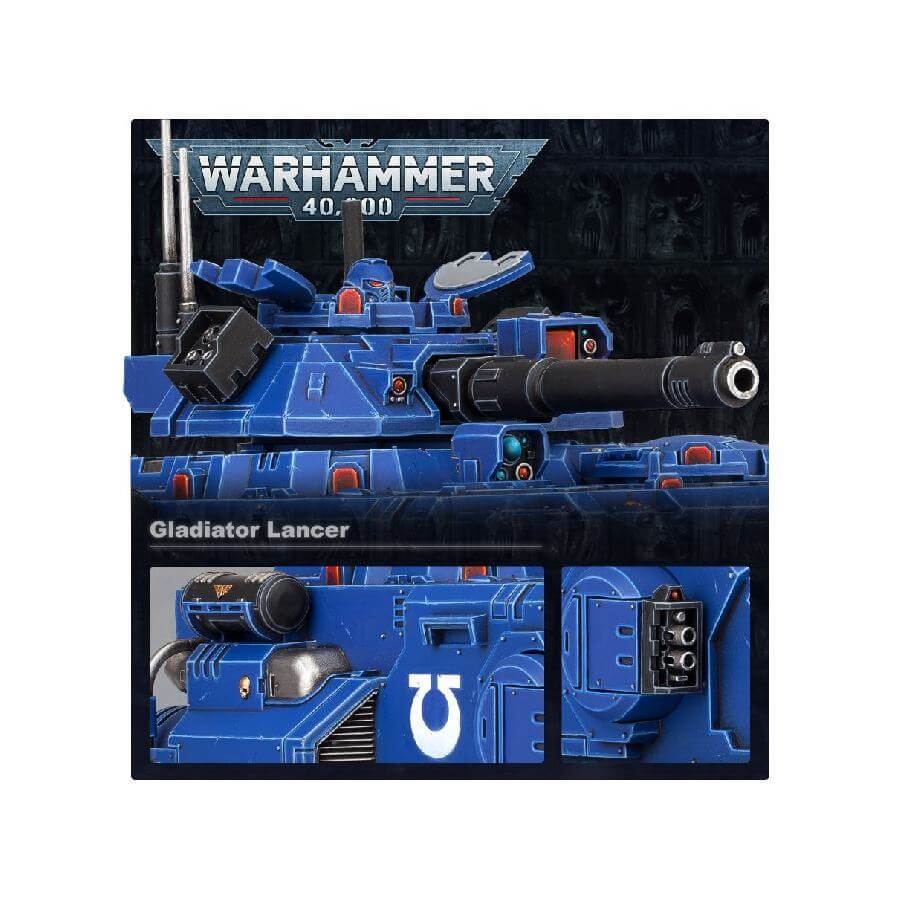
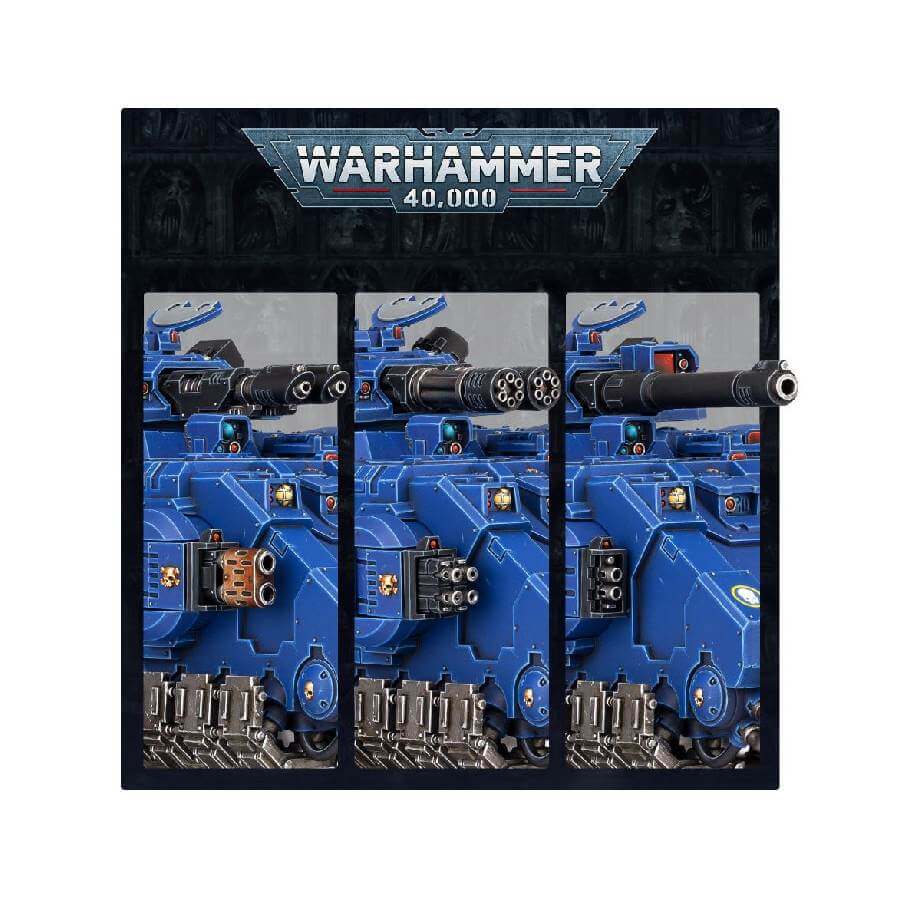
The Gladiator Lancer is a formidable battle tank that can take out heavy enemy armor with its laser destroyer, boasting a remarkable range that allows it to eliminate threats before the Space Marines even encounter them. Based on an Impulsor’s chassis, the Gladiator is designed to be a front-line battle tank rather than a transport vehicle, serving as a reliable choice for shoring up your batteline and offering formidable fire support. With its turret-mounted laser destroyer, the Lancer-pattern Gladiator is a perfect choice for obliterating monsters, tanks, or other high-value targets from extreme range.
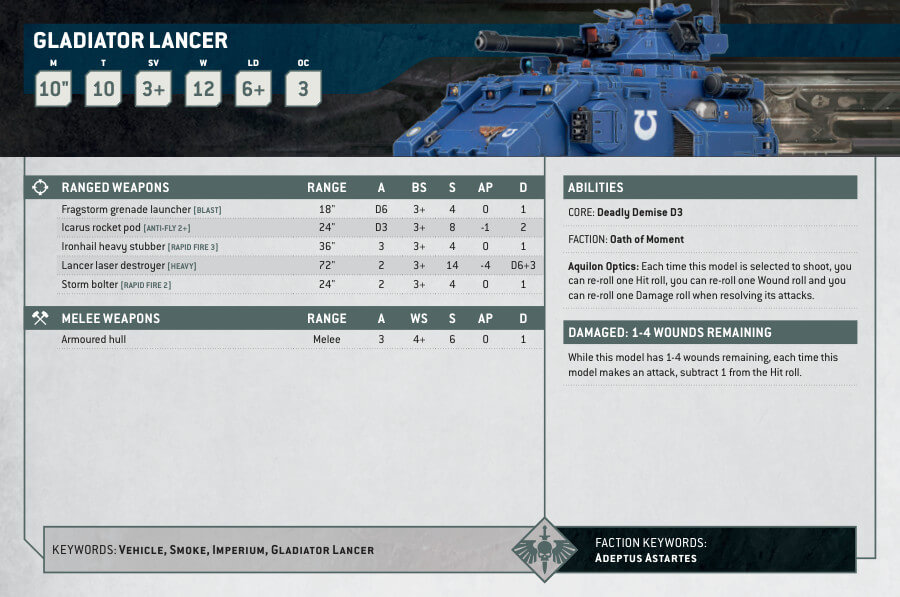
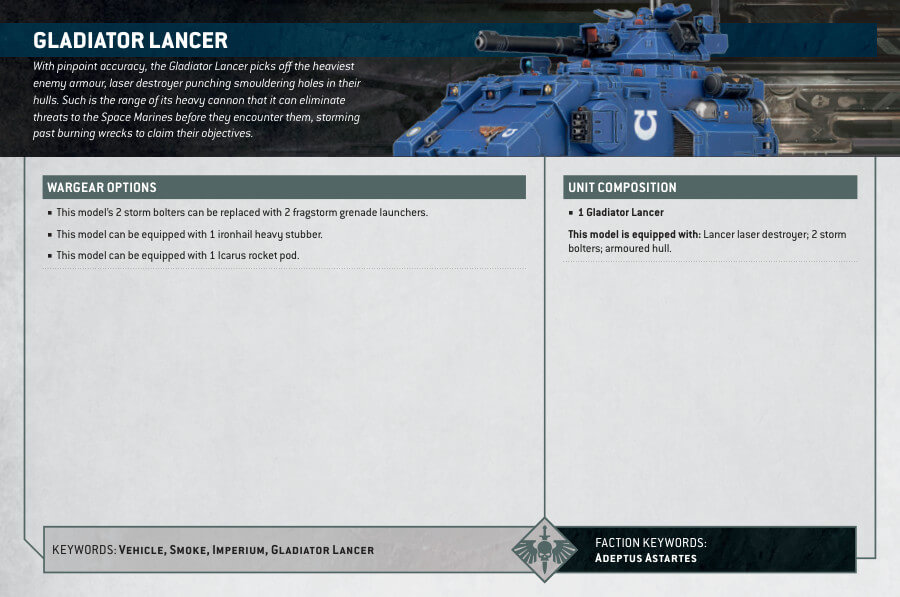
Gladiator Lancer Datasheets
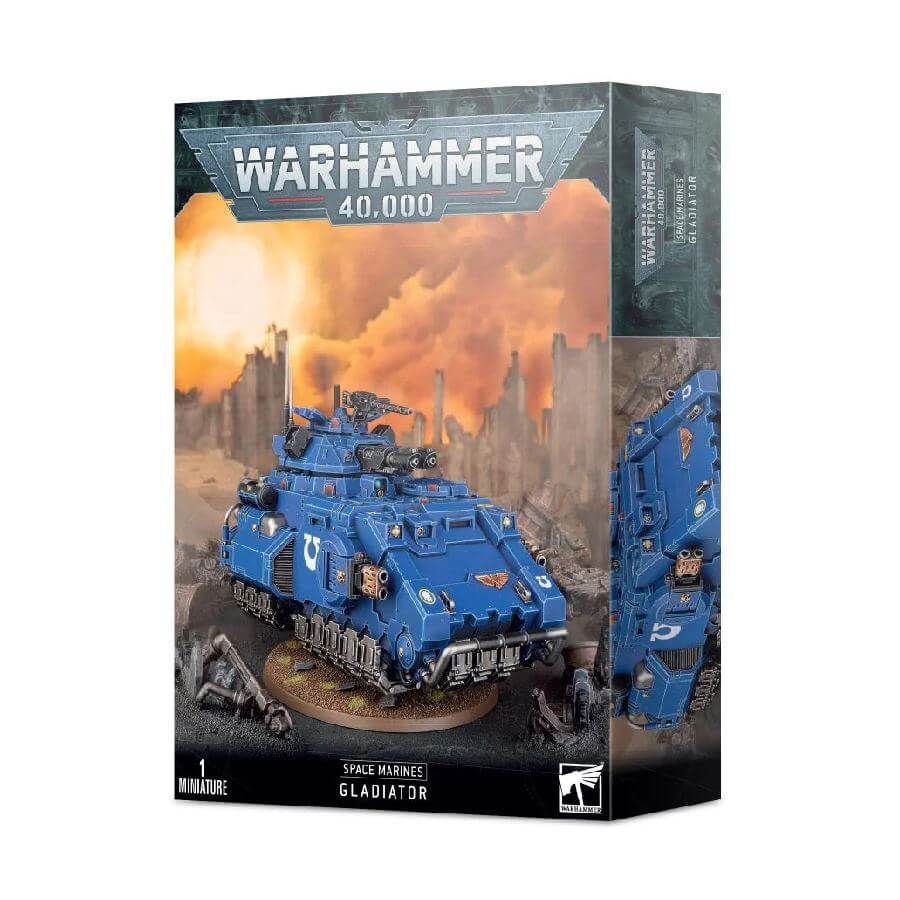
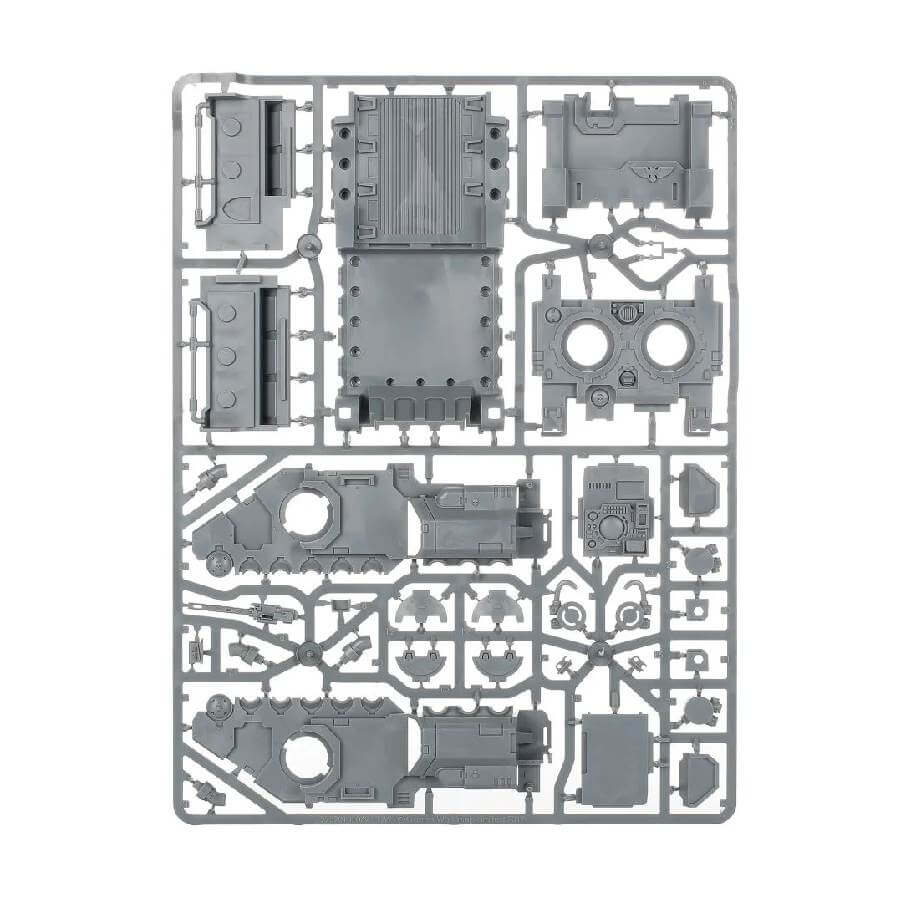
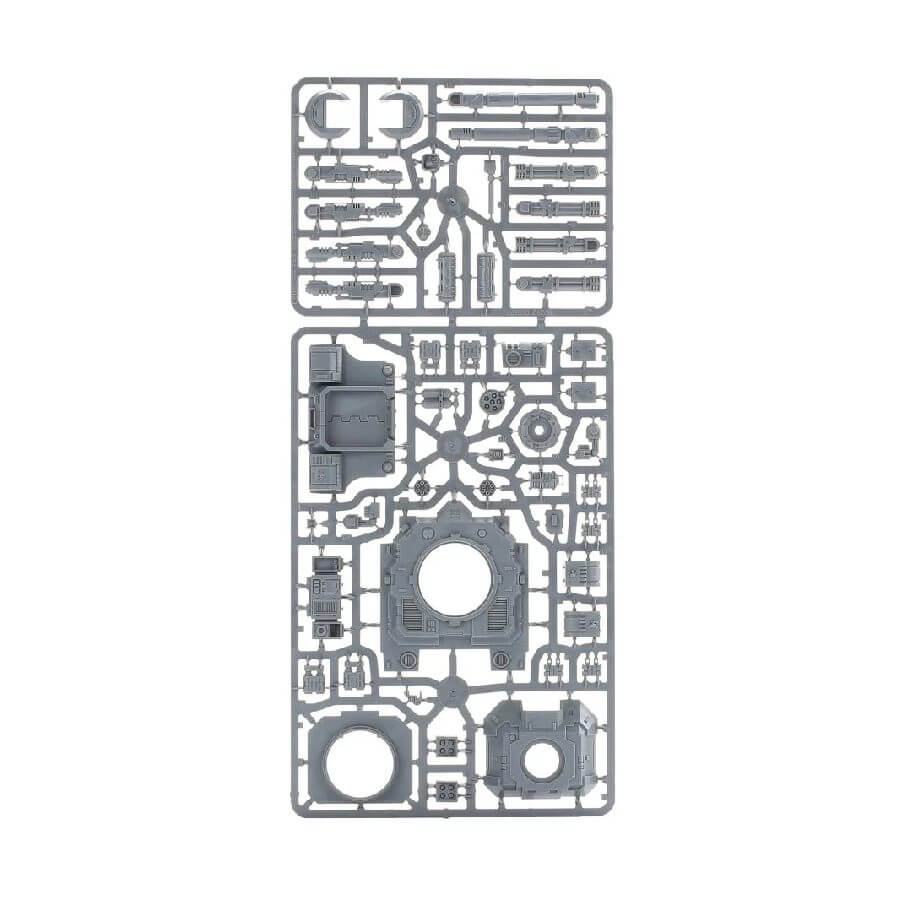
What’s in the Gladiator Lancer box
- x157 plastic components used to build The Gladiator Lancer. Alternatively, you can build a Gladiator Valiant, Gladiator Reaper or an Impulsor.
- x1 Citadel 100mm Round Base
- x1 Clear Tank Hover Stand
- x1 Primaris Vehicle Transfer Sheet
How to paint the Gladiator Lancer
- Step 1: Blue Base Coat
Start by painting the tank’s body with a base coat of blue. Choose a suitable shade of blue, like Kantor Blue or another blue hue of your choice. Apply the paint evenly and cover the entire surface of the tank’s body. - Step 2: Layering the Blue
To create depth and highlights, apply a lighter shade of blue, such as Calgar Blue, to the raised areas of the tank’s body. Use a fine brush and gentle strokes to layer the paint, focusing on edges and prominent details. - Step 3: Shading the Blue
Using a darker blue, like Macragge Blue, apply shading to the recessed areas of the tank’s body to add depth and enhance the three-dimensional appearance. Pay attention to areas that would naturally be in shadow. - Step 4: Metallic details
Paint the tank’s tracks and the front bar with metallic colors like Leadbelcher or Ironbreaker. Use smooth brushstrokes to cover these elements and make them look like durable metal parts. - Step 5: Black details
Paint the turret cannon in a solid black color using Abaddon Black or another deep black hue. Ensure complete coverage and consider using multiple thin coats for a smooth finish. - Step 6: Bronze Details
Add small bronze details to the tank’s body, such as insignias or decorative elements, using a bronze paint like Brass Scorpion. Take your time and use a steady hand for precise application. - Step 7: Highlighting the Bronze
Apply a lighter shade of bronze, like Sycorax Bronze, to the raised areas of the bronze details to make them stand out. This step will add dimension and make the bronze elements pop. - Step 8: Weathering Effect (Optional)
For a weathered look, you can use a light gray color for the weathering effect. Try using Administratum Grey or a similar light grey paint. Dry brushing or sponge weathering with this color will simulate wear and tear on the tank’s surface, giving it a battle-worn appearance that adds realism to your model. Apply the weathering sparingly, focusing on edges, corners, and areas prone to abrasion, to achieve the desired effect. - Step 9: Final Touches
Review your work and make any necessary touch-ups to ensure a clean and polished appearance for the tank. Check for any missed spots, smudges, or uneven paint. - Step 10: Varnish for Protection
To protect your beautifully painted tank, apply a layer of varnish. You can use a suitable varnish like Munitorum Varnish to seal and protect the paintwork. Follow the manufacturer’s instructions for application.