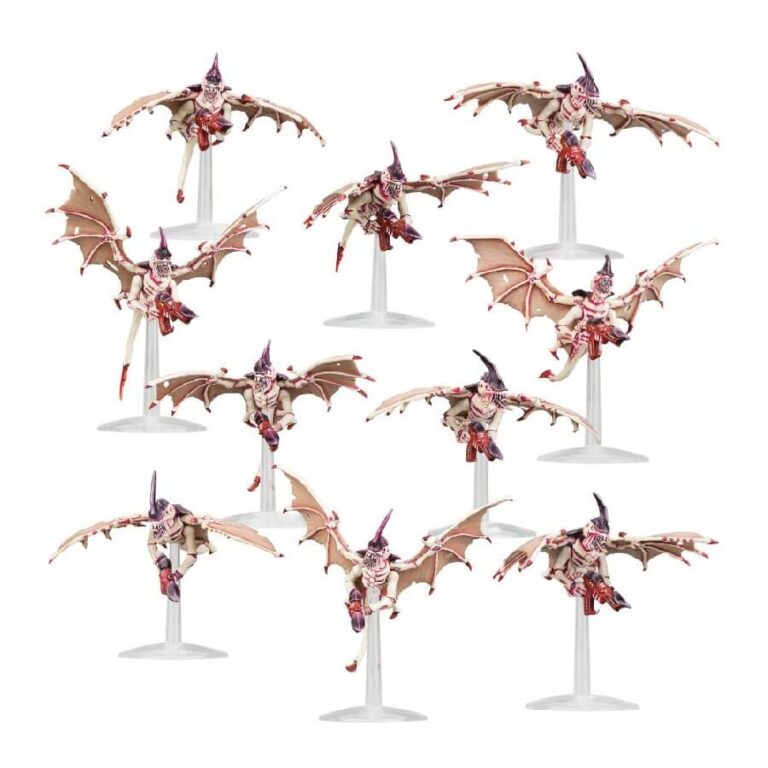
As the harbingers of a Tyranid assault, Gargoyles emerge as the vanguard, their thousands of membranous wings beating ominously as they descend upon the enemy. An eerie darkness envelops the battlefield as these Gargoyle Broods blot out the sun, launching their deadly assault with fleshborers and caustic venom from their fanged mouths, bringing terror and destruction in their wake. Prepare to face the chilling wrath of the Gargoyles as they herald the unstoppable Tyranid swarm!
What’s in the Gargoyle Brood box
- x71 plastic components that make 10 Tyranid Gargoyles.
- x10 Citadel 32mm flying bases.
How to paint the Gargoyle Brood set
- Step 1: Prime Your Miniature
Begin by priming your Gargoyle Brood models with Chaos Black or any other primer of your choice. This creates a smooth surface for the paint to adhere to. - Step 2: Basecoat the Chitin Armour
Apply a basecoat of purple paint to the Gargoyle Brood’s chitin armor. You can use a color like Naggaroth Night for a deep purple hue or Xereus Purple for a lighter shade. - Step 3: Basecoat the Flesh
Next, apply a basecoat of pale white flesh tone paint to the Gargoyle Brood’s flesh. Use a color like Kislev Flesh or any other pale skin tone that you prefer. - Step 4: Paint the Details
Now, paint the other details on the model using suitable colors. For example, you can use Leadbelcher for metallic details, Wazdakka Red for eyes, and Rhinox Hide for claws. - Step 5: Add Final Touches
With a fine brush, add any final touches, such as intricate patterns or markings on the chitin armor or additional details on the model. Use contrasting colors to make these details stand out. - Step 6: Varnish and Protect
To preserve your masterpiece, apply a protective layer of varnish over the entire model. This will safeguard the paint job and prevent any damage over time.

