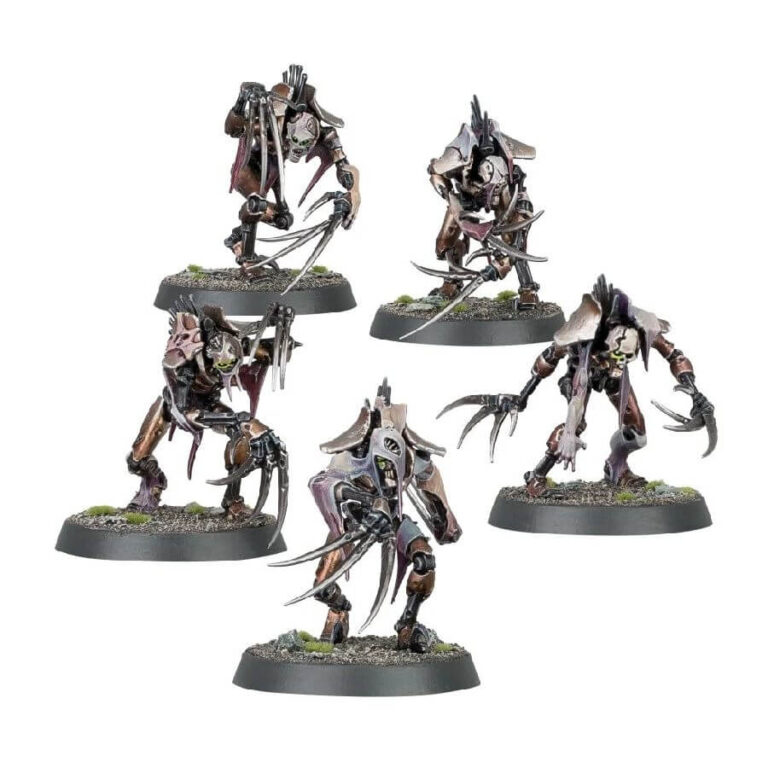
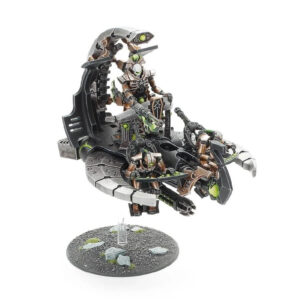
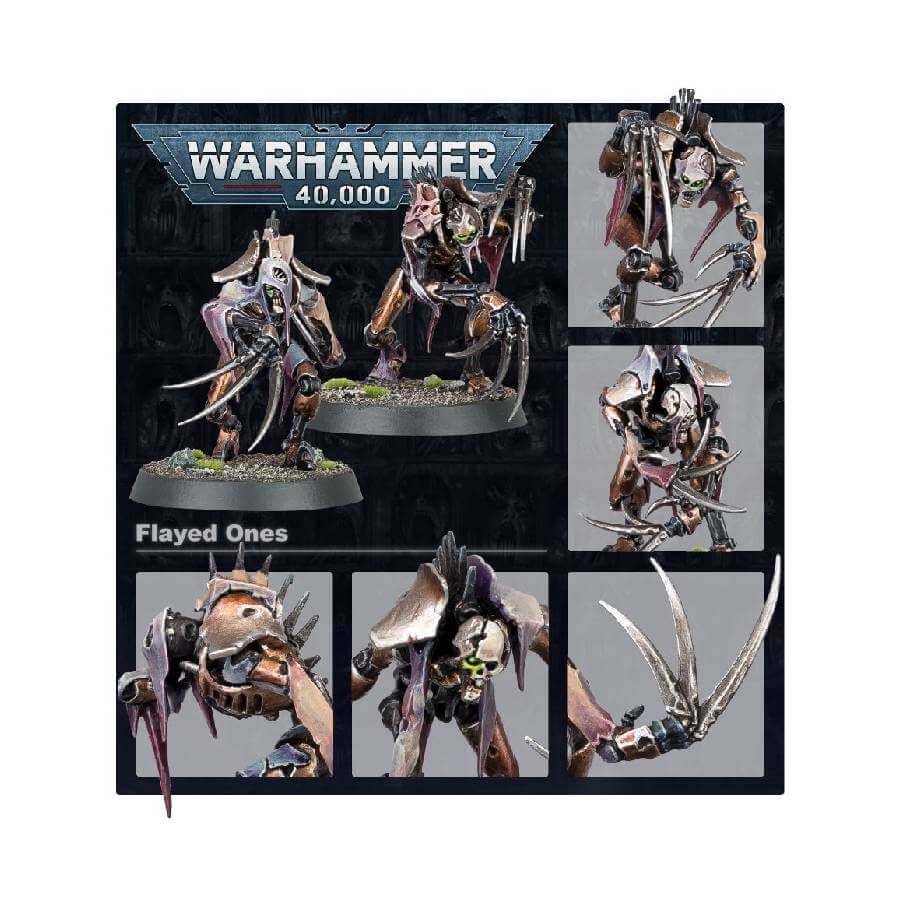
Draped in the gruesome remnants of their victims, the Flayed Ones emerge from shadows, launching lightning-fast assaults that carve through their next targets. Their distinctive hunch, elongated claws, and the grotesque remnants of their own skin set them apart within the ranks of the Necron forces, making them a captivating addition to any collection.
What’s in the Flayed Ones box
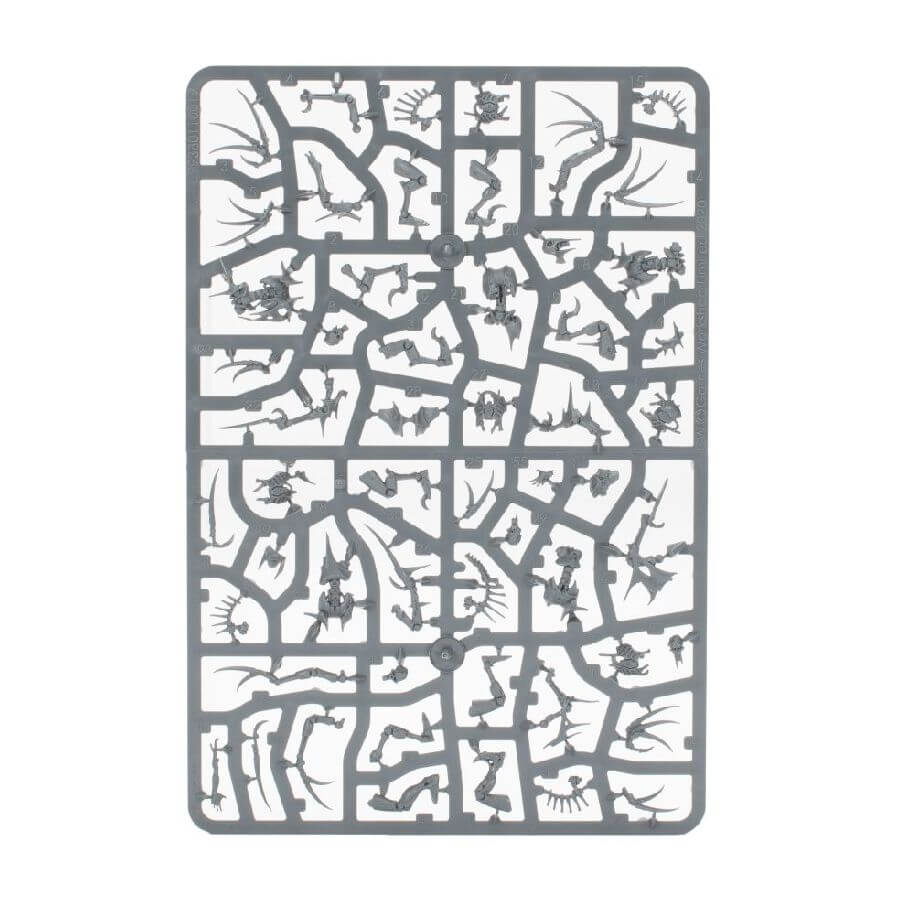
- x55 plastic components that make 5 Flayed Ones.
- x5 Citadel 28.5mm Round Bases.
How to paint the Flayed Ones set
- Step 1: Basecoating the Metallic Parts
Start by dipping your basecoat brush into a metallic silver paint like Leadbelcher. Apply this paint to the metallic areas of the miniature, such as limbs, blades, and other metallic details. Apply thin coats to maintain the intricate details. - Step 2: Adding Dark Accents
Switch to a black paint like Abaddon Black and a fine detail brush. Paint the dark accents, such as blade patterns and cloth scraps, with precision. - Step 3: Infusing Green Glow
Using a green paint like Moot Green and a fine detail brush, create a captivating green glow in the eye sockets. This will create a striking contrast against the dark and metallic parts. - Step 4: Applying Shade Wash
Use a shade wash paint like Nuln Oil and a wash brush to emphasize shadowed areas. Apply the wash to crevices between metallic parts and where dark and metallic sections meet to enhance depth. - Step 5: Layering for Depth
Apply a slightly brighter metallic paint like Ironbreaker to raised edges and surfaces using a basecoat brush. This layering technique adds depth to the metallic elements. - Step 6: Adding Details
With a detail brush, enhance the miniature’s character by adding small details. Use colors like Balthasar Gold for decorative elements, White Scar for clothing elements, or add more shading to the armor using a shade paint like Seraphim Sepia. - Step 7: Basing for Impact
Prepare the base using textures that complement the theme. Consider using Stirland Mud texture paint for a desolate look. Paint the base with colors like Rhinox Hide for a dark, earthy tone. - Step 8: Varnishing for Protection
Apply a varnish like Ardcoat using a brush to protect your masterpiece. Ensure the miniature is fully dry before applying the varnish to enhance colors and details.

