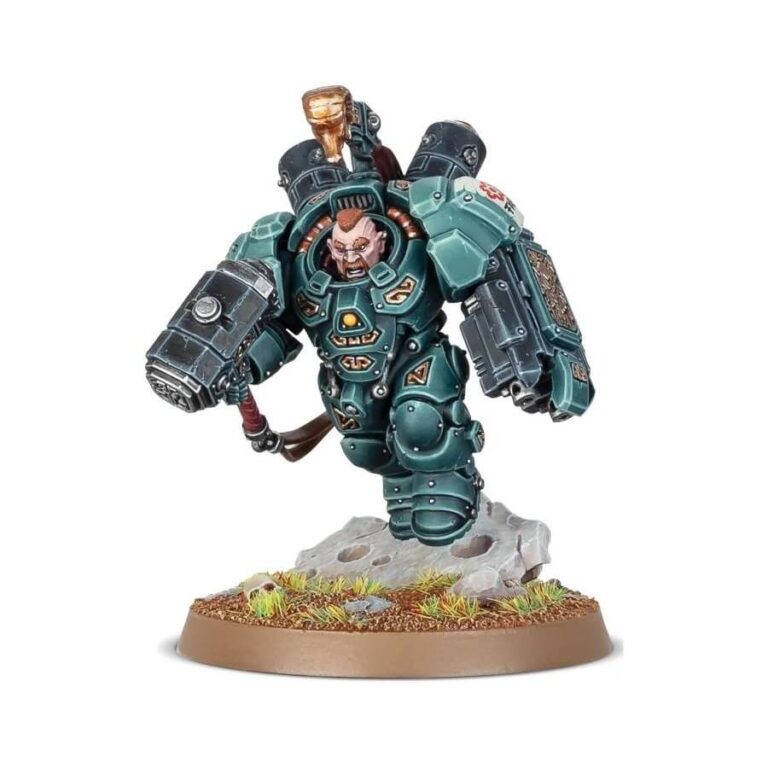
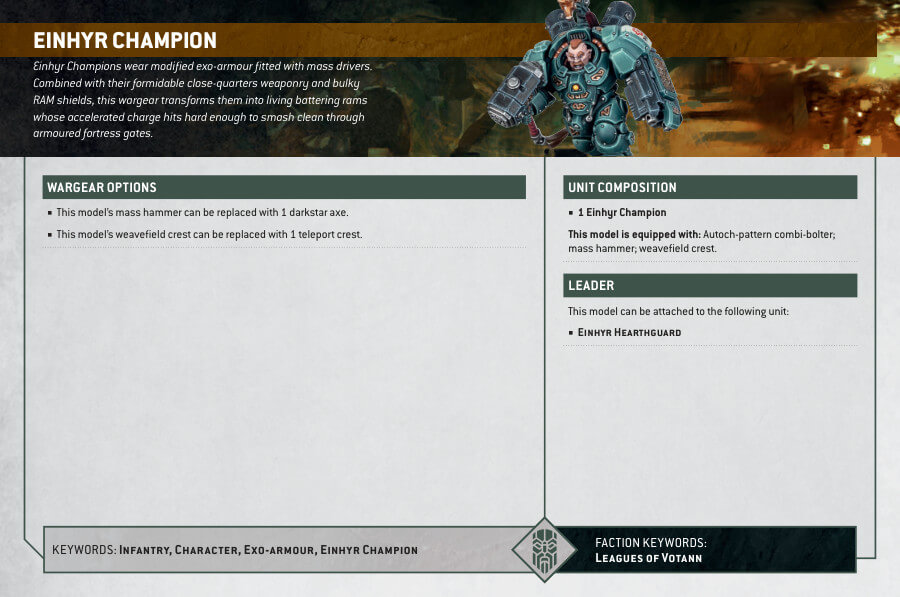
Step into the realm of Votann’s Leagues with this kit, designed to construct an Einhyr Champion – a formidable leader. Outfitted in substantial exo-armour adorned with intricate runes, these vanguards march resolutely, their distinctive RAM shield proudly displayed.
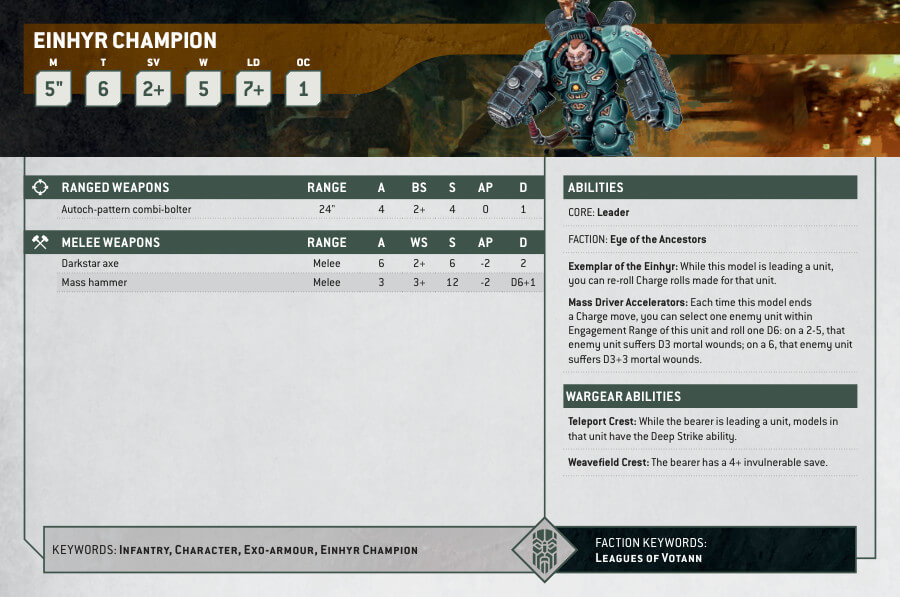
Their relentless forward advance is a blend of unstoppable force and calculated precision, as they not only lead the charge but also rain down explosive shells from their Autoch-pattern combi-bolter.
Unleash your creative prowess with the multitude of choices this kit offers. Tailor your Einhyr Champion’s melee prowess with a choice between a crushing mass hammer or an exquisitely crafted darkstar axe.
The possibilities don’t stop there; opt for either a teleport crest or a defensive weavefield crest to adorn your champion’s armor. Two distinctive head options and a variety of shield plate designs further empower you to shape your Einhyr Champion’s unique identity.
In 2023, Games Workshop released a special model for the Enihyr Champion during its Warhammer Day Event. It’s called the Ancestors’ Wrath, an exclusive Leagues of Votann model, featuring detailed craftsmanship and customizable heads.
Einhyr Champion Datasheets
What’s in the Einhyr Champion box
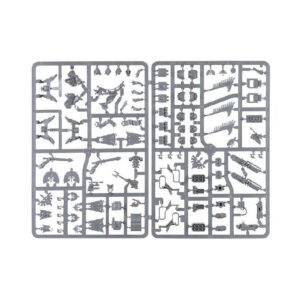
- x22 plastic components that make one Einhyr Champion.
- x1 Citadel 40mm Round base.
How to paint the Einhyr Champion set
- Step 1: Priming
Begin your painting journey by priming your Einhyr Champion model. A primer provides a smooth surface for the paint to adhere to, ensuring better coverage and durability. - Step 2: Base Coat Armor
Apply the base color to the armor sections using Thunderhawk Blue. This base coat provides the foundation of your color scheme. Take your time to ensure even coverage, and use thin coats to avoid obscuring the model’s details. - Step 3: RAM Shield
Now, focus on the RAM shield mounted on the arm. Paint it with a dark metallic shade like Leadbelcher or Abaddon Black to give it a robust and striking appearance. Pay attention to the raised areas and edges to create depth. - Step 4: Melee Weapon
If your Einhyr Champion wields a melee weapon, turn your attention to it. Apply a metallic shade such as Balthasar Gold or Retributor Armor to the weapon’s components. Make sure to capture the metallic reflections realistically for added depth. - Step 5: Combi-Bolter
For the Autoch-pattern combi-bolter, use a similar metallic shade as in the previous step. Paint the main body and barrel with colors like Leadbelcher or Runelord Brass. Don’t forget to add subtle highlights to mimic the play of light on the metal. - Step 6: Crest and Details
Now, let’s enhance the model’s details. Paint the crest design and other intricate elements on the armor. Use vibrant colors, such as Evil Sunz Scarlet or Averland Sunset, to create visual contrast against the main armor shade. Focus on precision and bring out these details. - Step 7: Darkstar Axe or Mass Hammer
If your Einhyr Champion carries a darkstar axe or mass hammer, give it attention. Use shades like Mournfang Brown or metallic colors to paint the weapon. Add subtle highlights to the edges to emphasize the texture and shape. - Step 8: Head and Face
Paint the head of the Einhyr Champion, including facial features or helmet details. Use Cadian Fleshtone or Abaddon Black to bring out the character’s expression. Take your time to carefully highlight facial features for a lifelike appearance. - Step 9: Shield Plate Designs
If your model features different shield plate designs, paint them using complementary colors. Colors like Caliban Green or Temple Guard Blue can bring out intricate patterns. Take care to apply thin coats for a smooth finish. - Step 10: Finishing Touches
Take a step back and review your model. Look for any areas that need refining or additional detail. Add final touches like insignias, symbols, or freehand designs if desired. These small details can make a big difference in the overall visual impact. - Step 11: Varnish
For the final step, protect your masterpiece by applying a varnish like Ardcoat. This not only adds a layer of protection but also provides a subtle sheen to enhance the model’s appearance.

