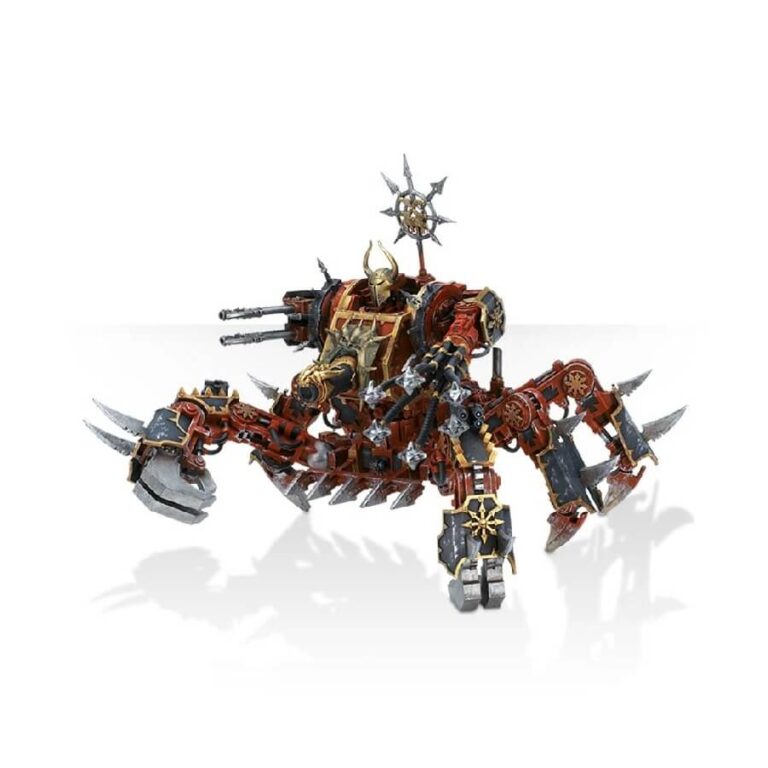
Immerse yourself in the battlefield with the awe-inspiring Defiler, a towering daemon engine that commands attention as it strides across the warzone on piston-driven legs, exuding an air of sheer menace. Its resounding footsteps and menacing claws possess the deadly potential to effortlessly cleave a Space Marine in two. No adversary can find solace in the face of the Defiler’s wrath, for this abominable construct unleashes a torrent of destruction with its monstrous cannons and manipulates a malevolent array of heavy weaponry at its mechanical whim, ruthlessly exacting a devastating toll upon its foes, regardless of their proximity.
This multipart plastic kit presents an opportunity to construct your very own Defiler, a formidable daemon engine fervently embraced by the Traitor Legions. Standing tall on six dynamic mechanical limbs, this versatile model offers various customizable poses, including two forelimbs armed with formidable crushing claws. The torso of the Defiler exhibits poseability, showcasing a formidable battle cannon, accompanied by a selection of side-mounted armaments. On the right flank, a reaper autocannon adds to the destructive power, while on the left, you have the option to equip either a havoc launcher, twin heavy flamer, or menacing writhing scourge tentacles, further enhancing the terrifying presence of this malefic engine.
What’s in the Defiler box
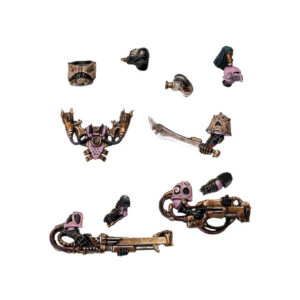
- x84 plastic components that make one Defiler. The sprues contain extra parts you can use to upgrade your chaos vehicles.
How to paint the Defiler set
- Step 1: Prime the Model
Apply a coat of primer to the Defiler. Priming helps the paint adhere better and gives a smooth surface to work on. Use a spray primer or apply it with a brush. Chaos black works well for most colors you may want to apply on this miniature. - Step 2: Base Coat
Apply the base color to the different parts of the Defiler. Use a larger brush for larger areas and a smaller brush for details. For example, paint the body with Leadbelcher, the trim with Mephiston Red, and the details with Screaming Skull. Make sure to cover all the areas evenly. - Step 3: Wash
Apply a wash to the model to bring out the details and add depth. A wash is a thinned down paint that flows into the recesses, enhancing the shadows. Use a darker color than the base coat. For example, use a wash like Nuln Oil for the metallic parts and Agrax Earthshade for the other areas. Apply the wash with a small brush and let it flow into the recesses naturally. - Step 4: Layering
Start layering the colors on the model to create highlights and shadows. Layering adds depth and dimension to the model. Use a lighter color than the base coat and apply it selectively to raised areas or edges. For example, use Ironbreaker to highlight the edges of the metallic parts and Evil Sunz Scarlet to add highlights to the red trim. - Step 5: Dry Brushing
Dry brushing is a technique used to bring out textures and highlights. Dip a dry brush into a lighter color than the base coat, then wipe most of it off on a tissue. Lightly brush the model’s surface, focusing on raised areas. For example, use a dry brush with a little Screaming Skull to highlight the textured parts of the Defiler. - Step 6: Detailing
Use a fine brush to paint smaller details such as symbols, eyes, or other intricate elements. This step requires steady hands and attention to detail. Choose contrasting colors for these details to make them stand out. For example, paint the eyes with a bright color like Yriel Yellow and add small symbols with colors like Abaddon Black or Averland Sunset. - Step 7: Weathering (Optional)
To add a weathered or battle-worn look to your Defiler, you can use techniques like dry brushing with a rust color or adding small chips and scratches with a fine brush. These techniques give the model a more realistic and worn appearance. - Step 8: Varnish (Optional)
To protect your paint job and add a final finish, you can apply a varnish to the model. Choose either a matte or glossy varnish based on your preference. Apply the varnish in thin, even coats, following the instructions on the can. This step helps prevent the paint from chipping or rubbing off during gameplay. - Step 9: Basing (Optional)
To complete the model, you can create a base for your Defiler. This can be a simple textured base or a more elaborate scene. Use materials like sand, rocks, or static grass to create different textures and add realism. Paint the base to match your army’s theme and glue the model securely onto it.

