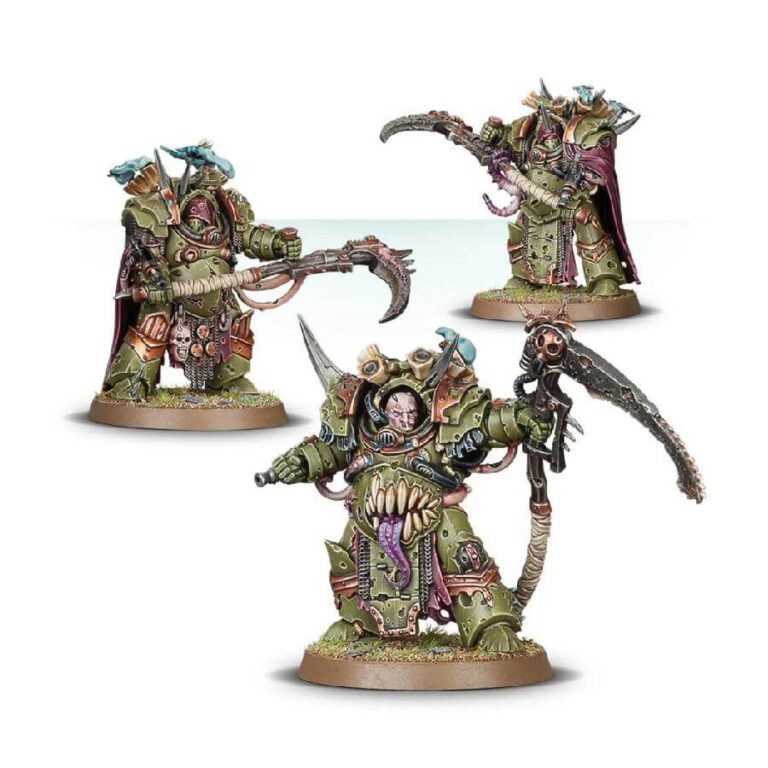
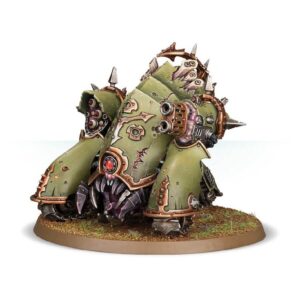
This multi-part plastic kit offers all the necessary components to assemble a set of three Deathshroud Bodyguard. Impressively large and exuding the putrid essence of decay, these models embody the corrupting influence of Nurgle. Each Deathshroud wields a manreaper, a towering scythe marred by rust and disease, dwarfing even the formidable stature of its bearer. Additionally, each warrior possesses a plaguespurter gauntlet, an unpleasant tool used to expel vile maladies onto hapless victims.
Adorned with distinctive Nurgle symbolism, the Deathshroud’s armor bears the marks of rust, boils, and chips. Through the gaps in their tattered cloaks, one can catch glimpses of grotesque and bloated flesh, accompanied by writhing tentacles. The kit provides a variety of options, including seven variant heads, featuring both helmeted and bare-faced options. Additionally, an extra plaguespurter gauntlet is included, intended for the optional unit Champion, who has the choice to wield two of these deadly weapons.
What’s in the Deathshroud Bodyguard box
- x51 plastic components that make 3 Deathshroud Bodyguards
- x3 Citadel 40mm Round bases
How to paint the Deathshroud Bodyguard set
- Step 1: Prime the Model
Apply a thin, even coat of black primer to the entire Deathshroud Bodyguard using a brush or spray primer. This will create a smooth surface for the paint to adhere to. - Step 2: Basecoat
Start by applying a basecoat of dark green paint to the Deathshroud’s armor using a medium-sized brush. For example, you can use Death Guard Green to cover the majority of the model. - Step 3: Rust and Decay
Using a small brush, carefully paint areas of rust and decay on the armor using colors like Rhinox Hide or Jokaero Orange. Focus on edges, crevices, and areas of wear to create a weathered appearance. - Step 4: Metallic Accents
Paint any metallic parts, such as the weapons and accessories, using metallic paints like Leadbelcher or Iron Warriors. Apply multiple thin coats to achieve a smooth and realistic metallic finish. - Step 5: Washes
Apply a wash, such as Agrax Earthshade, to darken the recessed areas and add depth to the model. Use a small brush to carefully apply the wash to areas with textures and crevices, such as the armor and weapons. - Step 6: Highlighting
Using a lighter green shade, such as Ogryn Camo or Nurgling Green, apply edge highlights to the armor and other raised areas. This will make the details stand out and add depth to the model. - Step 7: Tentacles and Flesh
Paint any exposed flesh or tentacles using colors like Rakarth Flesh or Screamer Pink. Apply thin layers to build up the desired effect, and consider adding washes like Druchii Violet or Carroburg Crimson for added depth and definition. - Step 8: Detailing and Symbol Painting
Use a small brush to paint additional details, such as the Nurgle symbols or other icons, using contrasting colors like Balthasar Gold or Screamer Pink. Take your time and be patient, applying thin layers to achieve clean lines and precise details. - Step 9: Base Decoration
Paint the base of the model to represent the environment. You can use colors like Dryad Bark or Mechanicus Standard Grey for rocky terrain, and add touches of vegetation using colors like Mournfang Brown or Ushabti Bone. - Step 10: Finishing Touches
Apply a matte varnish over the entire model to protect the paint job and reduce any unwanted shine. Consider adding additional effects like splatters of blood or toxic slime to enhance the grim atmosphere of the Deathshroud Bodyguard.

