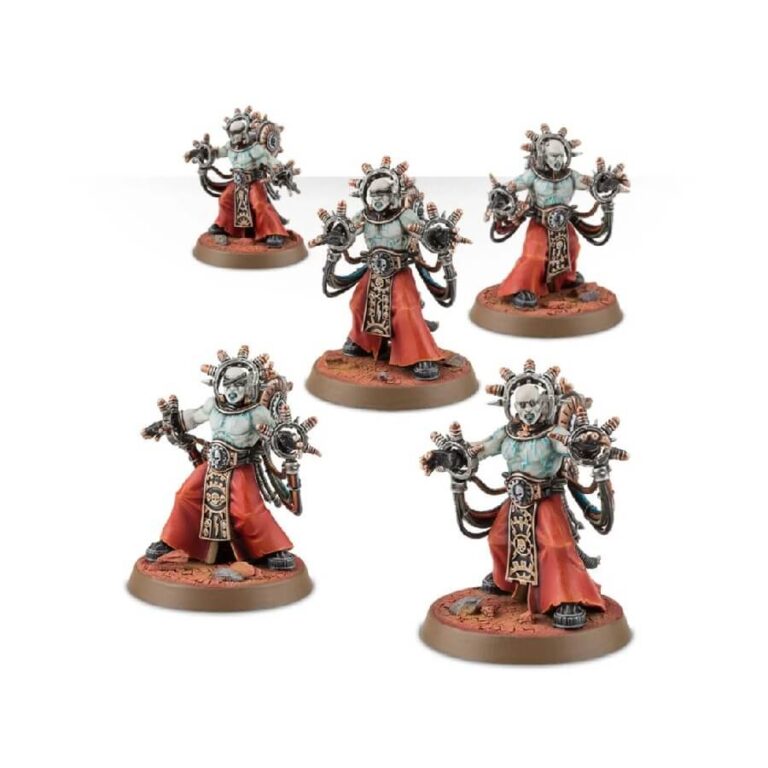
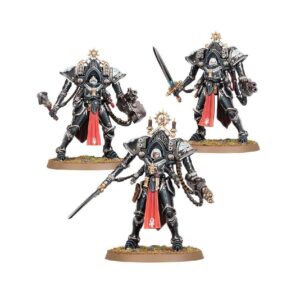
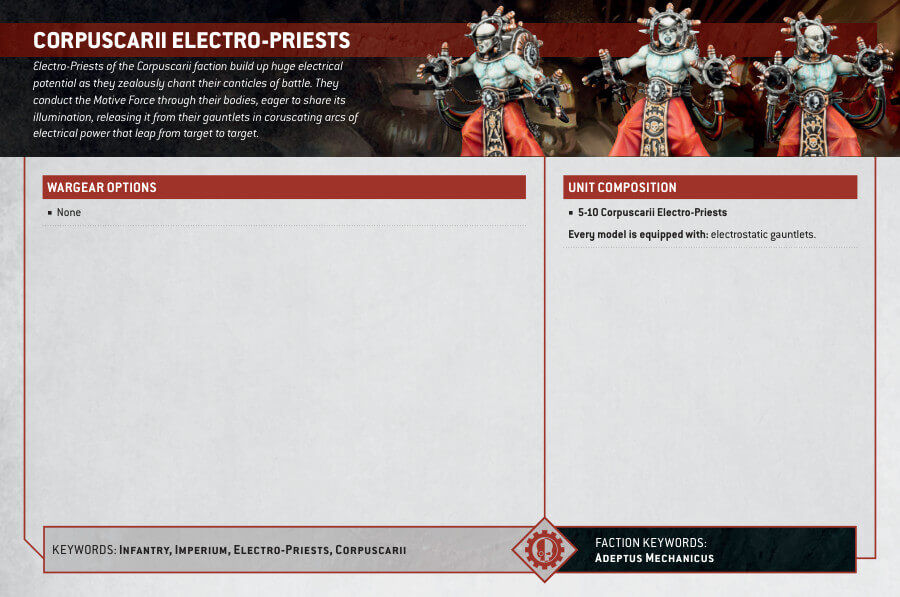
The Corpuscarii Electro-Priests are devout followers of the Machine God, empowered by the Motive Force and bestowed with the gift of illumination. They use their electrosurgically enhanced bodies to unleash lightning-charged bursts of energy, devastating their enemies in the name of their faith. The kit includes a single Corpuscarii Electro-Priest armed with a pair of electrostatic gauntlets, along with five pairs of gauntlets and power pack assemblies. Additionally, the kit features various customization options including five different torsos, five heads, and ten head crests – five for the Corpuscarii and five for the Fulgurite.
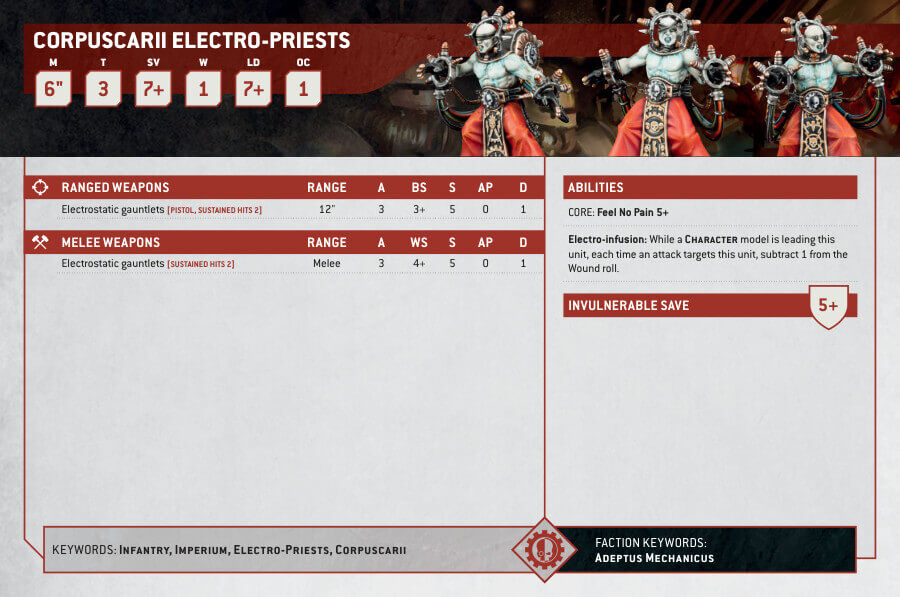
Corpuscarii Electro-Priests Datasheets
What’s in the Corpuscarii Electro-Priests box
- x82 plastic components to build Five Corpuscarii or five Fulgurite Electro-Priests.
- x5 Citadel 32mm Round Bases
How to paint the Corpuscarii Electro-Priests Set
- Step 1: Priming
Begin by priming your miniatures with Wraithbone spray. Ensure an even and complete coverage to create a solid foundation for your painting. - Step 2: Skin
Move on to painting the skin with Rakarth Flesh as the base coat. It provides a pale and clean canvas.
Apply Nuln Oil as a shade to add depth and definition to the skin.
Once the shade has dried, use Pallid Wych Flesh for layering, to highlight the raised areas, achieving a lifelike appearance. - Step 3: Robes
Now, focus on the robes. Paint them using Khorne Red, and don’t be overly concerned with precision at this stage.
To create shadows in the folds and creases of the robes, apply Agrax Earthshade as a shade.
For highlights, use Evil Sunz Scarlet as a layer, making the red robes visually striking. - Step 4: Mechanical Parts and Components
It’s time to address the mechanical parts and components. Use Leadbelcher for complete coverage.
Apply Nuln Oil as a shade to enhance the metallic parts’ depth.
Highlight the edges and raised sections with Ironbreaker to achieve a lustrous metallic finish. - Step 5: Brass Details
For brass elements like crowns or intricate body details, apply Balthasar Gold as the base coat.
Use Agrax Earthshade to create shadows and depth.
Highlight the edges and raised portions with Sycorax Bronze for that gleaming brass effect. - Step 6: Black Elements
Paint the black elements, such as boots and eye covers, with Abaddon Black.
Use a fine brush for precision to ensure clean lines and details. - Step 7: Bases (Desert Theme)
To create desert-themed bases, start by applying texture paints like Martian Ironcrust or similar textured paints. This adds a realistic desert texture to the base.
Additionally, you can further customize your bases by adding grass tufts or small rocks for extra realism and variety. Experiment with different elements to create a unique desert environment for your miniatures. - Step 8: Varnish
To protect your miniatures and ensure their longevity, apply a suitable varnish. Consider Ardcoat for a glossy finish or Stormshield for a matte finish, depending on your desired effect. These varnishes will not only protect your miniatures but also enhance their appearance.

