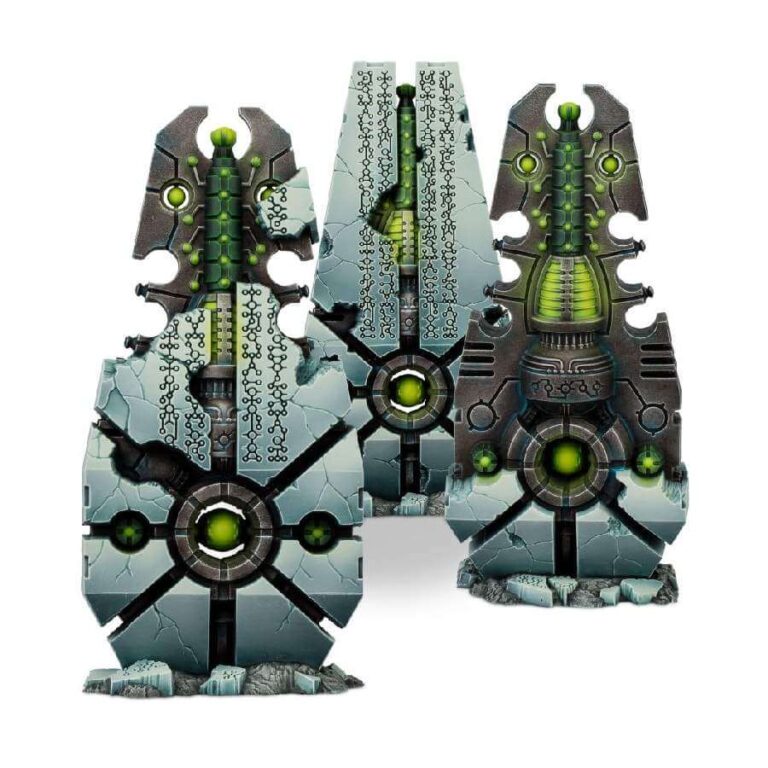
In ancient times, Starsteles served as territorial markers and vigilant sentinels, a testament to the possessive nature of Necron nobles. Millennia later, these once-forgotten relics have transformed into enigmatic archaeological wonders, sparking tales of vanishments and eerie lights. With the resurgence of their masters, Starsteles awaken from their slumber.
Enter the Convergence of Dominion, a faction-specific Fortification that not only offers cover for advancing Necron forces but also bestows a range of advantages upon nearby units. Comprising three distinct Starsteles, this formation boasts the lethal power of transdimensional abductors—time-honored weapons designed to swiftly eliminate any audacious foes venturing too close. As these enigmatic constructs resurface, they signify a pivotal chapter in the unfolding saga of the Necron’s resurgence.
What’s in the Convergence of Dominion box
- x14 plastic components that make three Starsteles, which make up a Convergence of Dominion.
How to paint the Convergence of Dominion set
- Step 1: Base Colors
Begin by painting the main body of the Starsteles and the surrounding terrain with Abaddon Black. This initial layer provides a strong base that sets the tone for the rest of your painting. - Step 2: Metallic Elements
Use Leadbelcher to paint the metallic parts of the Starsteles, like the transdimensional abductors. To add depth and dimension, apply a layer of Stormhost Silver over the Leadbelcher. This subtle layering technique enhances the metallic shine. - Step 3: Layering for Depth
Apply thin layers of Eshin Grey to the edges of the Starsteles. This layering technique adds visual depth and accentuates the contours, making the surfaces appear more three-dimensional. - Step 4: Enhance Glow Effects
For the energy sources and intricate patterns, apply Tesseract Glow. To further enhance the glow, layer it with Moot Green, gradually building up the intensity toward the center. This layering creates a captivating luminous effect. - Step 5: Shade the Model
Apply Nuln Oil wash to the Starsteles. Focus the wash on the recesses and joints to create shadows and emphasize the sculpted details. Allow the wash to flow naturally, enhancing the overall realism of the model. - Step 6: Weathering
To add a weathered and battle-worn appearance, use a dry brush technique with a lighter grey color like Administratum Grey. Gently brush over the edges and surfaces of the Starsteles to simulate wear and tear. - Step 7: Final Touches
Review your work, making sure that the colors are consistent and details are crisp. Consider using Runelord Brass to highlight the edges of the metallic parts, bringing out their shine. - Step 8: Varnish (Optional)
To protect your work and give it a finished look, consider applying a coat of varnish. A matte varnish offers a flat finish that doesn’t reflect light, while a gloss varnish adds a subtle shine to metallic areas.

