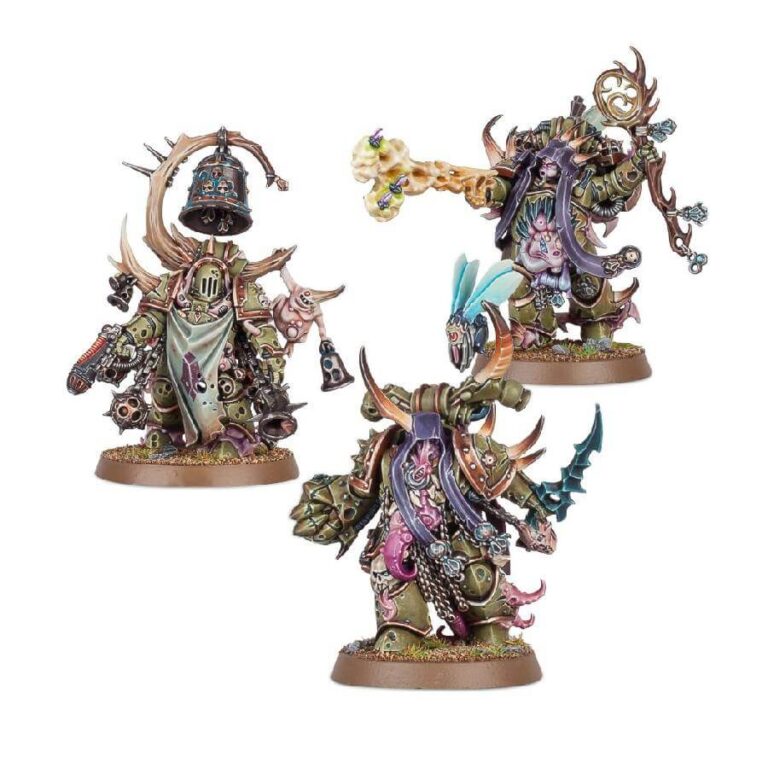
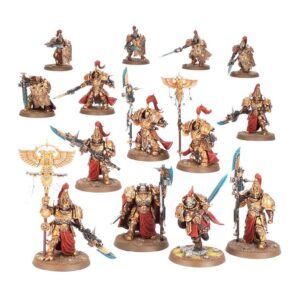
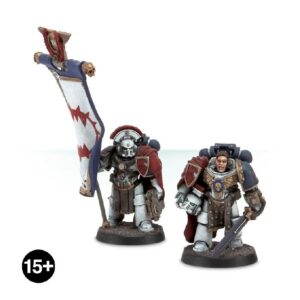
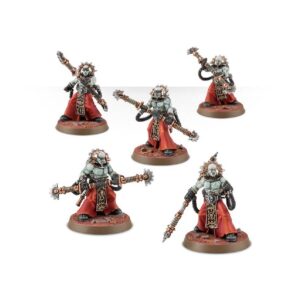
Embrace the captivating power of Nurgle’s Garden as you introduce three formidable Death Guard heroes to your collection. The Malignant Plaguecasters, living conduits of the Garden’s noxious miasmas and diseases, shall wield their unholy abilities to devastating effect. Accompanying them is the Noxious Blightbringer, whose cursed bell tolls sow weakness among the enemy ranks. As for the Plague Marine Champion, he wields a plague spewer to drown hordes of foes in repulsive slime and cripples enemy vehicles with his blight launcher.
With this exceptional kit, you gain the opportunity to enhance your army with these three essential Death Guard heroes. The Malignant Plaguecasters serve as exemplary leaders, guiding your forces to triumph while unleashing the relentless onslaught of revolting diseases. The Noxious Blightbringer, true to their name, spreads decay and weakness wherever they tread, setting the stage for your Death Guard’s unholy onslaught.
The inclusion of the Plague Marine Champion grants you a valuable option to differentiate your Plague Marine squads. This champion possesses a vile arsenal, capable of drenching your foes in noxious slime and rendering enemy vehicles inoperable through the blight launcher’s corrosive might.
Each model in this kit is bestowed with the grotesque blessings of Nurgle, seamlessly integrating into the rest of your Death Guard army. Furthermore, the unique features and intricate details of these miniatures present an enticing painting project, allowing you to showcase your artistic skills while capturing the essence of Nurgle’s foul realm.
What’s in the Chosen of Mortarion box
- x20 plastic components kit that makes one Malignant Plaguecaster(HQ), one Noxious Blightbringer(Elite), and one Plague Marine Plague Champion(troop).
- x1 40mm Citadel round base
- x2 32mm Citadel round bases
How to paint the Chosen of Mortarion set
- Step 1: Base Coat
Apply a base coat of dark green to the armor using a large brush. Use smooth, even strokes to cover the surface, ensuring all areas are evenly coated. A suitable color for the base coat is Death Guard Green from Citadel Colour, but if you have some pots of Caliban Green laying around you can also use that. - Step 2: Metallic Trim
Using a smaller brush, carefully paint the metallic trim on the armor, such as the shoulder pads and weapons. Opt for a silver color like Leadbelcher to achieve a metallic look. Take your time and apply thin layers for better control and coverage. - Step 3: Shade
Apply a shade to the entire model, including the armor and other areas, using a medium-sized brush. Shades, like Nuln Oil, add depth and definition to the details by settling into recessed areas. Apply the shade liberally but avoid pooling or excessive buildup. - Step 4: Highlight
Using a lighter green shade, such as Warpstone Glow, load a small brush and carefully apply highlights to the raised edges of the armor. Focus on areas where light would naturally hit the model, such as edges and corners. This technique will create contrast and make the details pop. - Step 5: Faces and Skin
Paint the faces and exposed skin areas using a pale flesh tone like Cadian Fleshtone. After that add a layer of Pink Horror to achieve that diseased look. You can also add dots of Nurgles Rot after. - Step 6: Details
With a smaller brush, pick out smaller details like belts, pouches, and accessories. Choose appropriate colors, such as Rhinox Hide for belts or Mephiston Red for small accents. Take care to paint these details neatly and avoid accidentally touching other areas. Xereus Purple is a good option to paint the cloak and achieve a contrasting look with the green armor. - Step 7: Weapon Effects
Add effects to the weapons to make them visually appealing and dynamic. For example, paint glowing energy areas with a bright color like Moot Green, or add rusted areas using Ryza Rust. Experiment with different techniques to achieve the desired effect. - Step 8: Basing
Enhance the model’s appearance by basing it. Apply texture paints, like Astrogranite Debris, to the base to simulate rough terrain. Allow it to dry completely before adding additional elements like tufts of grass or small rocks. These details add realism and make the model stand out. - Step 9: Sealing
To protect your hard work, apply a coat of varnish using a large brush or spray. Choose a matte varnish for a non-glossy finish that will help preserve the paint job. Apply the varnish in a well-ventilated area and let it dry completely before handling the model.

