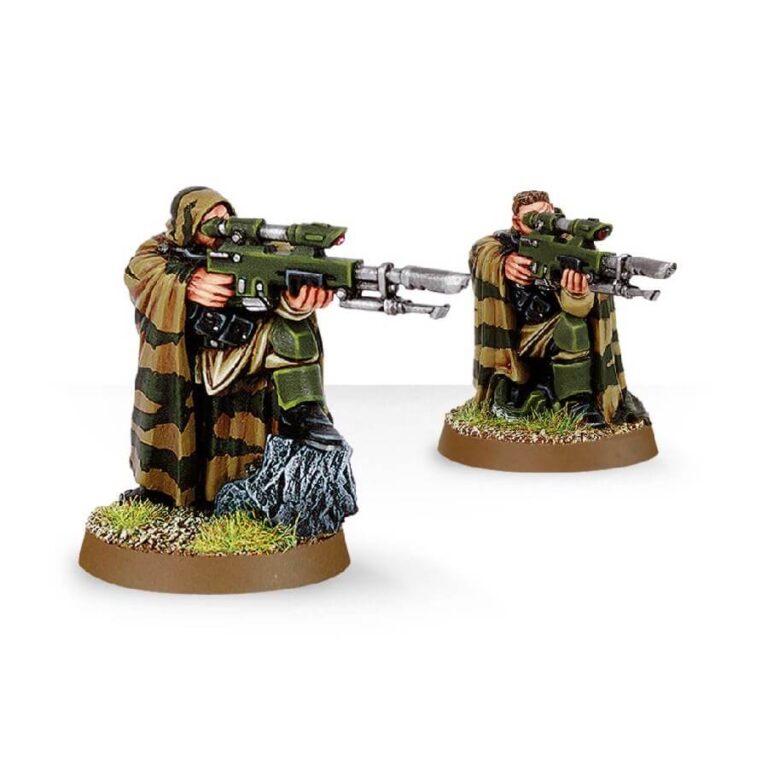
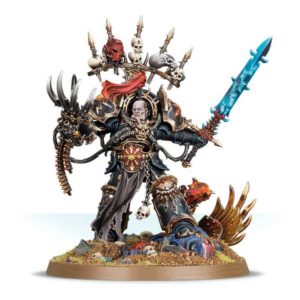
Sniper rifles offer the ideal solution for engaging formidable creatures with high toughness, presenting a challenge for standard lasgun-armed troops. In a Special Weapon Support Squad, you have the opportunity to enhance the effectiveness of up to 3 models by equipping them with sniper rifles, granting them the ability to strike with precision and neutralize formidable adversaries.
What’s in the Cadian Snipers box
- x2 metal Cadian Snipers that are able to neutralize formidable adversaries
How to paint the Cadian Snipers set
- Step 1: Basecoat the Sniper Rifle
Start by applying a basecoat of a dark color, such as black or dark gray, to the sniper rifle. This provides a solid foundation for subsequent layers of paint. For example, you can use Abaddon Black. - Step 2: Highlight the Sniper Rifle
Using a lighter shade of gray, carefully apply highlights to the edges and raised areas of the sniper rifle. This helps create depth and definition. A suitable color for highlighting could be Mechanicus Standard Grey. - Step 3: Paint the Clothing
Choose a color for the sniper’s clothing, such as a camouflage pattern or a traditional military green. Apply an even coat of paint to cover the entire area. For instance, you can use Caliban Green for a classic Cadian look. - Step 4: Add Camouflage
To create a camouflage effect, use a fine brush and paint irregular patches or stripes in different shades of green or brown over the base coat. This adds visual interest and helps the sniper blend into their surroundings. You can use colors like Waaagh! Flesh or Mournfang Brown for this step. - Step 5: Detail the Clothing
Using a smaller brush, carefully paint the finer details on the clothing, such as pockets, straps, or insignia. Choose appropriate colors for these elements, like Balthasar Gold for buckles or straps and Administratum Grey for pouches. - Step 6: Paint the Skin and Face
Apply a flesh-tone color to the sniper’s face, hands, and any exposed skin. Take care to paint within the lines and avoid smudging adjacent areas. Colors like Kislev Flesh or Bugman’s Glow work well for this step. - Step 7: Highlight the Skin
Add highlights to the skin by using a lighter flesh tone. Focus on raised areas and facial features to create a realistic effect. For example, you can use Cadian Fleshtone or Cadian Fleshtone. - Step 8: Paint the Details
Use small brushes to paint the remaining details, such as belts, holsters, or equipment. Pick suitable colors for these elements, like Leadbelcher for metallic parts and Mephiston Red for small details. - Step 9: Apply a Wash
Apply a wash, such as Agrax Earthshade, over the entire model to enhance the shadows and add depth to the crevices. This brings out the details and gives the miniature a more realistic appearance. - Step 10: Varnish the Model
To protect the paintwork, apply a layer of varnish over the entire model. This helps prevent chipping and keeps the colors vibrant. You can choose between a matte or gloss varnish based on your preference.

