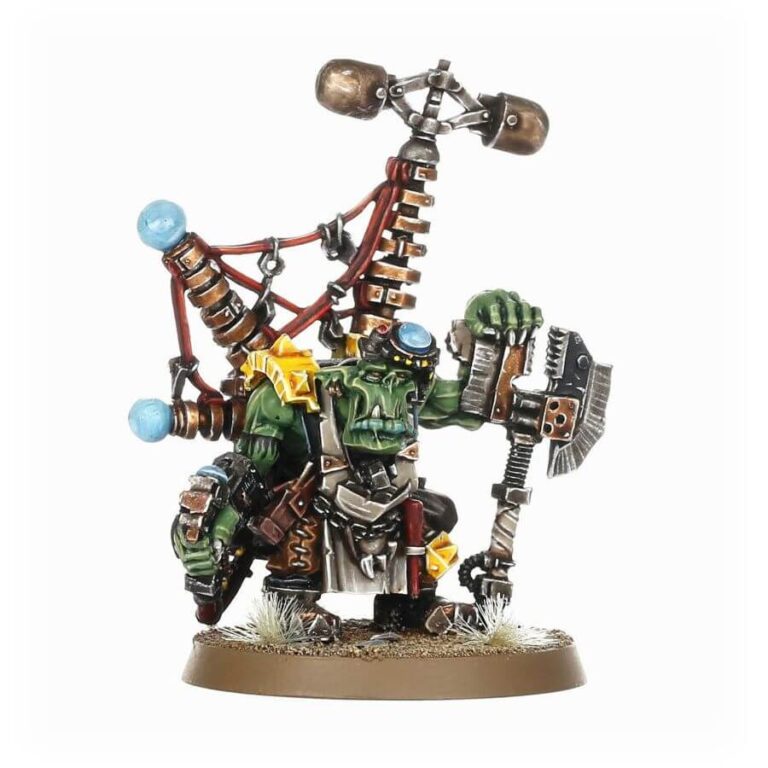
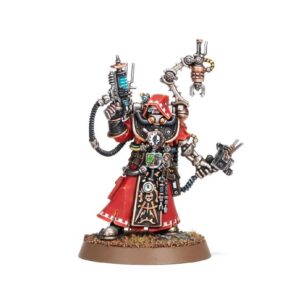
Meet the Big Mek: Orks’ Master Engineers and Inventors! They bring devastating contraptions to battle, protecting allies and crushing enemies. With their ingenious kustom force field generator, they shield fellow Ork units from even the fiercest attacks. When not safeguarding their greenskin comrades, they skillfully repair damaged vehicles, sending them back into battle armed with nearby scrap. The Big Meks’ unrivaled genetic knowledge and wild-eyed experimentation make them the driving force behind the Ork horde, forever reshaping the face of war.
What’s in the Big Mek With Kustom Force Field box
- x4 resin components with which you can assemble one Big Mek With Kustom Force Field.
- x1 40mm round base.
How to paint the Big Mek With Kustom Force Field set
- Step 1: Basecoat the Model
To begin, apply a solid basecoat to your Big Mek model. For the skin, use Waaagh! Flesh, and for the clothing, try Mephiston Red. Don’t worry if it’s not perfect; this is just the starting point. - Step 2: Block in Colors
Now, block in the main colors of the model. Paint the metal parts with Leadbelcher, the force field generator with Averland Sunset, and the mechanical bits with Mechanicus Standard Grey. - Step 3: Wash the Model
Next, apply washes to add depth and shading. Use Agrax Earthshade for the metal areas, Seraphim Sepia for the force field generator, and Nuln Oil for the mechanical components. This step really brings out the details! - Step 4: Highlighting
Time to make those details pop! Grab a lighter shade for each color you used earlier. Highlight the skin with Warboss Green, the clothing with Evil Sunz Scarlet, and the mechanical parts with Administratum Grey. - Step 5: Add Details
Here’s where you can get creative. Use a fine brush to add small details, like glyphs, wires, and dents, to the model. For these, try colors like Moot Green, Troll Slayer Orange, and Runelord Brass. - Step 6: Paint the Force Field
Now, let’s make that force field look impressive! Use Baharroth Blue for the main glow and blend it into White Scar at the edges. You can add some streaks of Drakenhof Nightshade for added depth. - Step 7: Weathering (Optional)
For a weathered look, lightly dry brush the model with Ryza Rust and Typhus Corrosion on the metal parts. You can also apply spots of Blood for the Blood God on the weapons for a more battle-worn appearance. - Step 8: Varnish and Protect
Once you’re satisfied with your paint job, apply a protective layer of varnish to seal and protect the model. This will keep your hard work safe from damage. - Step 9: Base the Model
Finally, create a base for your Big Mek. You can use texture paint, sand, or any other materials you like. Add some tufts of grass or rocks for extra realism.

