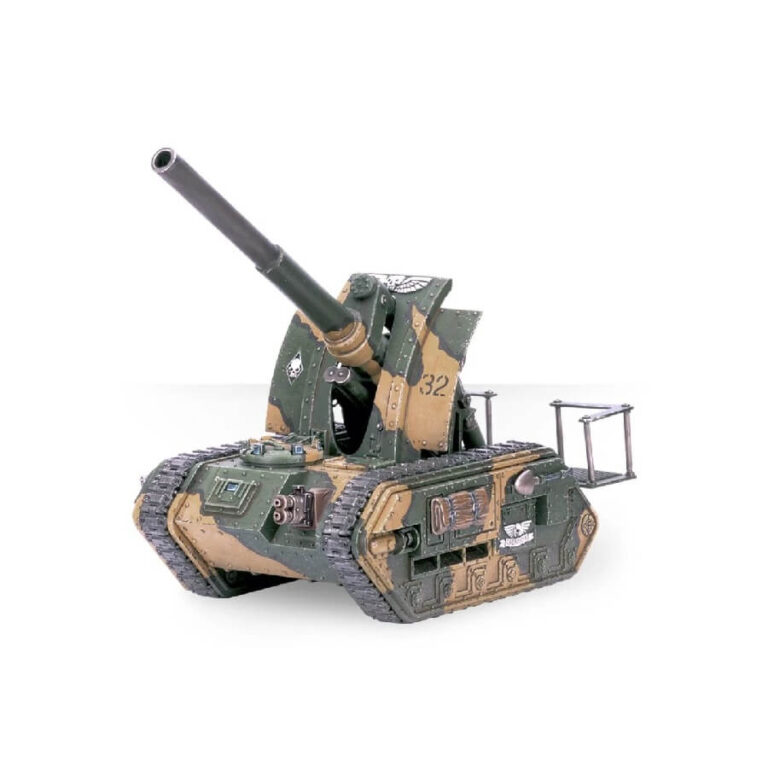
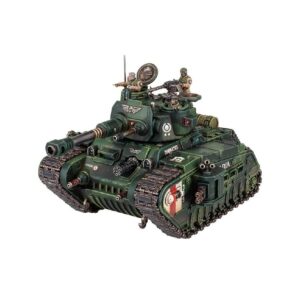
The Basilisk is a versatile and powerful self-propelled Astra Militarum artillery tank that can be used to support infantry advances or deploy to rear positions for shelling. This multipart plastic kit includes a long-barrelled earthshaker cannon, a hull-mounted heavy bolter or heavy flamer, and optional upgrades such as a dozer blade, hunter-killer missile, and armoured tracks. The cannon can be assembled without glue, allowing for adjustable firing angles and includes a gunner with a choice of heads and arms. The kit also includes accessories to customize your vehicle, such as bedrolls, entrenching gear, a spotlight, spare fuel, hatch options, and aquila sigils.
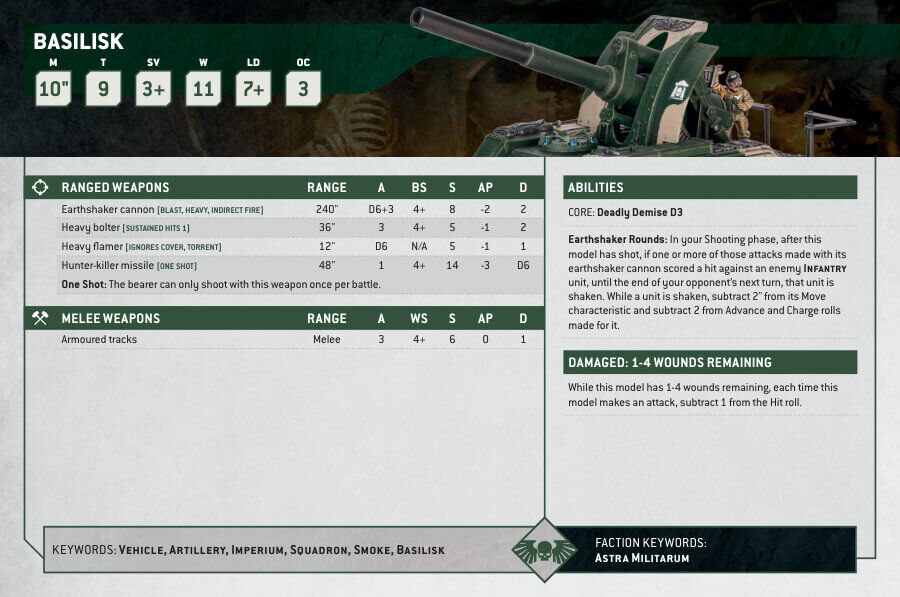
Basilisk Datasheets
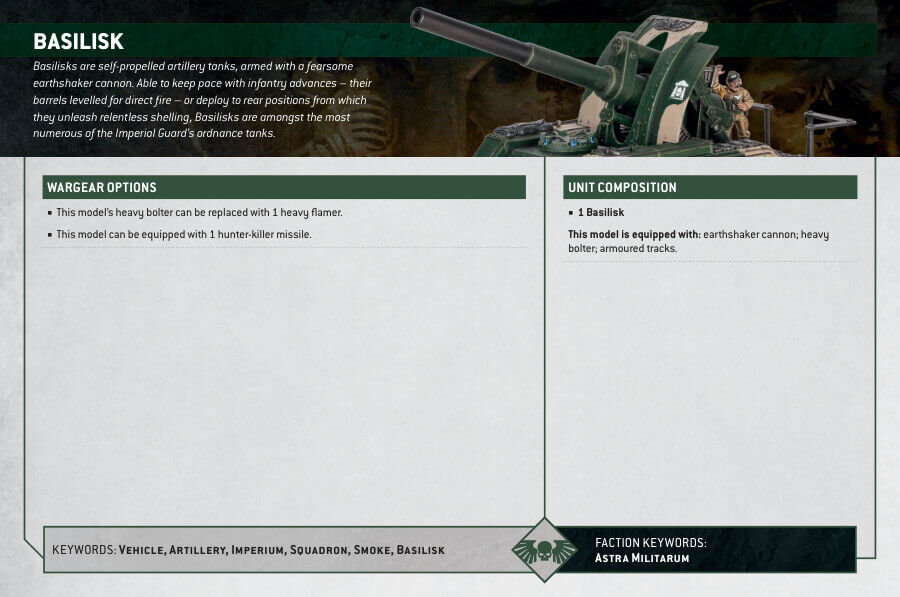
What’s in the Basilisk box
- x117 plastic components that make one Basilisk.
- x1 transfer sheet featuring tactical markings, numerals, and regimental heraldry.
How to paint the Basilisk Set
- Step 1: Prime the Miniature
Apply a thin coat of primer to the Basilisk tank miniature. Primer helps the paint adhere better and provides a smooth surface for painting. For an accurate representation, use a black or grey primer. - Step 2: Basecoat the Tank Body
Using a medium-sized brush, apply a basecoat color to the tank body. A suitable choice could be a green color like Caliban Green. Thin the paint slightly with water or a medium to achieve smoother coverage. Apply the basecoat evenly, ensuring that the details of the miniature remain visible. - Step 3: Layer the Tank Body
Switch to a smaller brush and layer the tank body with a lighter green color, such as Straken Green. Focus on the raised areas and edges to add depth and highlights. Leave the darker basecoat color visible in the recessed areas. - Step 4: Highlight the Tank Body
Using an even smaller brush, apply a highlight color like Ogryn Camo to the most prominent edges and raised areas of the tank body. This step will further enhance the highlights and create a smooth transition from the basecoat to the highest points. - Step 5: Paint the Details
The Basilisk tank has various details like tracks, weaponry, and additional equipment. Use appropriate colors such as Leadbelcher for metallic parts, Rhinox Hide for the tracks, and Mechanicus Standard Grey for any exposed equipment. Apply multiple thin coats and use a small brush to carefully pick out the details. - Step 6: Shade the Tank
To add depth and shadows to the tank, use a wash like Nuln Oil. Apply the wash to recessed areas and allow it to flow into the crevices, enhancing the overall appearance of the miniature. Use a small brush to control the application. - Step 7: Weathering and Effects
To create weathering effects, you can use drybrushing or stippling techniques with colors like Baneblade Brown or Mournfang Brown on areas prone to wear and tear. Additionally, you can add battle damage effects using a dark color like Abaddon Black to simulate scratches or chipped paint. - Step 8: Add Finishing Touches
To complete the painting process, add finishing touches to the Basilisk tank. This may include painting additional details such as lights, symbols, or insignias. Use a fine detail brush and steady hands for these final touches.

