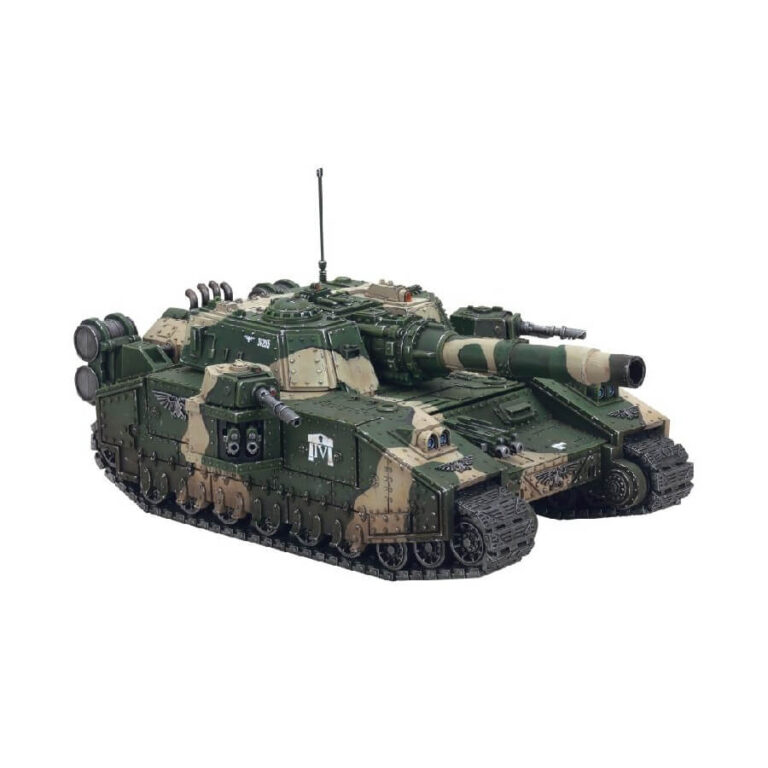
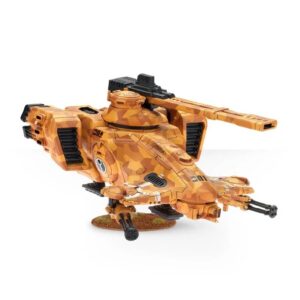
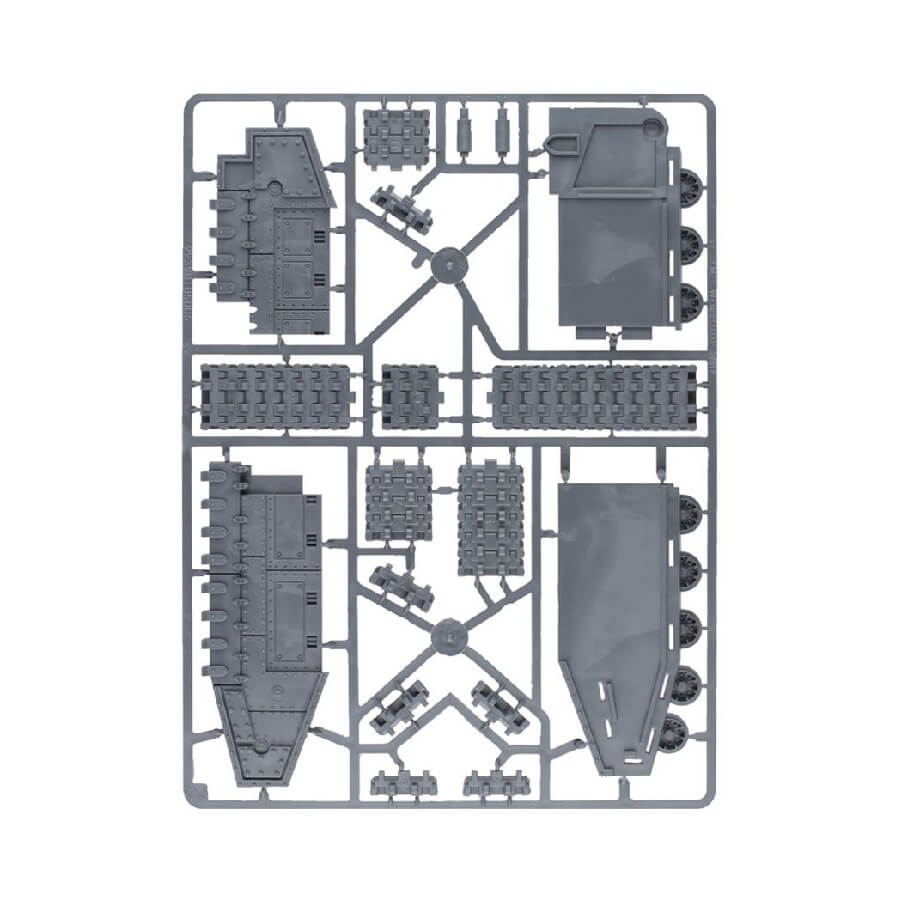
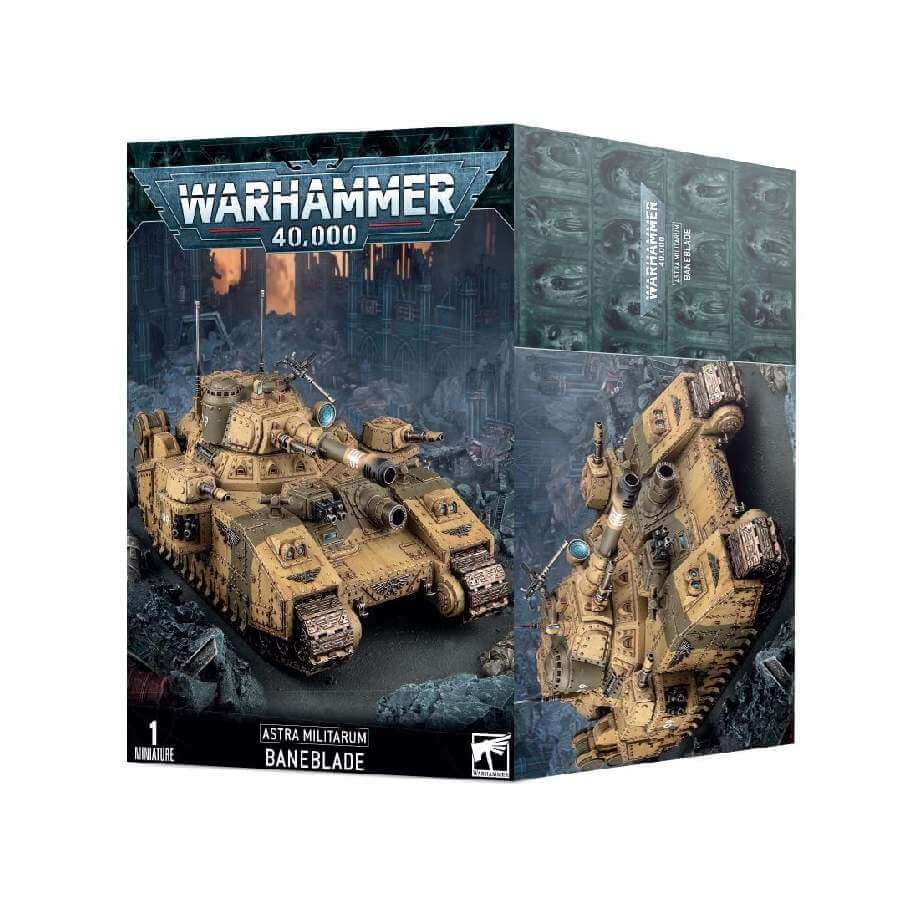
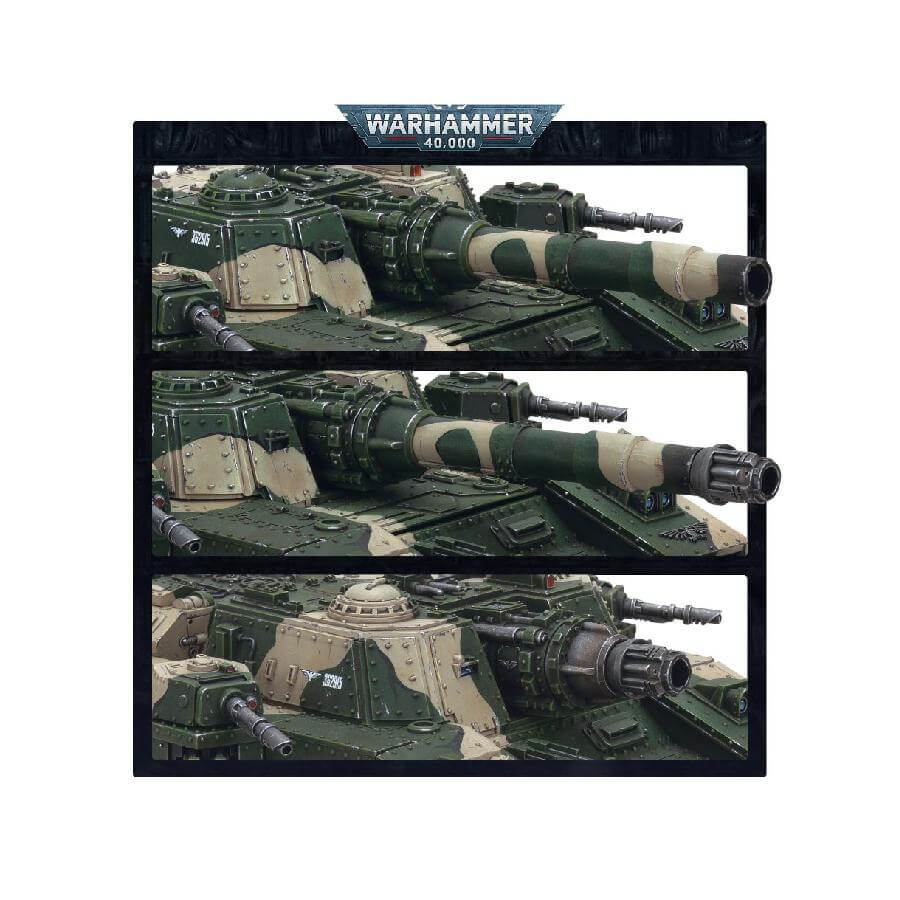
Constructing this colossal multipart plastic kit grants you a super heavy Banesword, a juggernaut of war armed to the teeth and capable of withstanding punishment that would decimate a lesser force. If you seek the linchpin around which to assemble a formidable armored column, this Astra Militarum super heavy tank is a formidable choice. It can jolt your adversaries and endure a staggering barrage, thereby safeguarding the rest of your army.
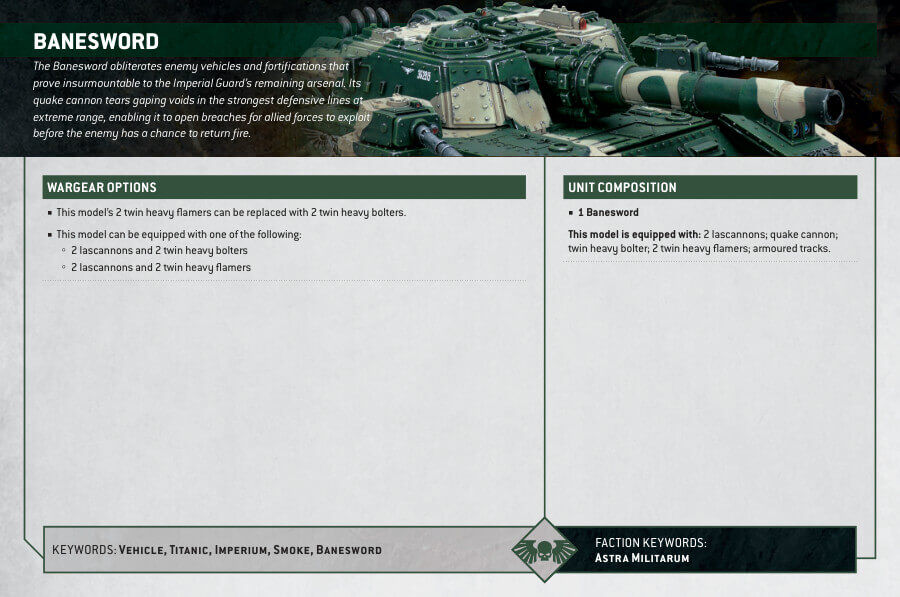
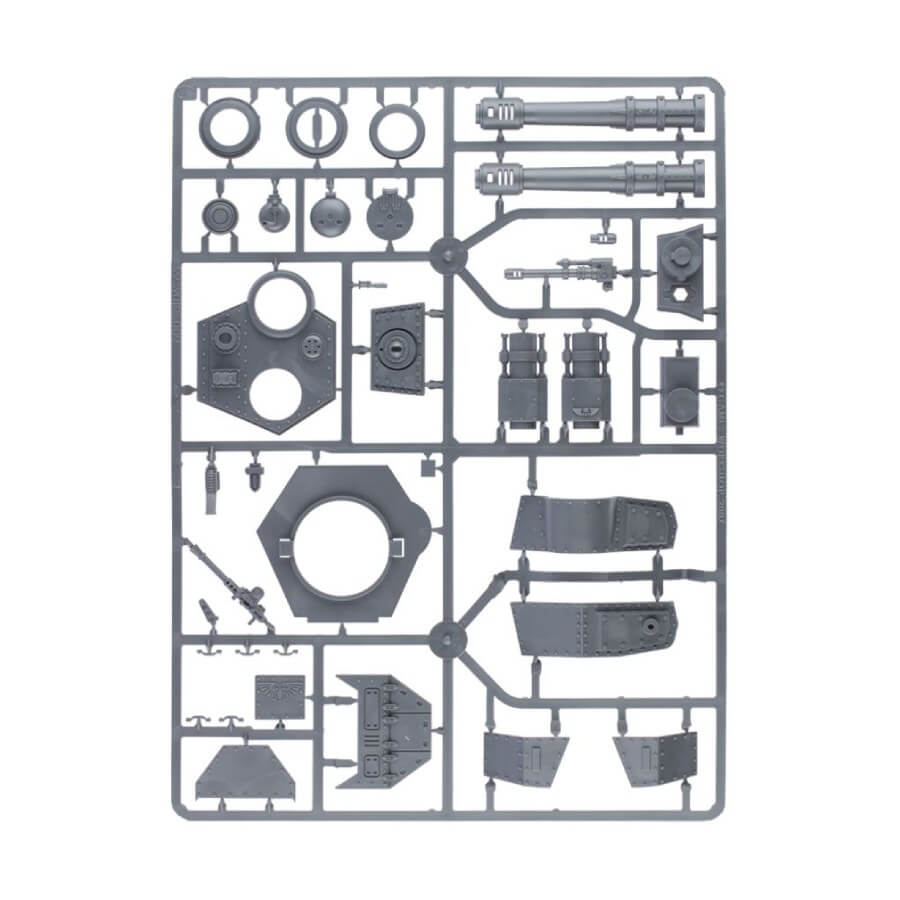
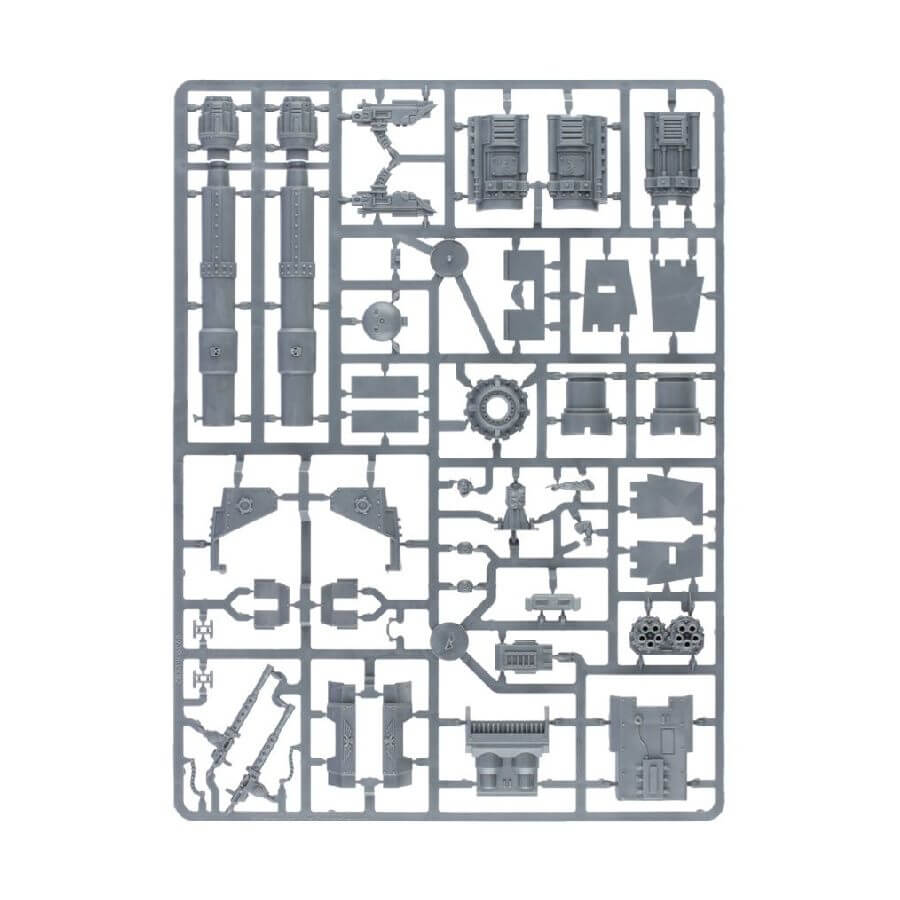
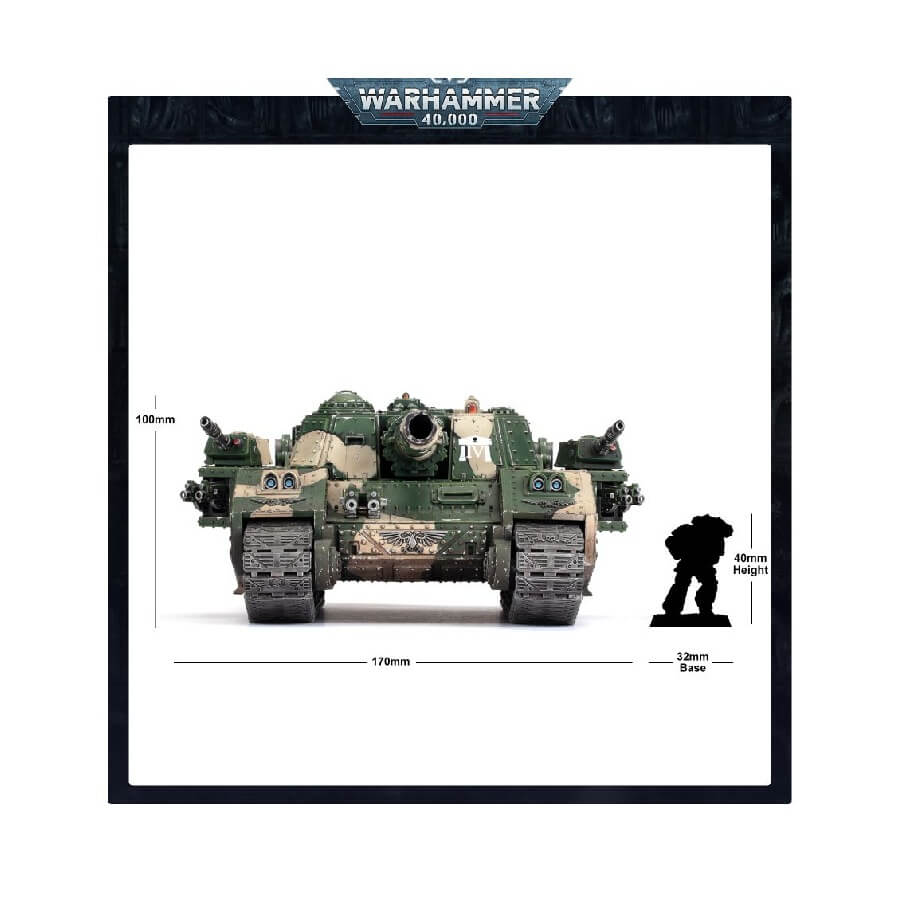
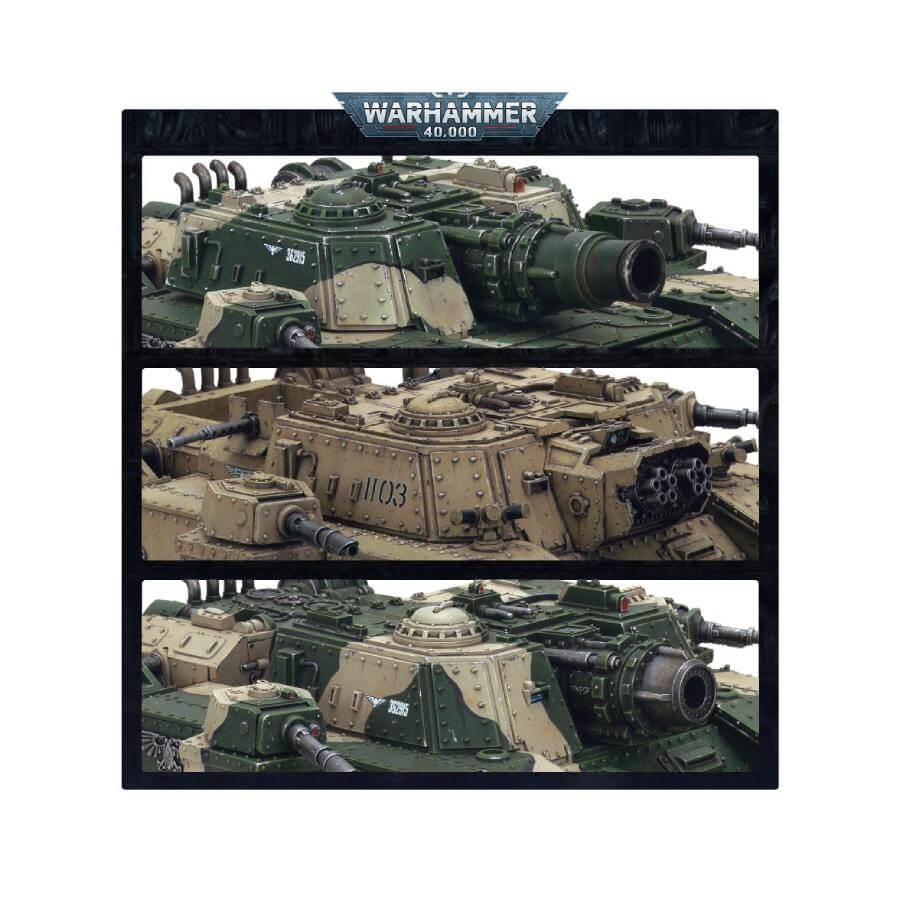
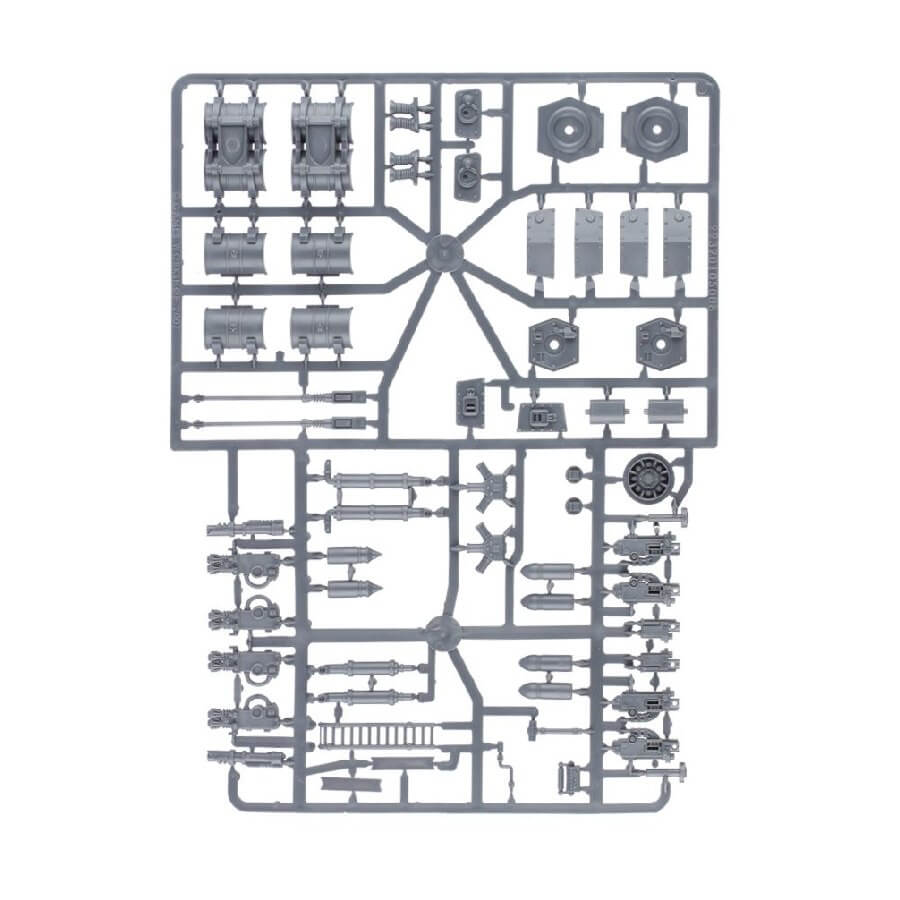
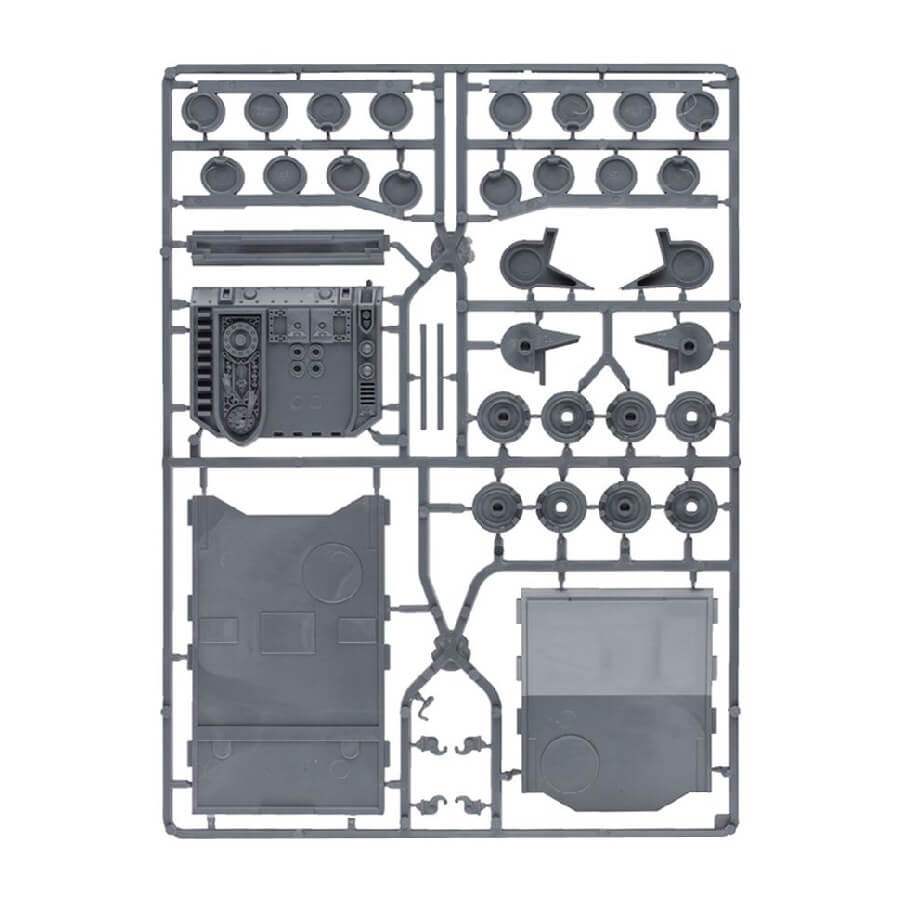
The Banesword is equipped with a devastating quake cannon mounted on its turret, flanked by two lascannons on side turrets. A forward hull turret boasts twin heavy bolters, while sponson mounts house two twin heavy flamers. These flamers can be swapped out for an additional pair of twin heavy bolters, and you can enhance its firepower further with extra sponsons, housing more lascannons or a combination of twin heavy bolters and twin heavy flamers. It’s an arsenal that guarantees overwhelming firepower.
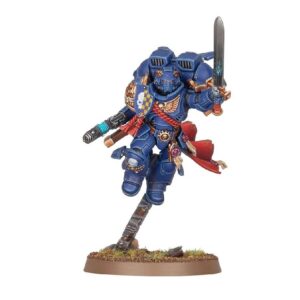
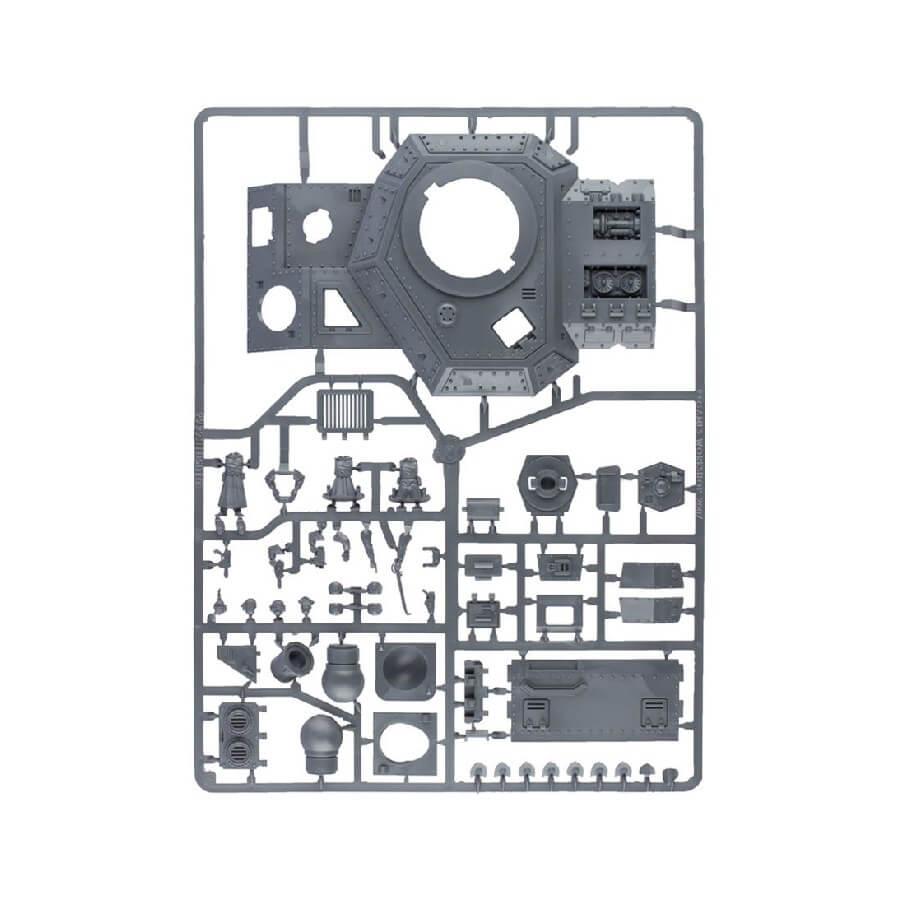
But the options don’t stop there. Cosmetic enhancements abound, including additional stowage, extra armor plating on the treads, tow hooks, fuel tanks, and diverse choices for gunners and tank commanders manning the hatches. You’ll even have the freedom to build your tank commander on foot, arming them with a bolt pistol or laspistol in one hand and wielding a power sword or pointing hand in the other. Regardless of your choices, you’ll find an abundance of leftover plastic in your bits box to fuel your creative endeavors.
This massive kit can alternatively build a variety of other super-heavy tanks:
- Baneblade – armed with a baneblade cannon for maximum versatility
- Shadowsword– armed with a tank-slagging volcano cannon
- Doomhammer – armed with a titan-slaying magma cannon and troop-carrying capacity
- Stormsword – armed with a bunker-busting stormsword siege cannon
- Banehammer – armed with a tremor cannon to slow down an aggressive opponent
- Stormlord – armed with a vulcan mega-bolter and large troop-carrying capacity
- Hellhammer – armed with a hellhammer cannon for close-quarters warfare
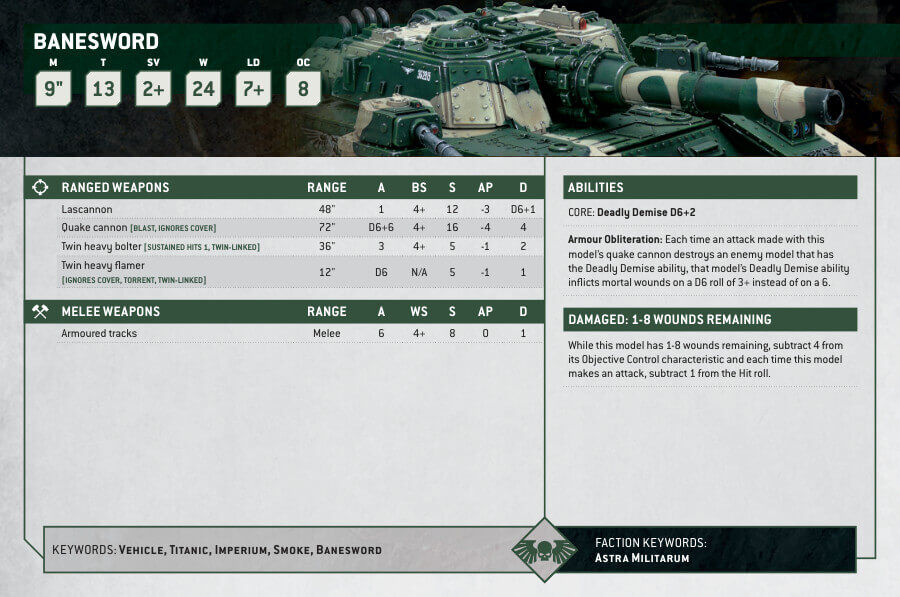
Banesword Datasheets
What’s in the Banesword box
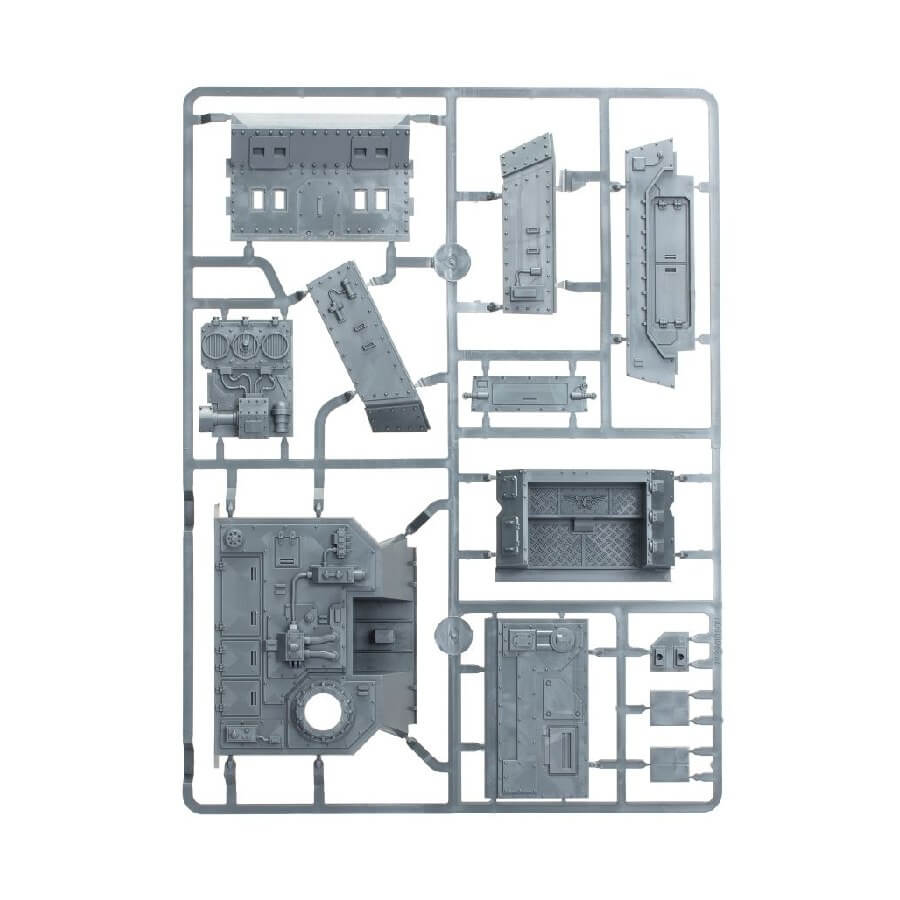
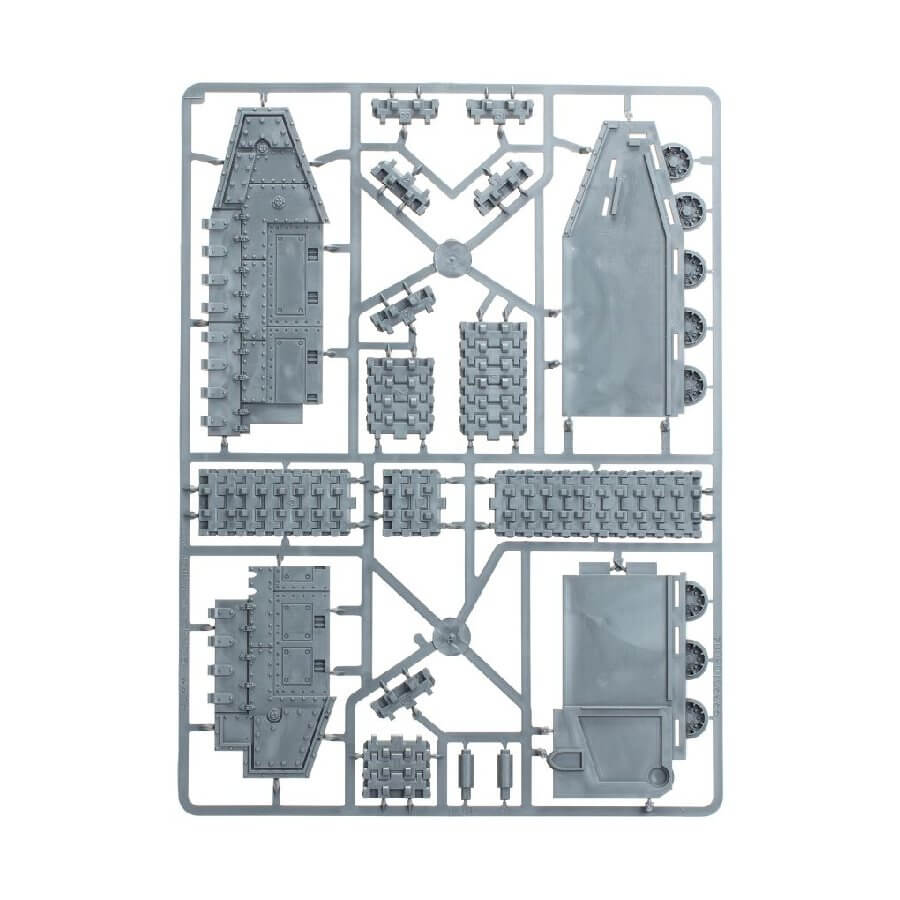
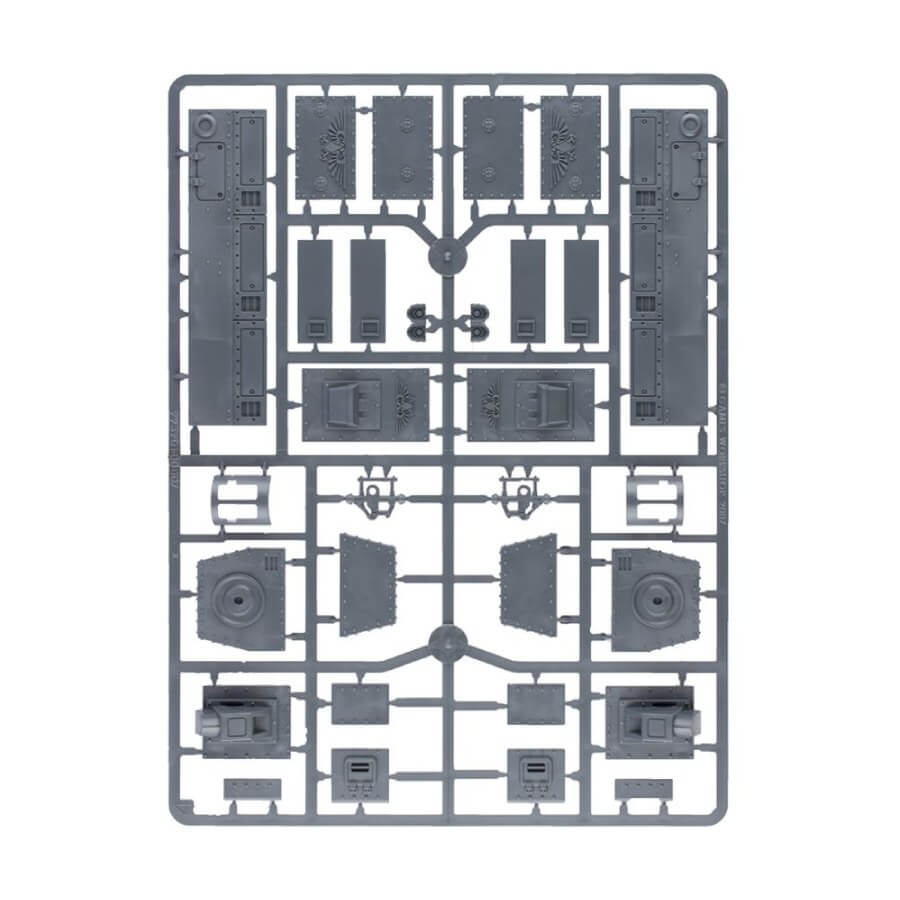
- x381 plastic components that create the Banesword tank.
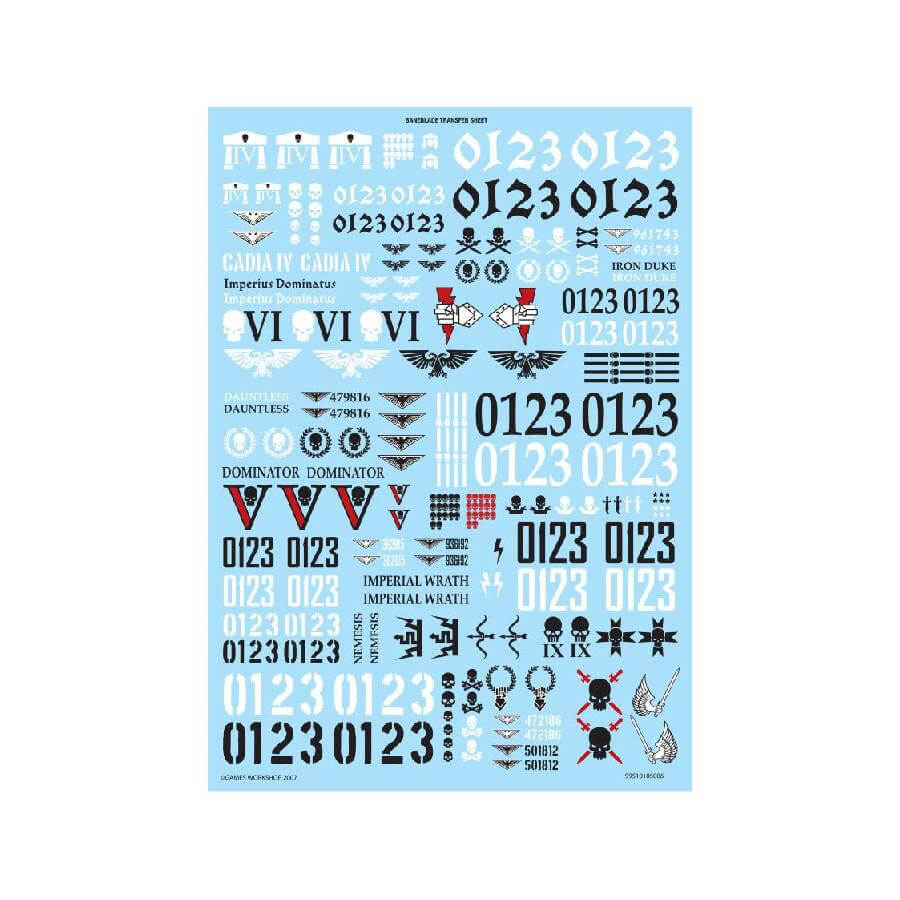
- x1 Baneblade Transfer Sheet with 253 transfers.
How to paint the Banesword Set
- Step 1: Priming
Begin by applying a solid base coat to ensure your paint adheres perfectly. Use Chaos Black spray primer and evenly cover the entire model. Allow it to dry thoroughly before moving on. - Step 2: Base Coat and Camouflage Pattern
Craft the unique look of your Banesword by starting with a base coat of Caliban Green or Waaagh! Flesh on the armor. Ensure smooth and thorough coverage.
To create a distinctive camouflage pattern, use Zandri Dust or Zamesi Desert. Apply it to selected areas in irregular shapes or stripes, adding a unique touch to your tank’s appearance. - Step 3: Shading
Add depth and dimension to the armor using Agrax Earthshade as a shade. Focus on recesses and shadow-prone areas. This shade brings out details and imparts a weathered effect. Let it dry completely. - Step 4: Layering
Enhance the colors further. For the Caliban Green/Waaagh! Flesh sections, layer them with Straken Green. Concentrate on raised areas and edges to create striking highlights. For the Zandri Dust/Zamesi Desert parts, use Ushabti Bone to achieve a similar effect. - Step 5: Metallic Components
The metallic components, such as barrels, antennas, and tracks, require a base of Leadbelcher. Ensure an even application, covering all intended areas.
To make these components shine, layer them with Ironbreaker. Pay attention to edges and raised details, creating a polished finish for added realism. - Step 6: Adding Details
Unleash your creativity by adding unique details to your Banesword. For example, use Stirland Mud to simulate mud on the tracks, adding a touch of realism. Alternatively, create battle-worn effects by painting splashes of Blood for the Blood God on the armor. - Step 7: Varnishing
Preserve your masterpiece by applying a protective layer of varnish. Opt for Munitorum varnish, ensuring the longevity and durability of your paintwork while preserving intricate details and textures on the model.
