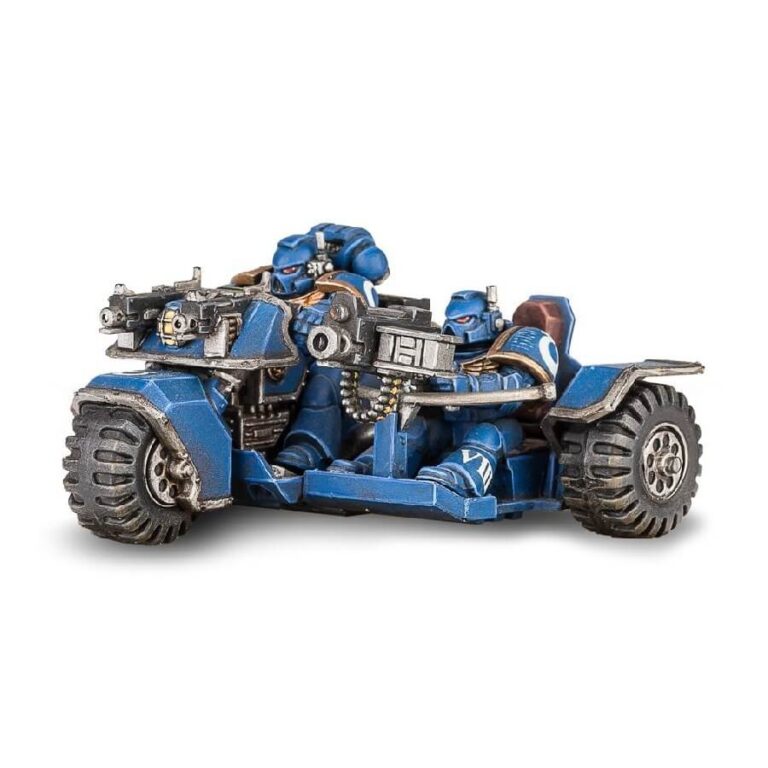
Space Marine Bike squads excel in lightning-fast assault missions, utilizing their incredible speed to launch surprise attacks that shatter enemy formations and leave them scrambling to react. With the precision of thunderbolts, Bike squad tactical strikes inflict devastating damage before the foe even realizes their presence. Witness the unstoppable force of the Space Marine Bikes as they unleash chaos on the battlefield, leaving a trail of victory in their wake.
What’s in the Attack Bike box
x48 plastic components that make this Attack Bike, a fast attack option for your Space Marine armies. The model can be assembled with either a heavy bolter or multi-melta
How to paint the Attack Bike set
- Step 1: Prime the model
Apply a base coat of primer to ensure proper paint adhesion. Use a light grey or white primer to create a good foundation for the subsequent layers of paint. - Step 2: Basecoat the bike
Using a brush, apply a basecoat of Macragge Blue to the bike’s main body and fenders, ensuring even coverage. This will be the primary color. - Step 3: Paint the details
Use Leadbelcher for the metallic areas, such as the exhaust pipes and engine parts. For the seat and handles, paint them with Abaddon Black. Carefully paint the Ultramarines symbol on the bike using White Scar. - Step 4: Highlight the blue
With a lighter shade, such as Calgar Blue, carefully apply highlights to the edges and raised areas of the bike’s body, fenders, and symbol. This will add depth and make the blue pop. - Step 5: Paint the details
Use Retributor Armor for the gold areas, such as the rims and trimmings. Paint the seat with Administratum Grey, and carefully highlight the raised areas with Ulthuan Grey. - Step 6: Shade the model
Apply a wash of Nuln Oil to the entire model, focusing on the recesses and areas that require shading. This will enhance the contrast and bring out the details. - Step 7: Highlight the details
Using lighter shades of paint, such as Stormhost Silver for the metallic areas and White Scar for the seat and symbols, carefully highlight the respective parts to create a more realistic and eye-catching look. - Step 8: Paint the base
Choose a suitable color for the base, such as Armageddon Dust or Astrogranite, and apply it to the base of the model. Once dry, you can add additional details like grass tufts or rocks to enhance the overall appearance. - Step 9: Varnish the model
To protect your hard work, apply a coat of varnish to the painted model. This will help preserve the paint job and prevent any chipping or fading.

